

Creating a New Bucket (Step Two)
On the bucket service page, after connecting / selecting, click on Create New Bucket to be directed to the bucket creation form:
Step One: Selecting Space and Name
First, select the space and enter the name of the bucket:
The bucket name must be between 3 and 63 characters and can only include English letters, numbers, periods, and hyphens. Also, the bucket name cannot be edited after creation.
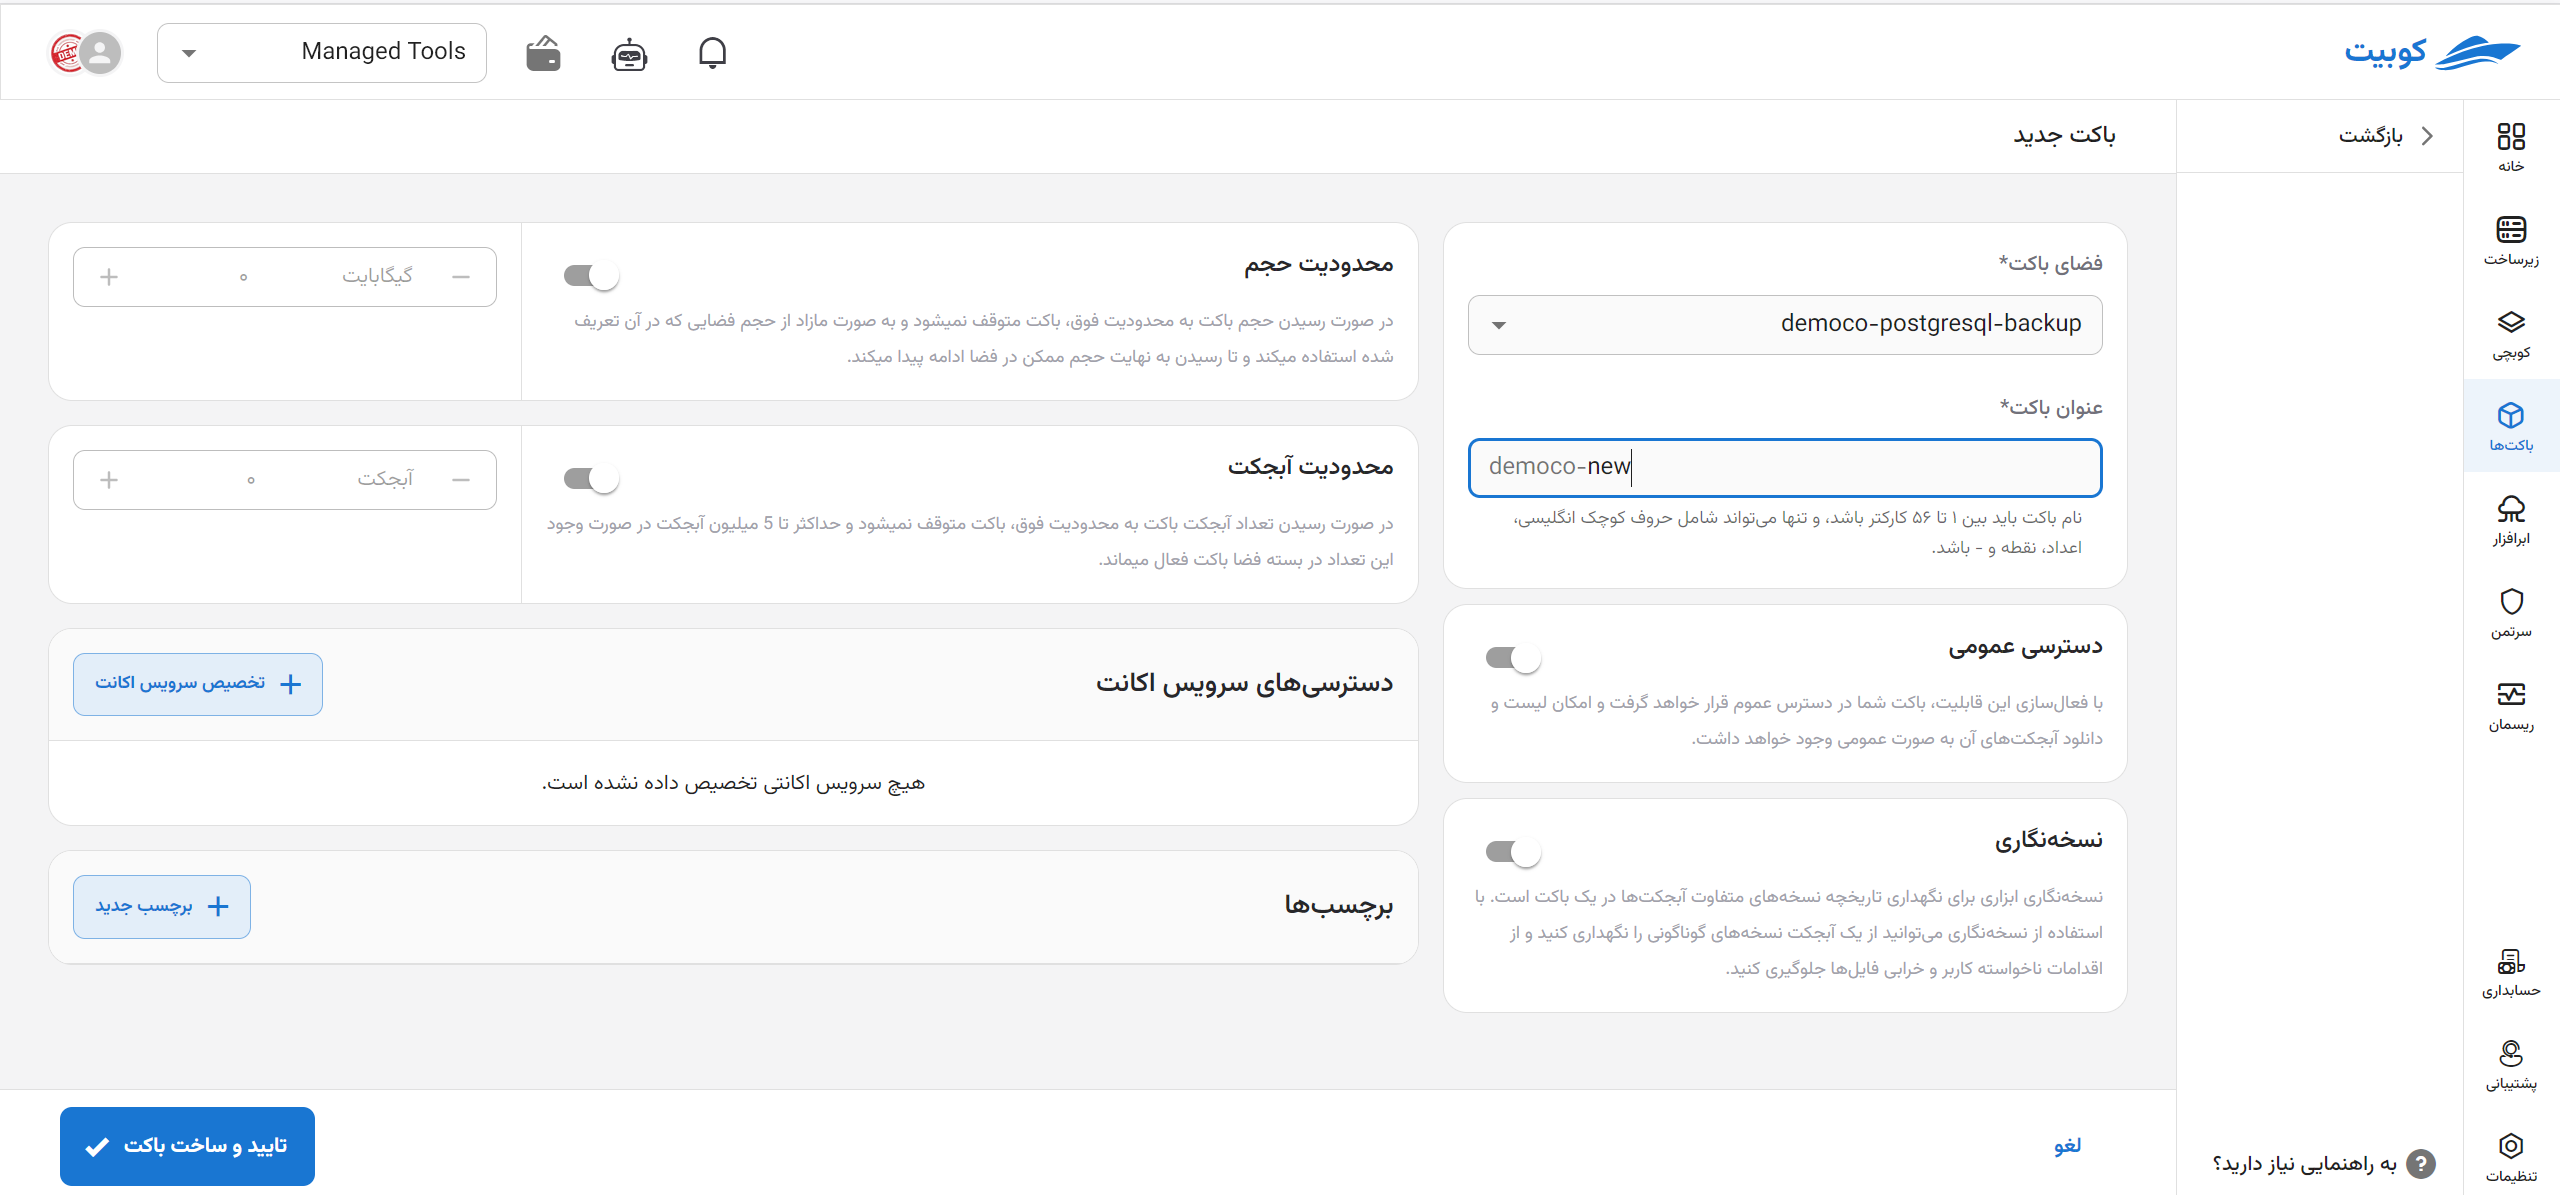
- The last created space in the project is automatically selected as the bucket's space. However, you can choose your desired space from the available spaces.
- If the organization name as a prefix in the bucket name is set, the bucket name will be in the format
TestOrg-bucketname.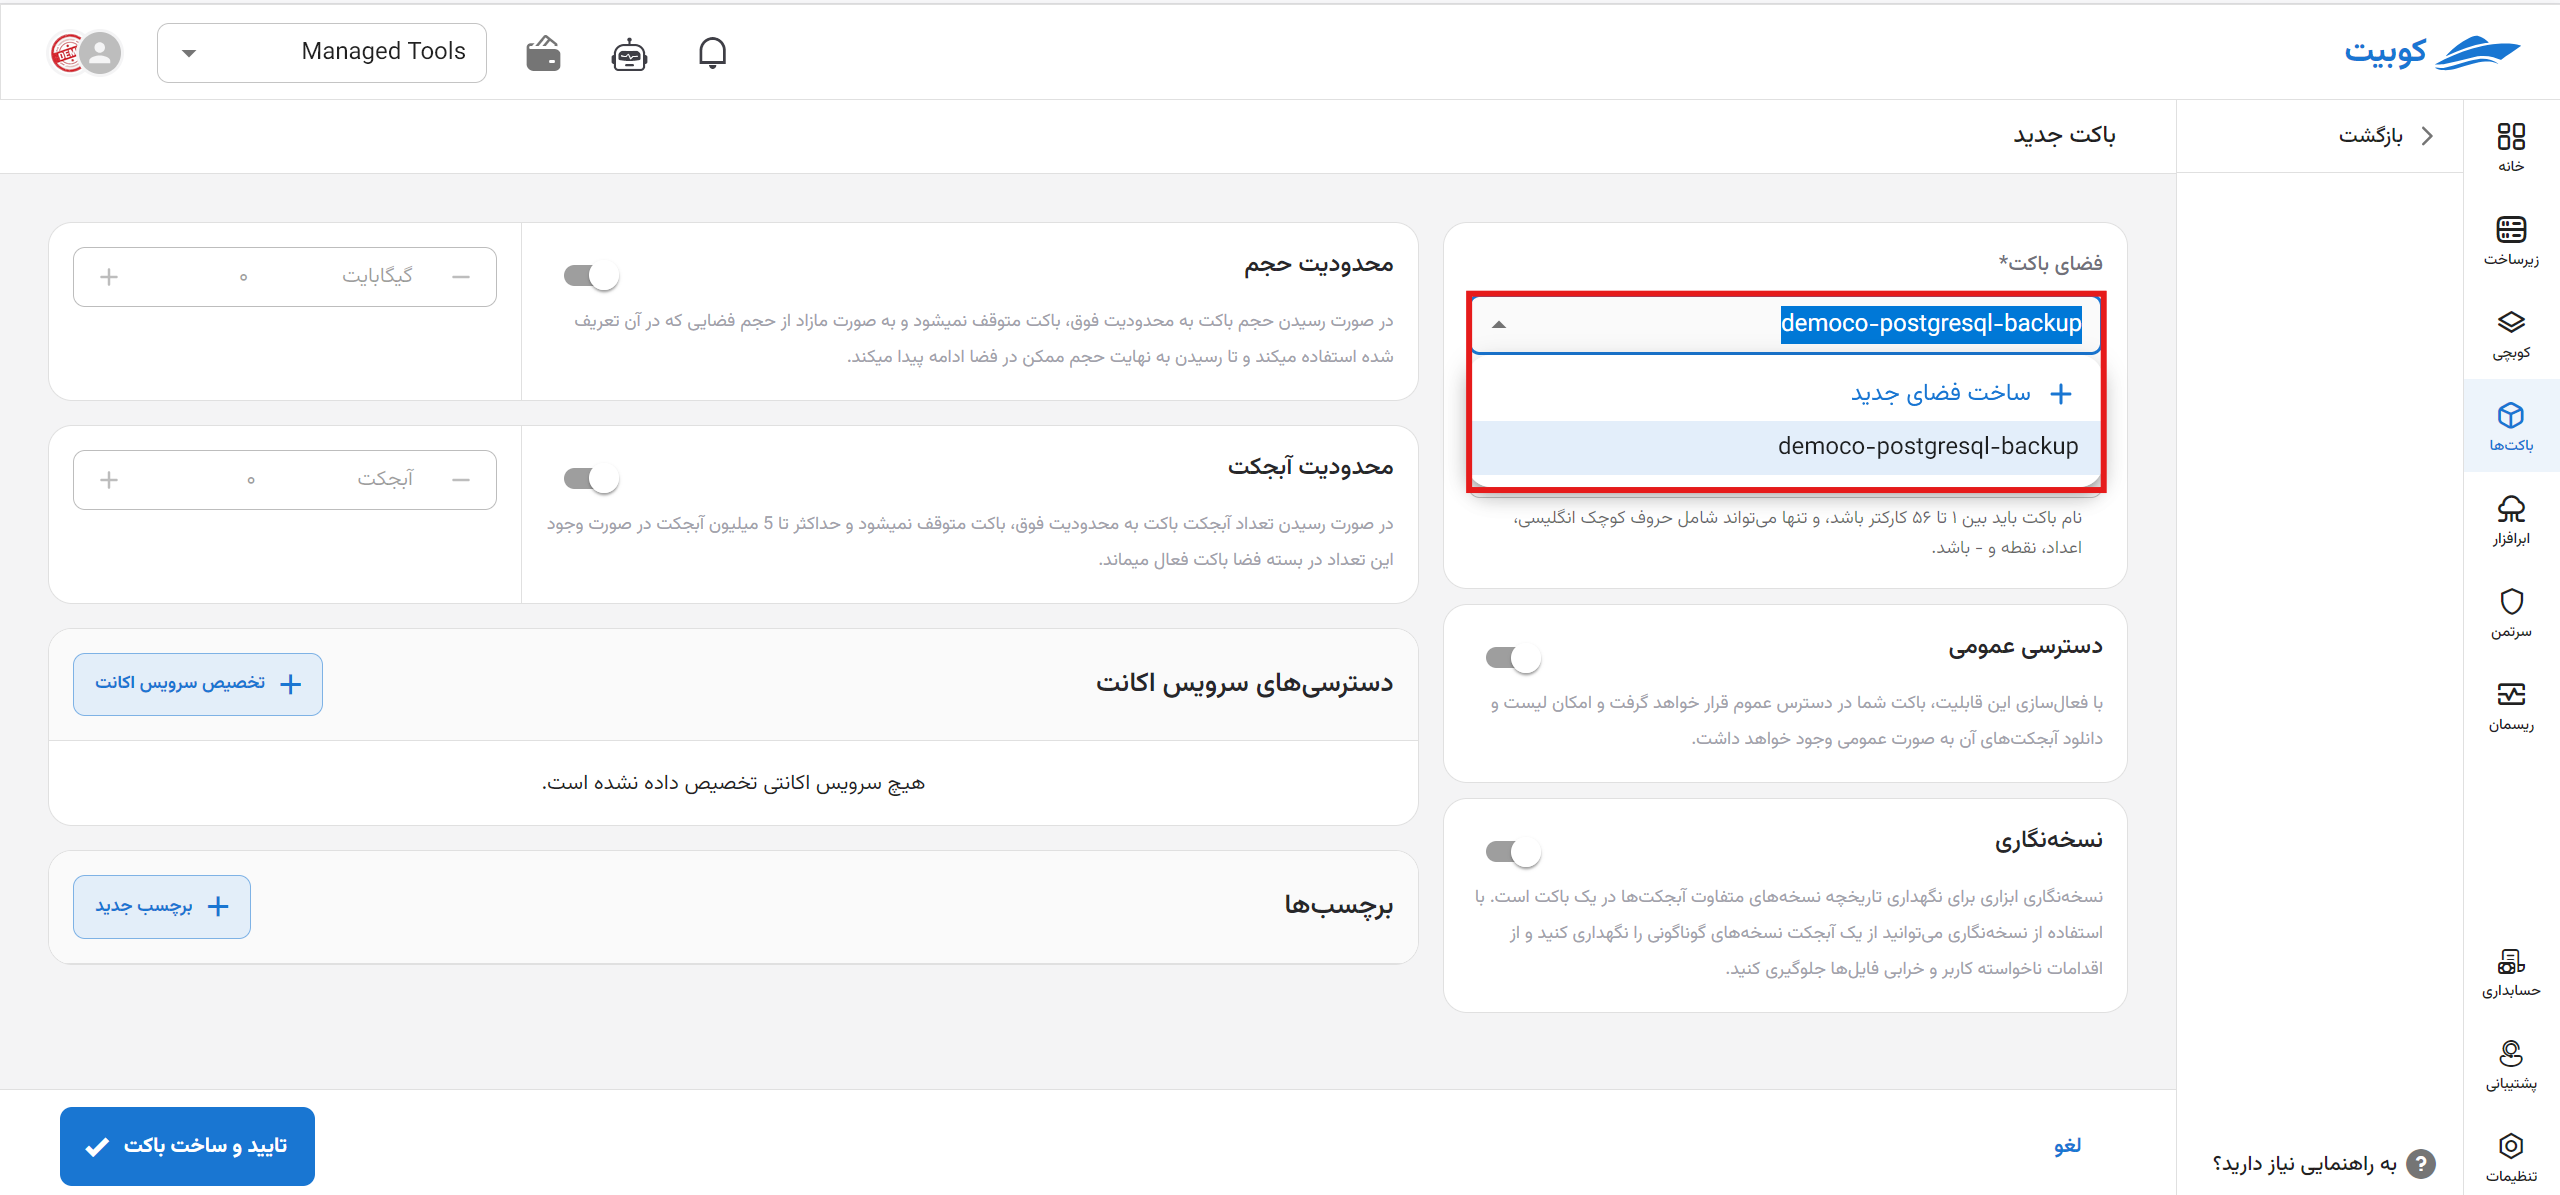
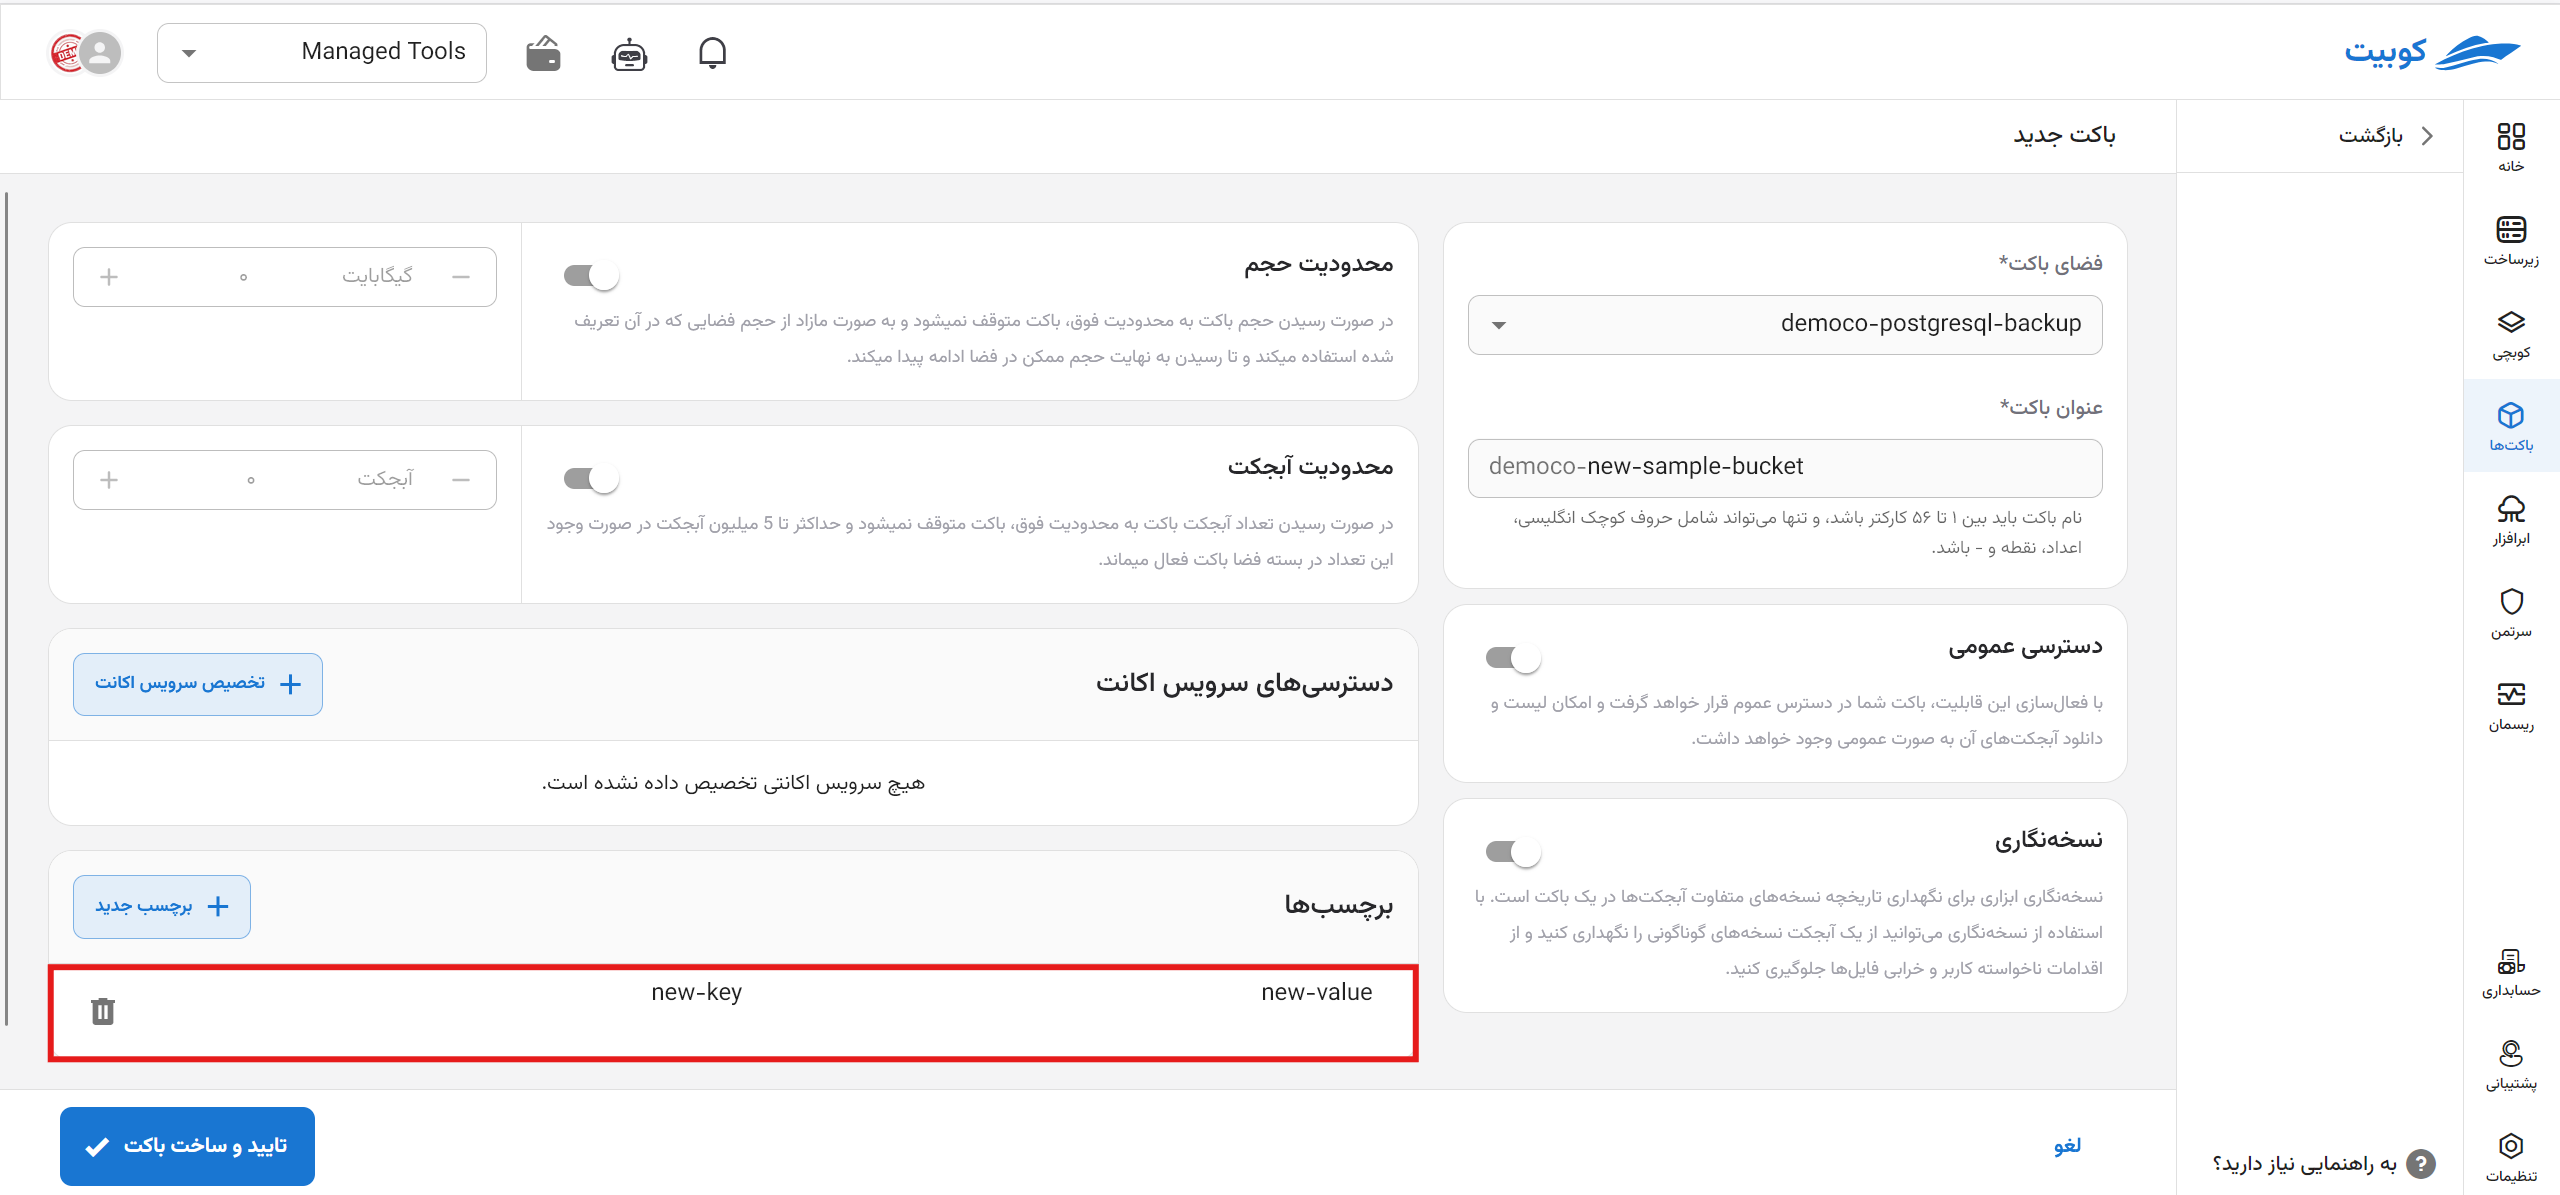
Step Two: Bucket Settings
After selecting the space and name, you can configure additional optional settings for the bucket being created:
-
Public Access: Enabling this option allows public sharing of the bucket and downloading of objects.
-
Versioning: To prevent unintended user actions and file corruption, you can maintain different versions of an object.
-
Tags: For categorization, resource control, and bucket access management, you can assign various tags to the bucket.
-
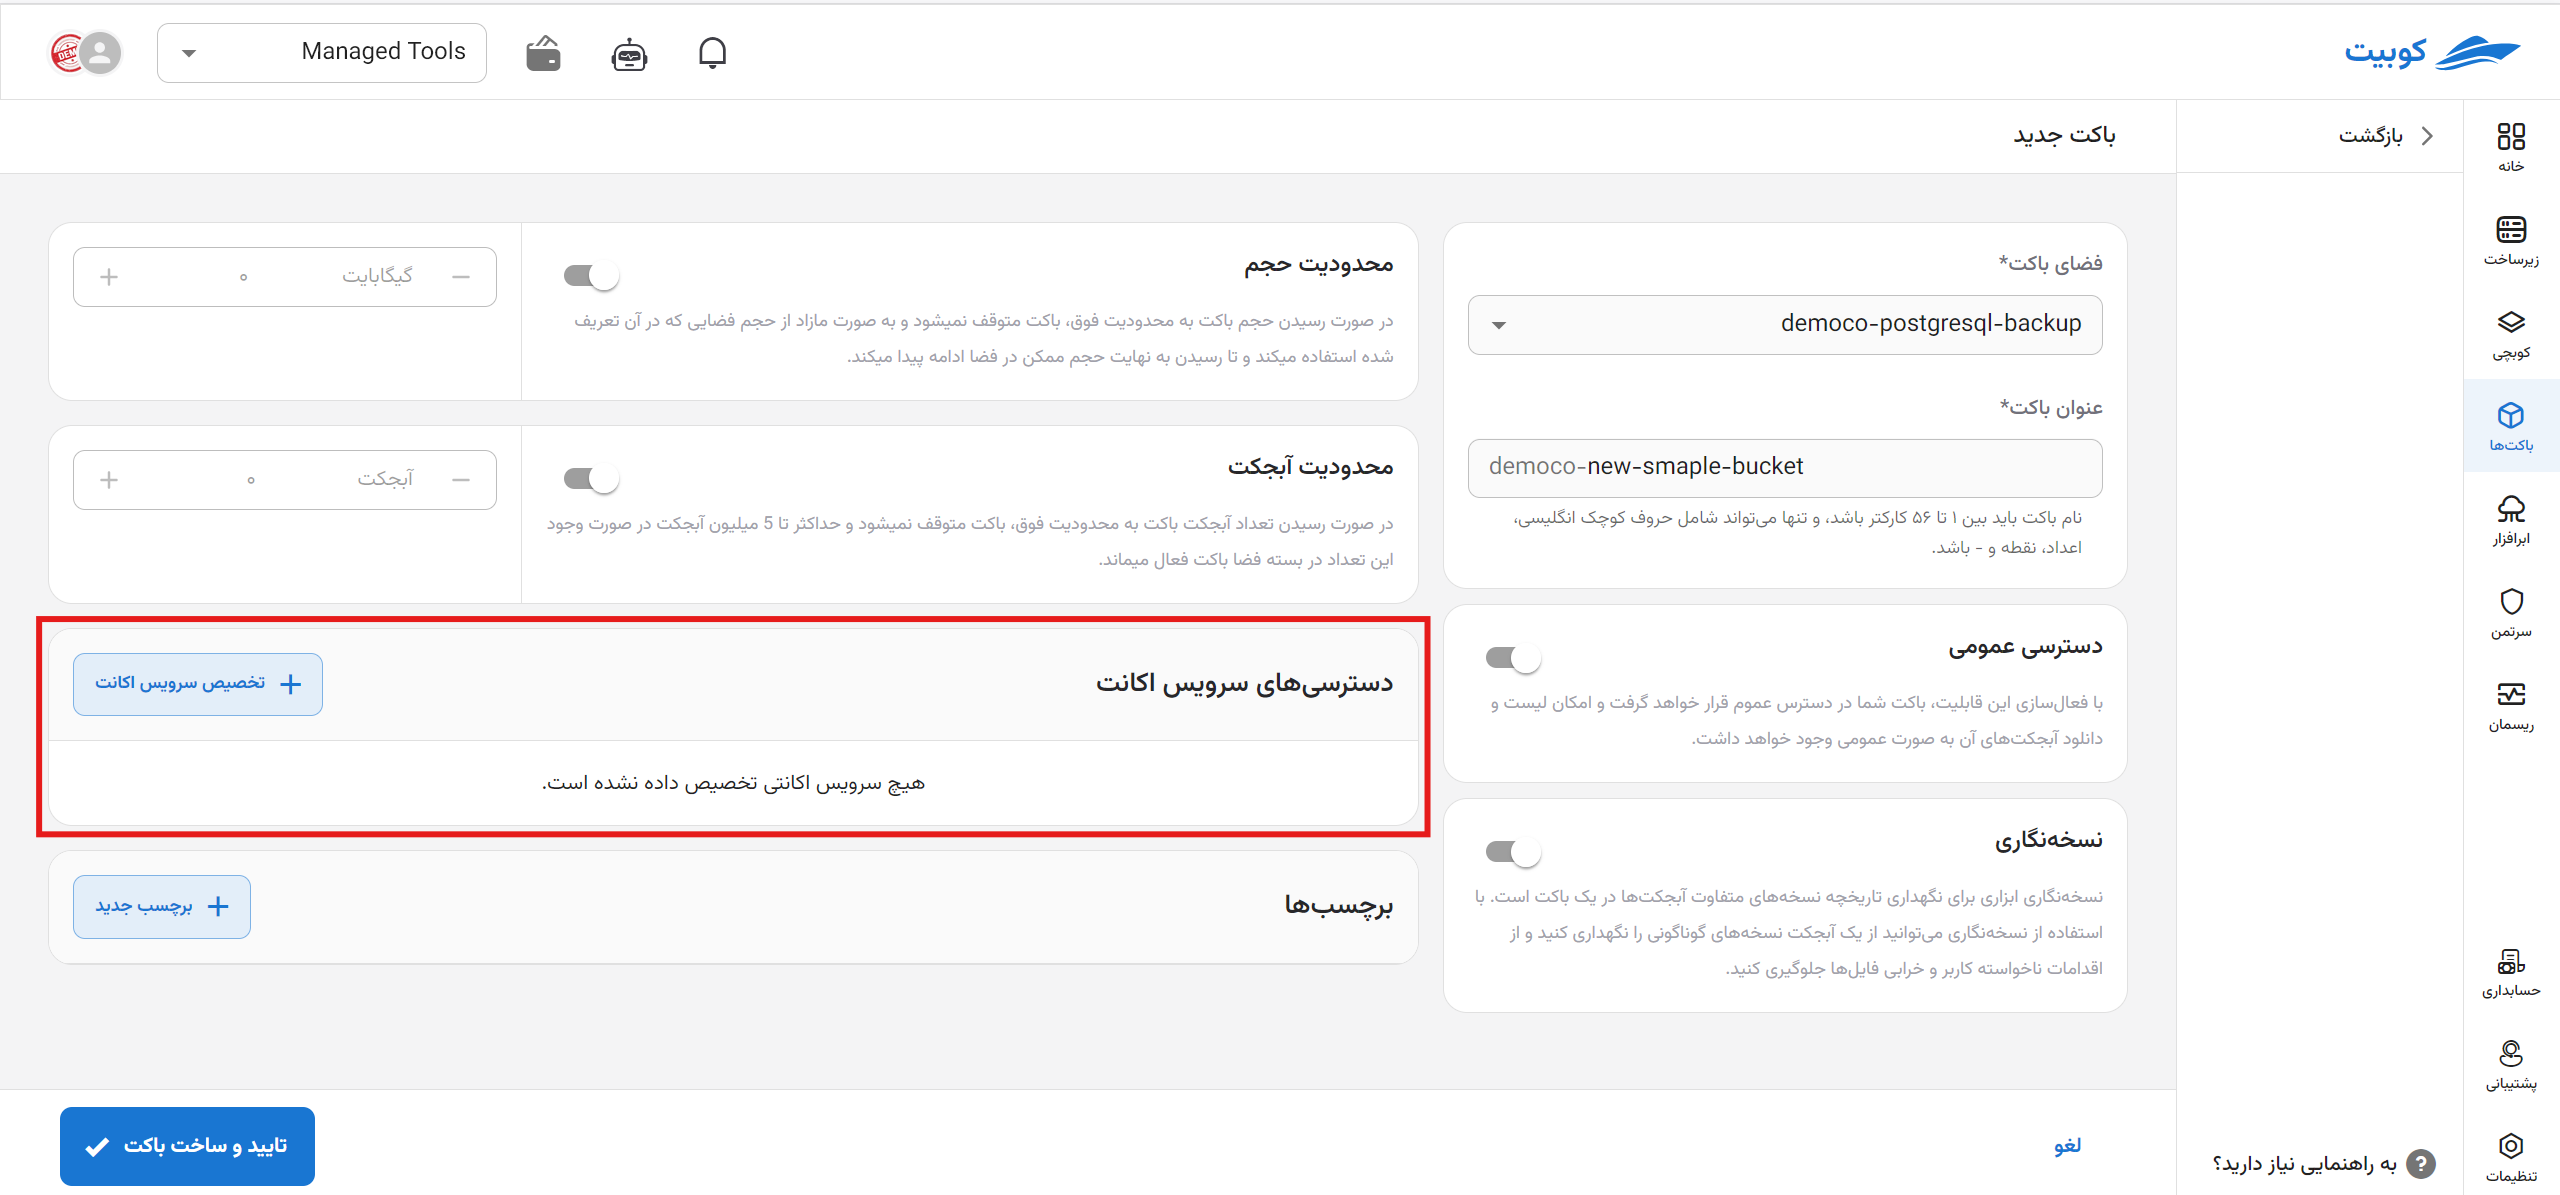
Account Service: To assign restricted access to the bucket, you can select the desired account service in this section.
-
Storage Limit: You can define a storage ceiling for your bucket. If this limit is reached, the bucket will not stop, and it will use excess storage from the space it belongs to.
-
Object Limit: You can define a ceiling for the number of objects in your bucket. If this limit is reached, the bucket will not stop and will use excess object counts from the space it belongs to (up to a maximum of 5 million objects).

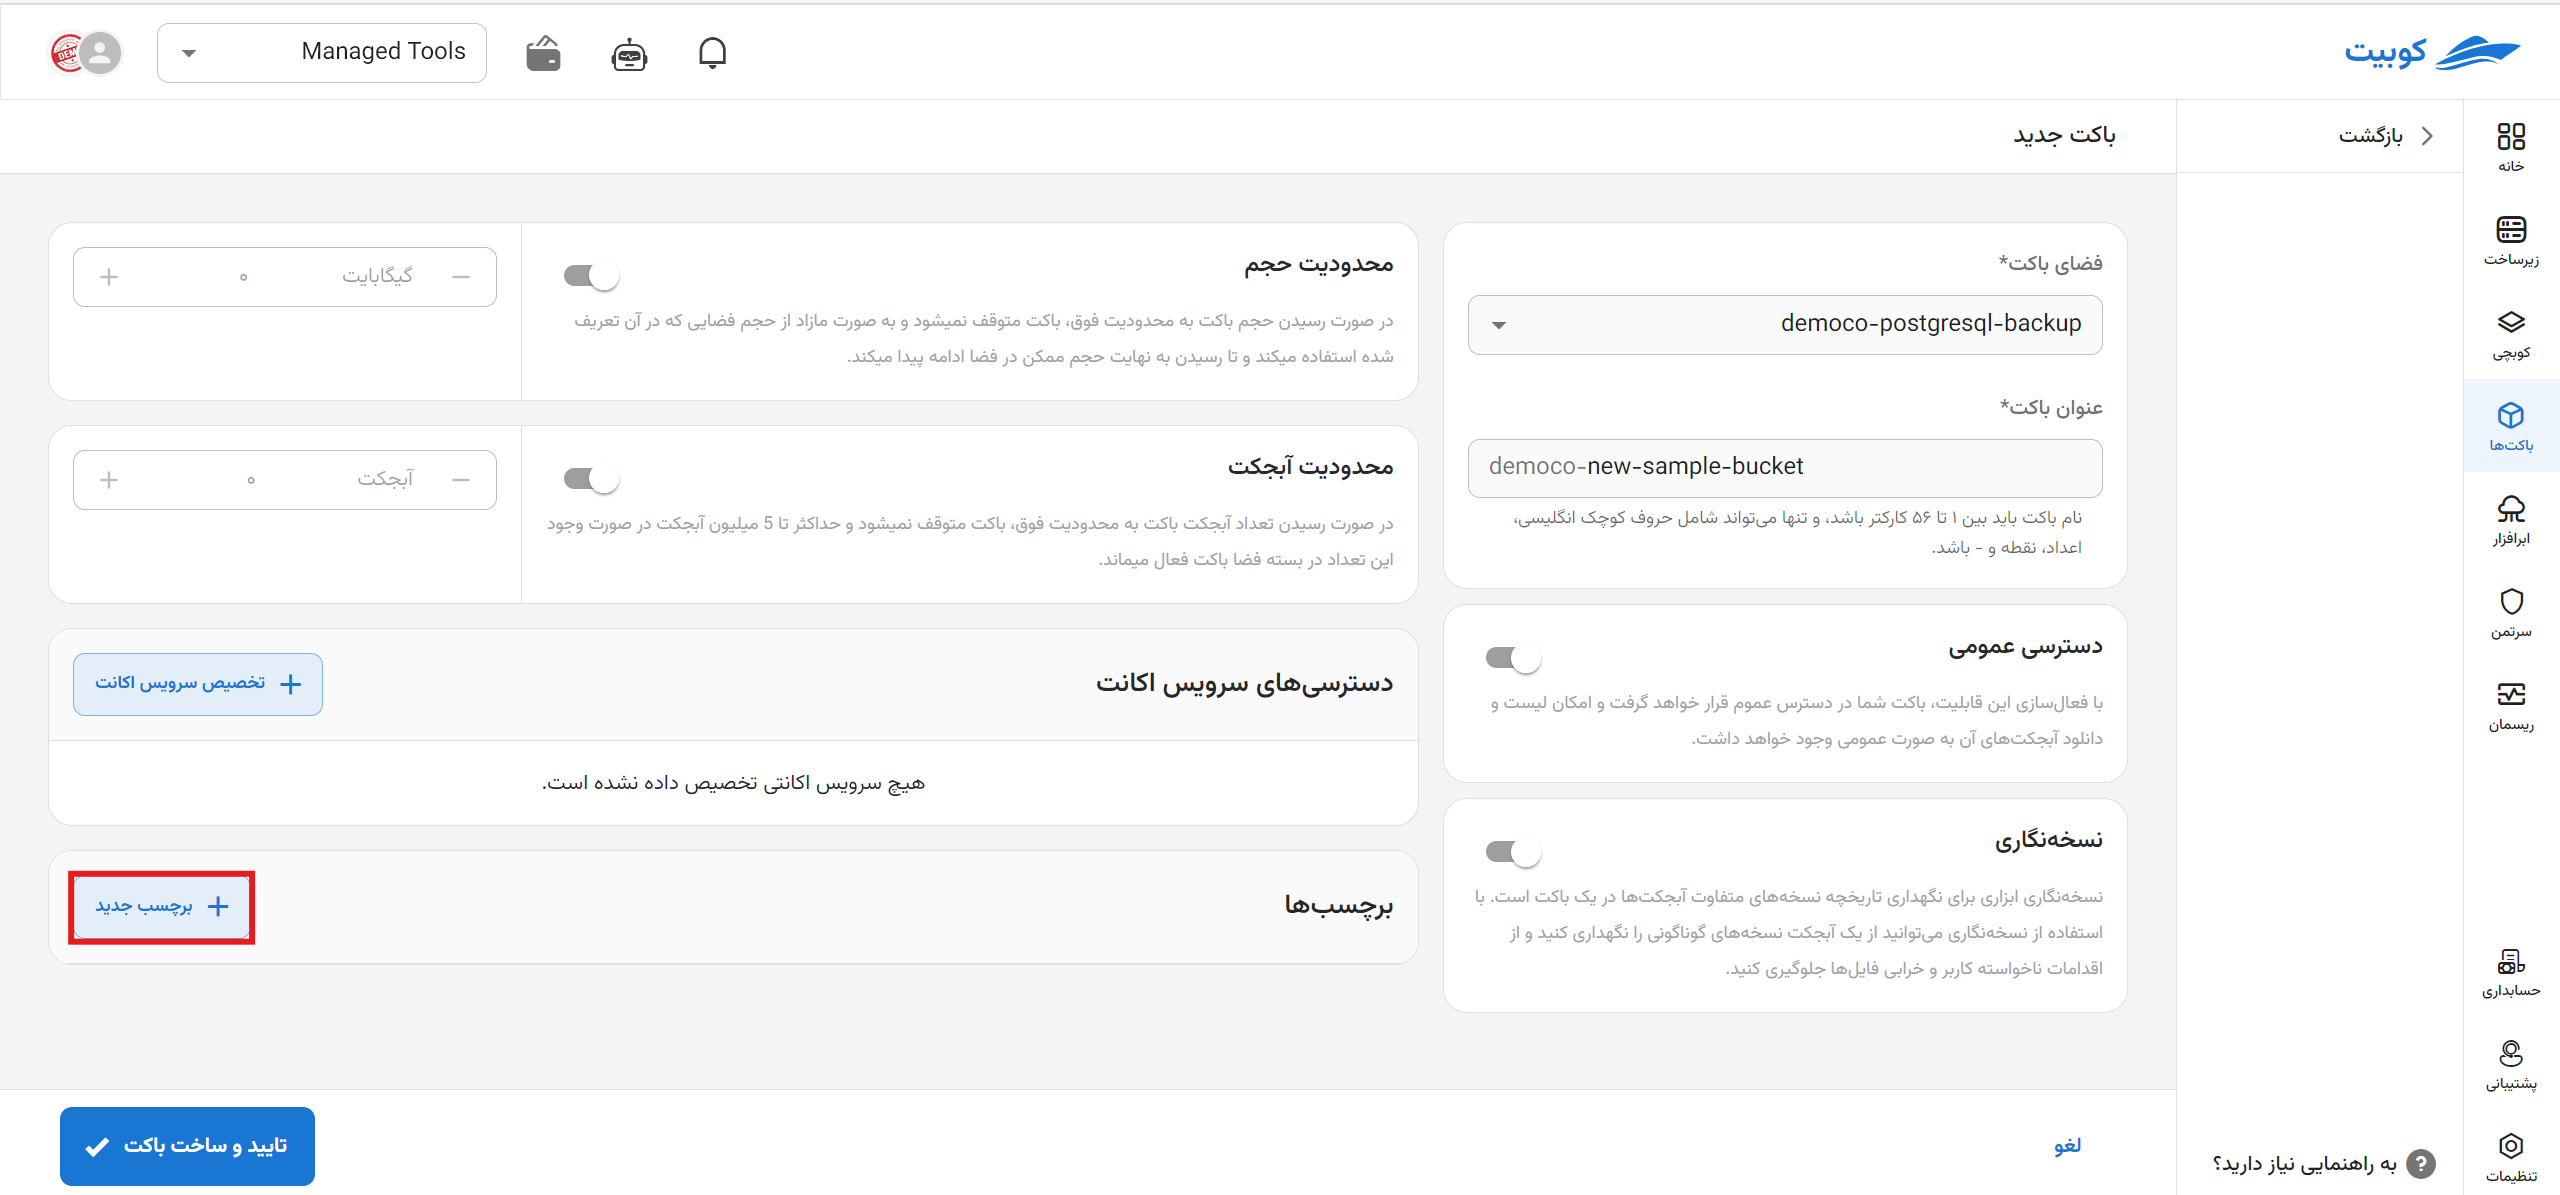
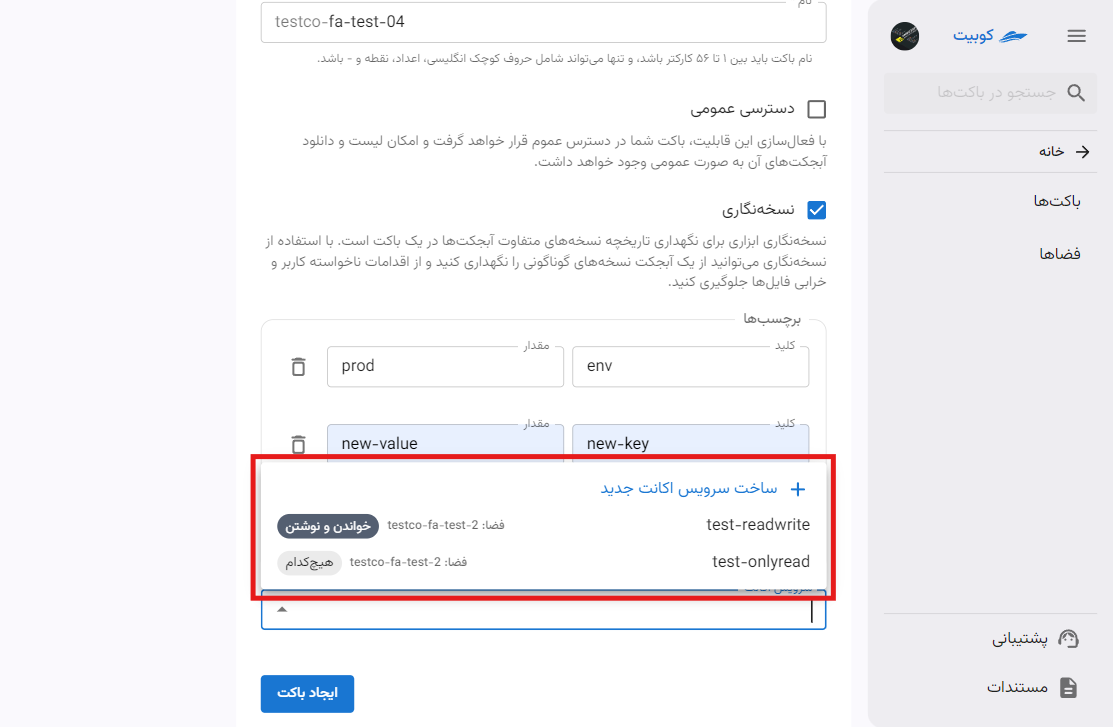
Adding a Tag
Click on Add Tag to create empty key-value fields, then fill them with the desired values:
Naming Rules:
-
The maximum number of tags per resource is 50.
-
For each resource, a unique key value is required, and each key can only have one value.
-
Maximum length of key: 128 UTF-8 characters.
-
Maximum length of value: 128 UTF-8 characters.
-
Allowed characters include: English letters (a-z, A-Z), Persian letters (ا-ی), Persian and English numbers, and characters
. : + = @ _ / -. -
Keys and values are case-sensitive for English letters.
For all conditions, see this document.
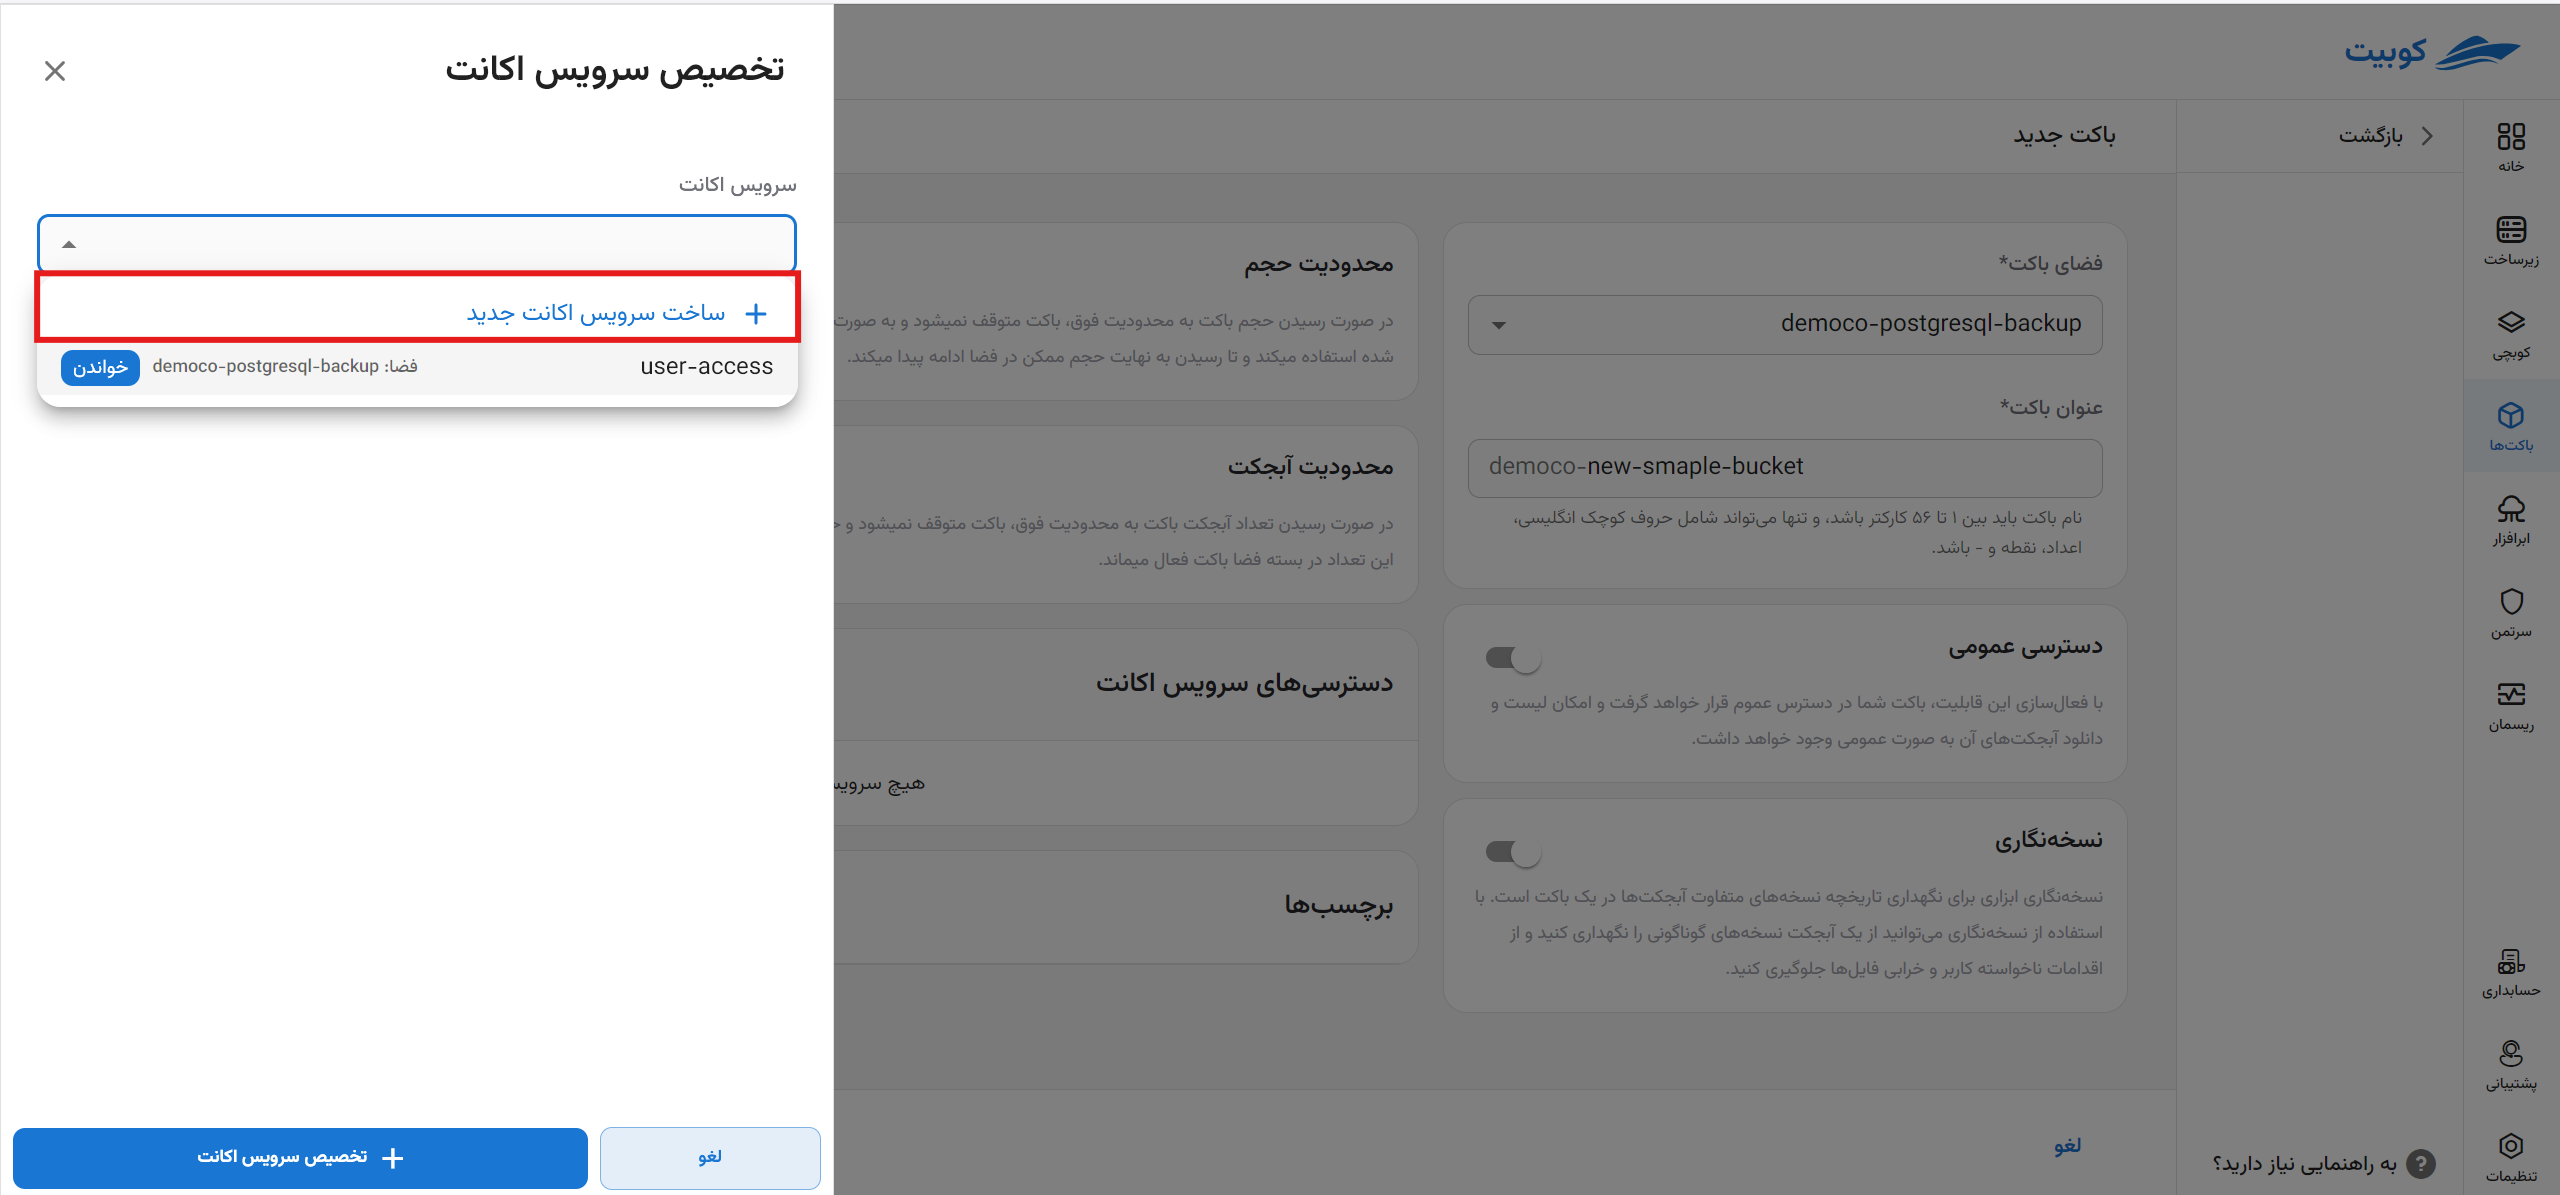
Selecting an Account Service
Note that if assigning an account service is mandatory for the selected space, the account service option in bucket creation will not be optional, and you must assign at least one account service to the bucket.
When selecting an account service, two scenarios are possible: either an account service exists in the selected space, or it does not. If a list of account services is available, you can select one of them. If no account service exists, you can choose the Create New Account Service option to automatically create a new account service:
If you choose to create a new account service, an account service with full access will be automatically created and assigned to this bucket:
After selecting the account service, click Confirm and Create Bucket to create the desired bucket: