

Manage namespaces in Kubchi
Every Pack is installed in a Kubernetes namespace. Packs in a project are managed through namespaces bound to that project. If your role can manage bindings, Namespaces also lists unbound namespaces on the same cluster separately.
From Namespaces, you can create a namespace, bind an unbound namespace to a project, or remove an existing binding. Unbinding keeps the resources. Deleting a namespace also deletes the resources inside it.
Prerequisites
The project must be connected to an active cluster. Creating a namespace and managing its project binding require separate permissions, so some controls may not be available to your role.
View project namespaces
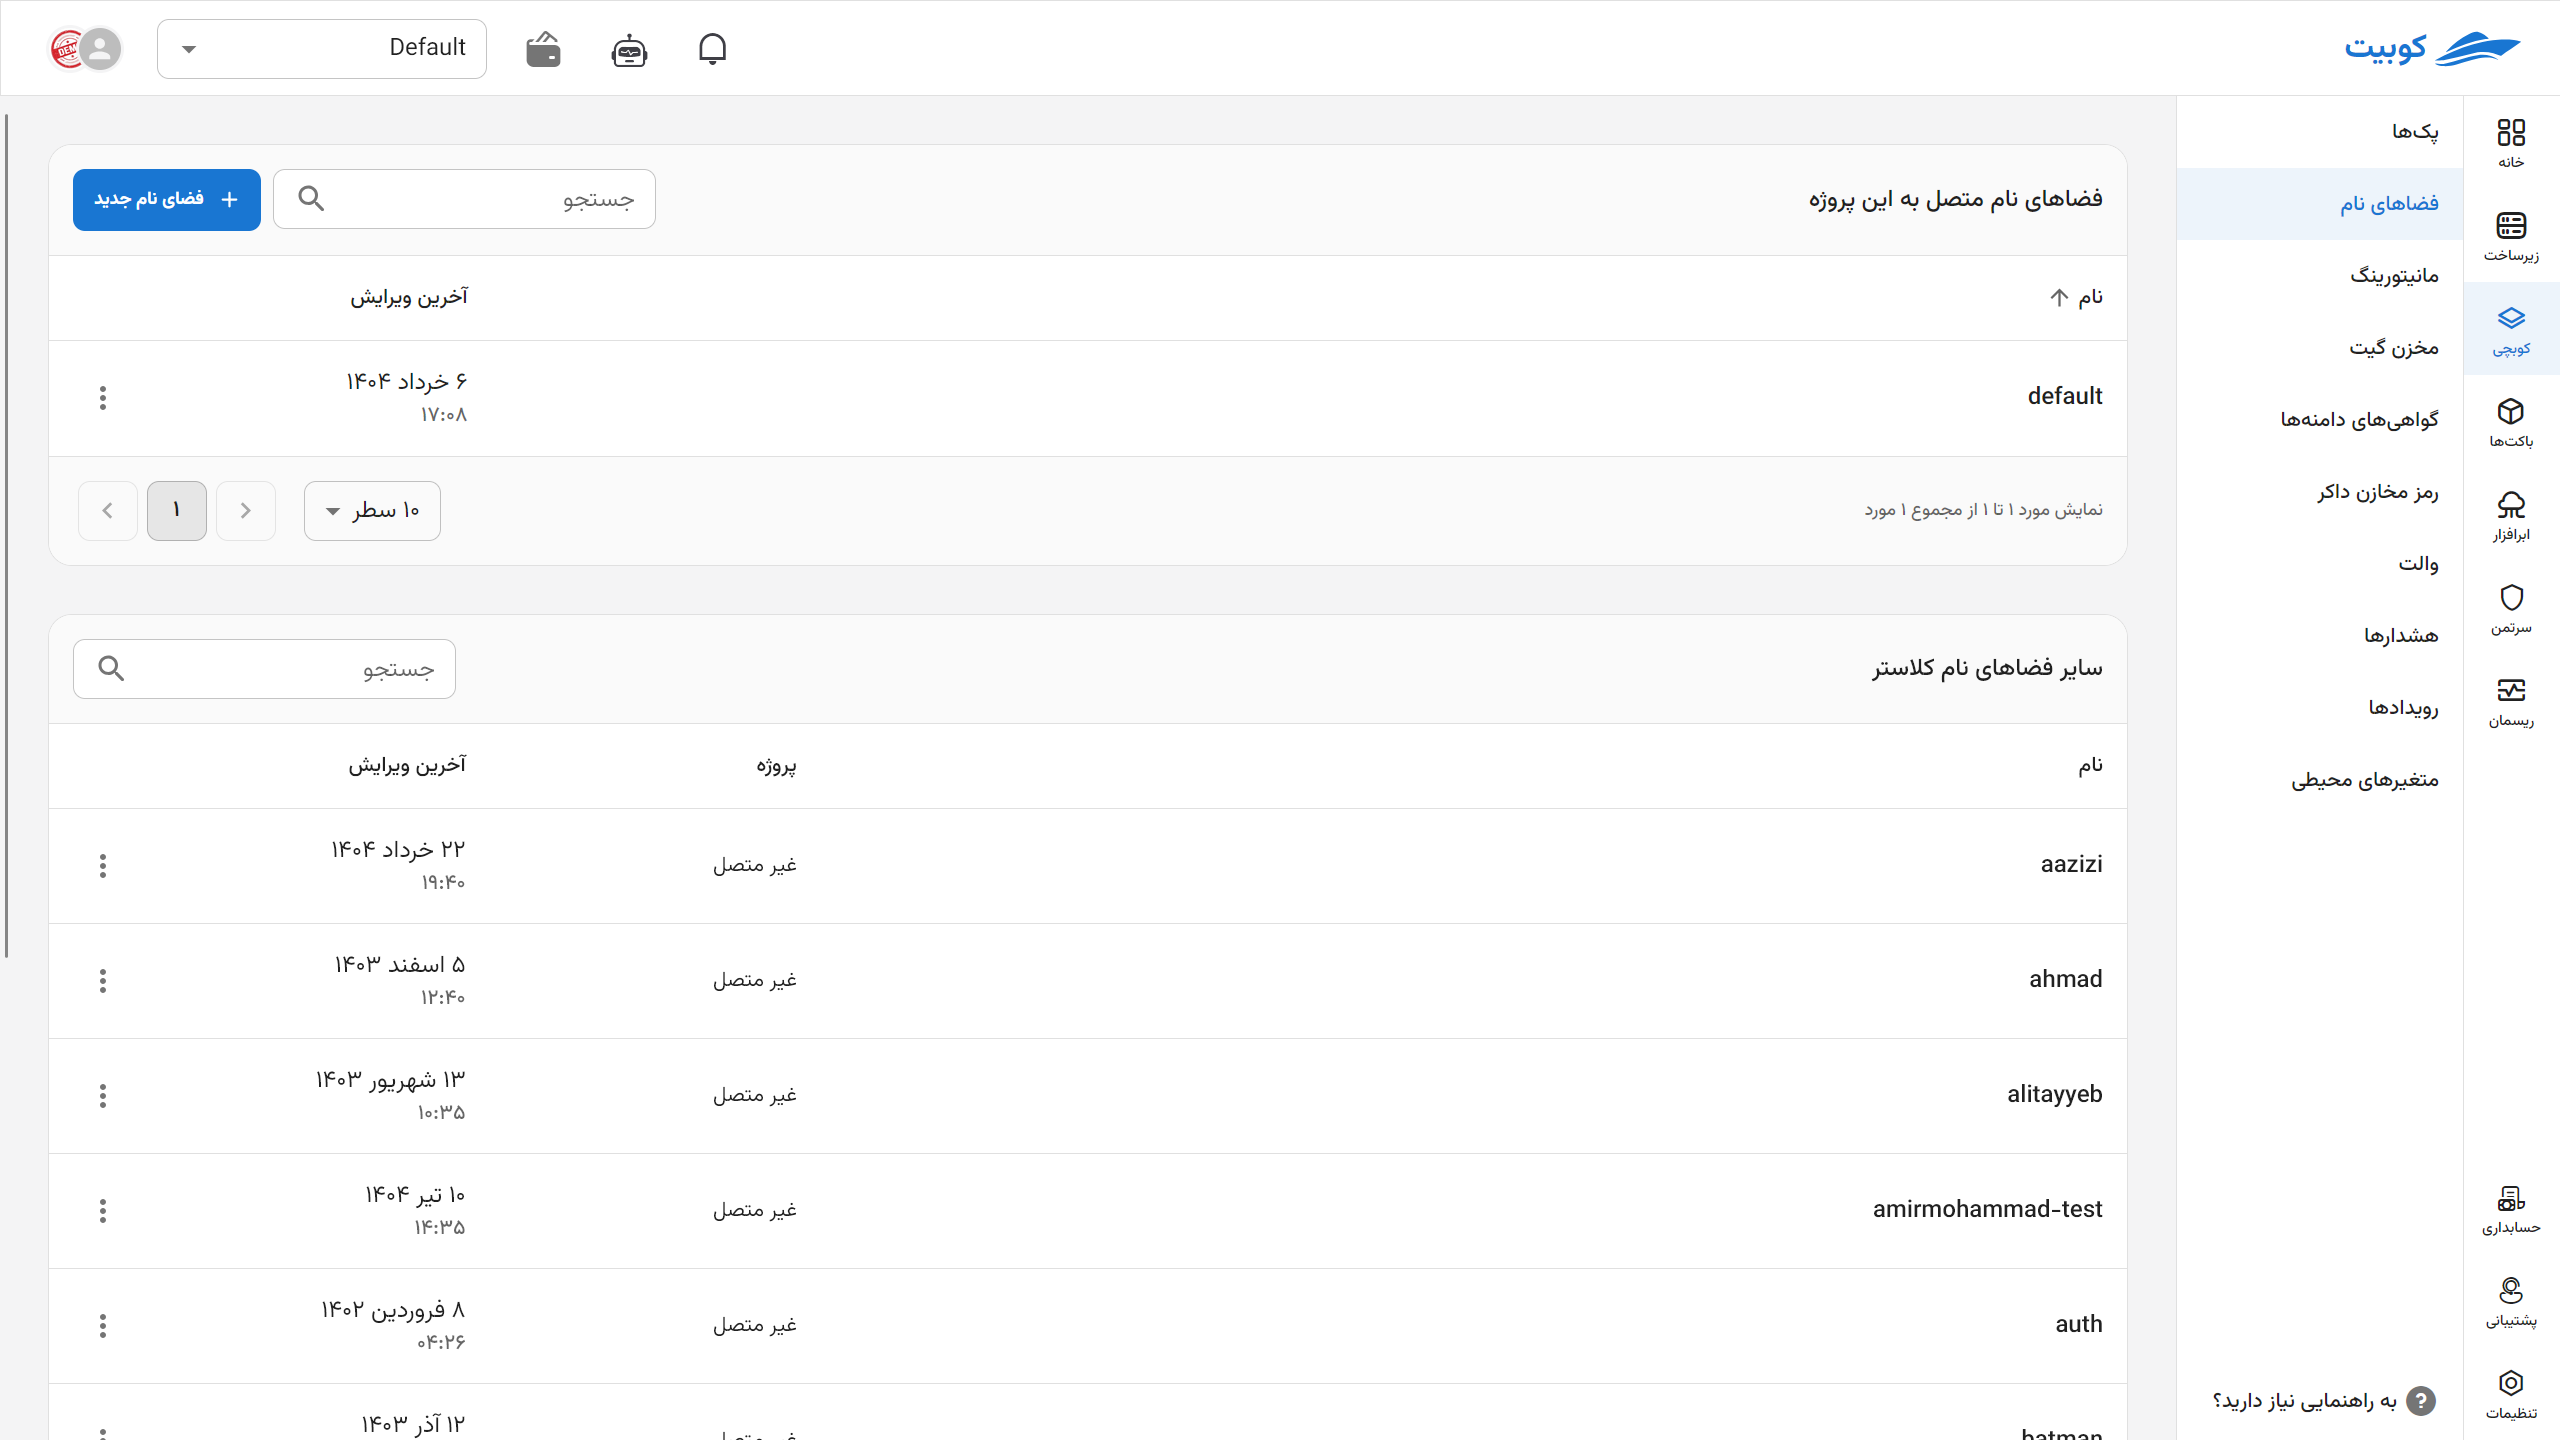
Open the project, enter Kubchi, and select Namespaces. Bound namespaces to current project lists the namespaces whose Packs and resources are managed from the current project.
If your role can manage bindings, the page also shows Other namespaces in the cluster. This table includes accessible namespaces on the same cluster that are not currently bound to a project.
You can search and sort both tables by name or last update time. The Project column in the second table also identifies these namespaces as Unbound.
Create and bind a namespace
- On Namespaces, select new namespace.
- Enter the namespace name. If the cluster requires an organization prefix, the panel displays it next to the field; enter only the part after the prefix.
- Select Create namespace and bind to the project.
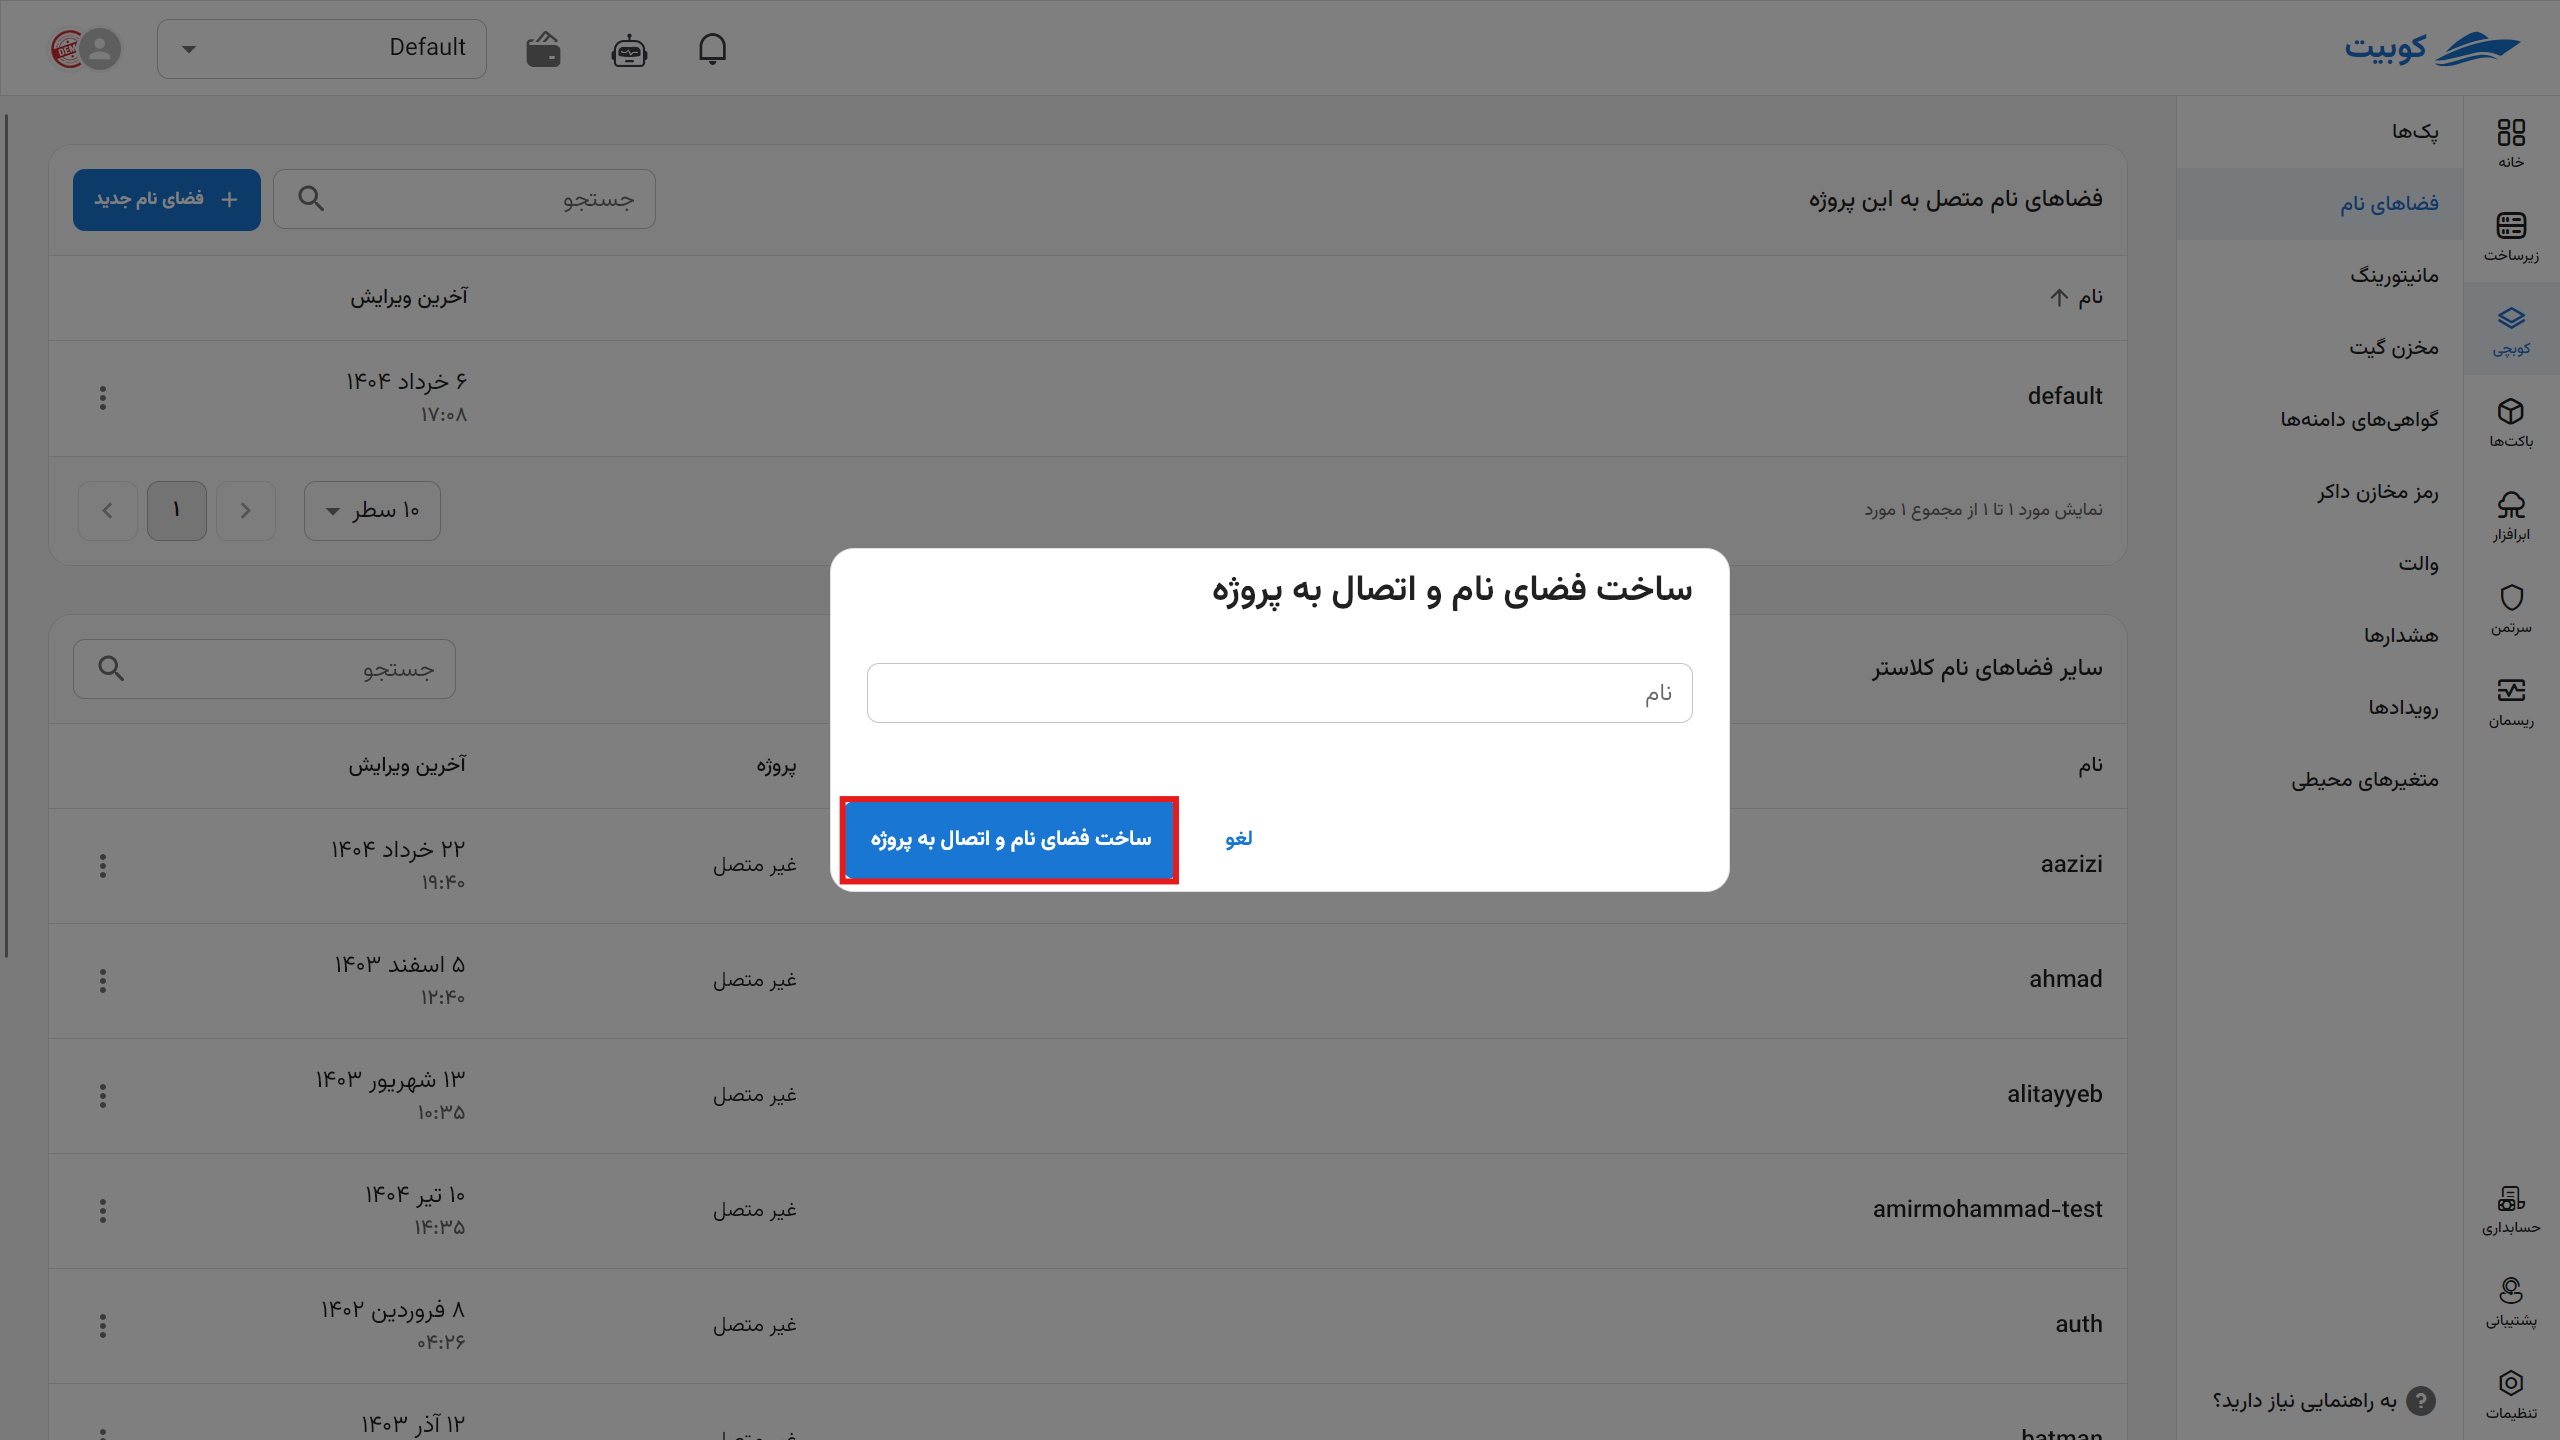
Kubchi creates the namespace on the cluster and binds it to the current project. You can then select it while installing a ready-to-use pack. The pack installation form can also create a namespace when your role has the same permission.
The namespace name may contain lowercase English letters, numbers, and single hyphens (-). It must start and end with a letter or number. The full name, including any prefix, must not exceed 63 characters. A name already used on the cluster is rejected, and the name cannot be changed after creation.
Bind an existing namespace
A namespace on the same cluster that is not bound to another project appears under Other namespaces in the cluster. To bind it:
- Open the namespace's three-dot menu and select Bind.
- Select the destination project. Only projects connected to the same cluster are available.
- Confirm the binding.
After binding, the namespace and its existing Packs are managed from the destination project. Kubchi evaluates the Packs again with the destination organization's and project's values. A Pack may become invalid if its configuration is incompatible with the new environment and may need to be corrected.
Unbind a namespace
To remove a namespace from the project, open its three-dot menu, select Unbind, and review the confirmation dialog.
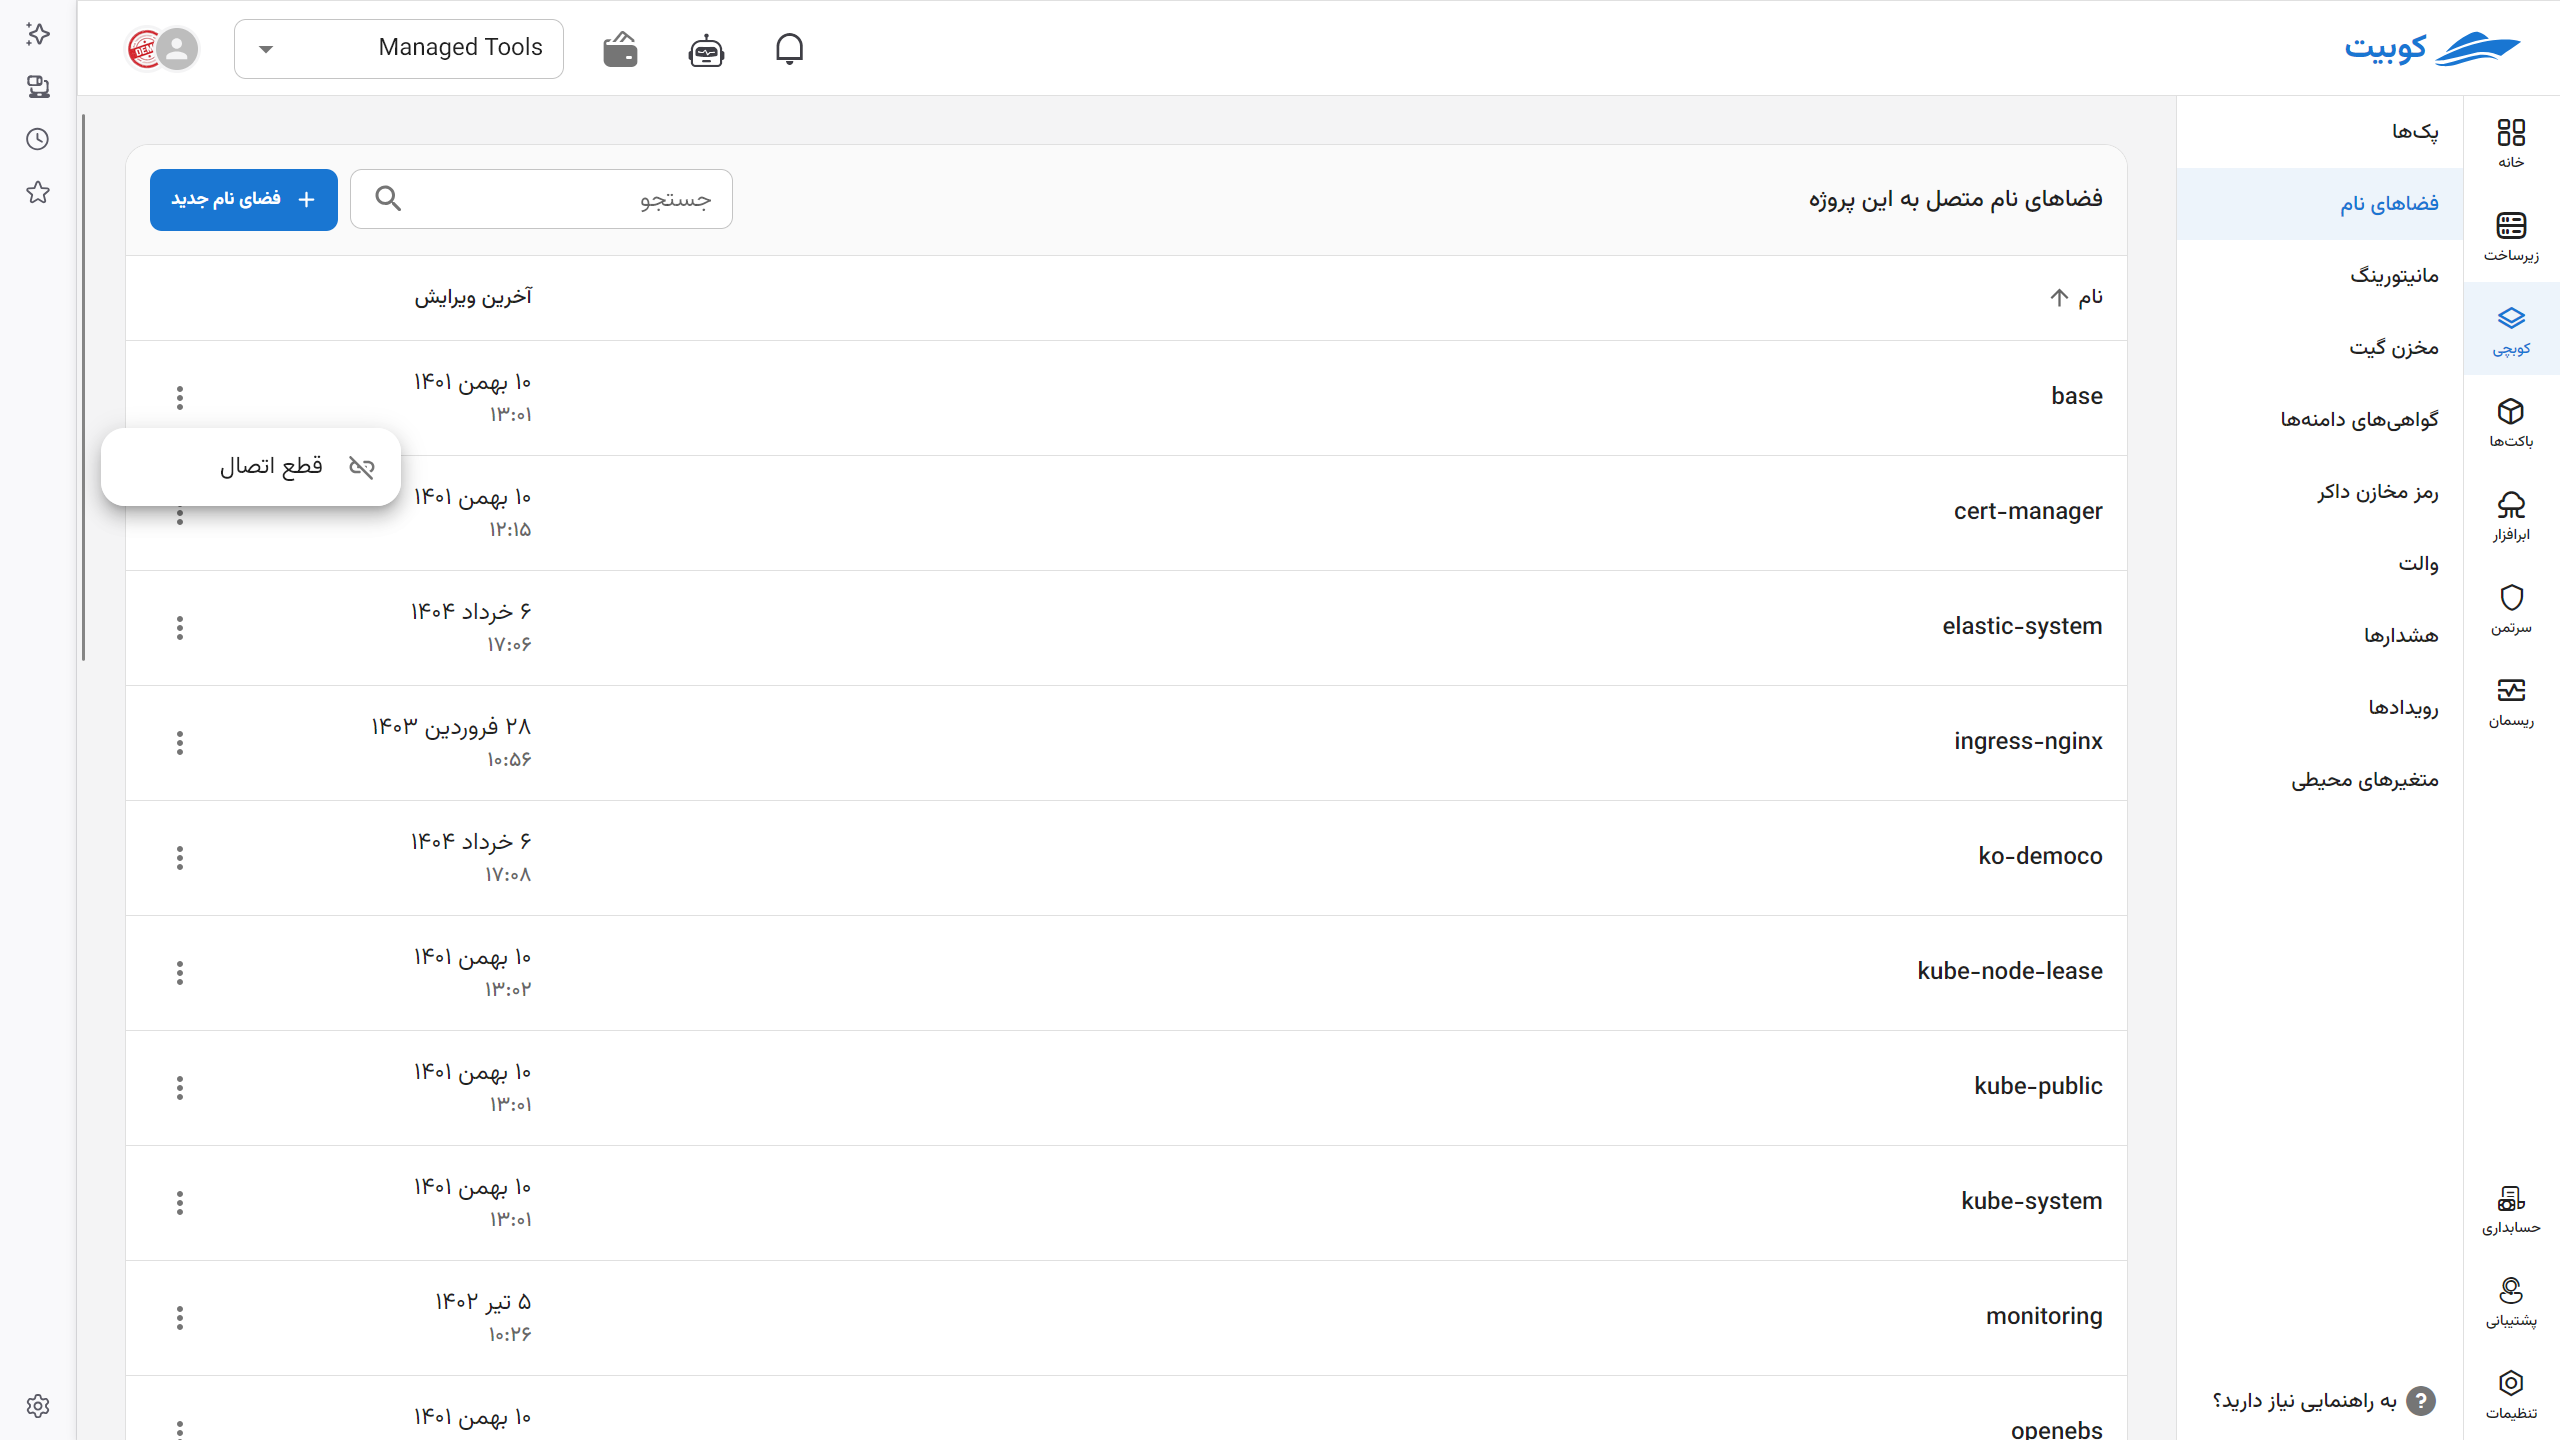
Unbinding keeps the namespace, Packs, and Kubernetes resources, but the current project no longer displays them. GitOps connections owned specifically by this project are also removed from Packs in that namespace. You can bind the namespace to an eligible project on the same cluster later.
Before unbinding, make sure the responsible team knows how the Packs will be managed afterward. To move a namespace to another project, unbind it from the current project first and then bind it to the destination project.
Manage several namespaces
Select the checkboxes beside namespace rows to run one operation on several namespaces. The bottom bar shows the selection count and the available actions:
- Bind is enabled for namespaces selected from Other namespaces in the cluster. Select one destination project to bind all of them. The destination project must be connected to the same cluster.
- Unbind applies only to namespaces bound to the current project.
- Delete can remove selected namespaces from either table. Review the complete list in the confirmation dialog before continuing.
- Discard selections clears every selected row.
Bulk binding also evaluates existing Packs with the destination organization's and project's variables. A Pack may become invalid after the move when its configuration is incompatible with the destination environment.
Delete a namespace
Delete removes the namespace and its resources from the cluster. Packs and their dependent data may be lost permanently. Before confirming, check the namespace name again and back up any required data.
If your role has delete permission, you can delete one unbound namespace from its row menu. For a bound namespace or several namespaces, select the rows and use the bulk-action bar. System namespaces cannot be deleted. If you only want to remove the namespace from a project, use Unbind instead.
Common problems
The new namespace button is missing
Your role may not have permission to create namespaces, the project may not be connected to an active cluster, or namespace creation may be disabled for projects on this cluster. Ask a project administrator to check these settings.
The namespace name is rejected
Check the full name for the required prefix, the 63-character limit, lowercase letters, single hyphens, and uniqueness on the cluster. Names reserved for internal use are also rejected.
An existing namespace is not listed
The list only shows accessible, unbound namespaces on the current cluster. If the namespace is bound to another project, it must first be unbound from that project. A missing Other namespaces in the cluster table usually indicates that your role cannot manage bindings.
Packs disappear after unbinding
A project only shows Packs from namespaces bound to it. Bind the namespace to the destination project to make the remaining Packs visible there.