Groups
Groups
Groups are defined to categorize and simplify user management.
Currently in Kubit, only the assignment of roles to groups is available; meaning one or more specific roles can be assigned to a group, and all members of that group will receive those roles.
LDAP Integration
If your organization is connected to LDAP, additional features become available, including:
- Automatic synchronization (Sync) with LDAP groups
- Unified management of users and access through the LDAP server
Groups are defined for categorizing users and managing access. Currently in Kubit, you can only assign specific roles to a group. If the organization is connected to LDAP, additional features such as synchronization with LDAP groups will be available.
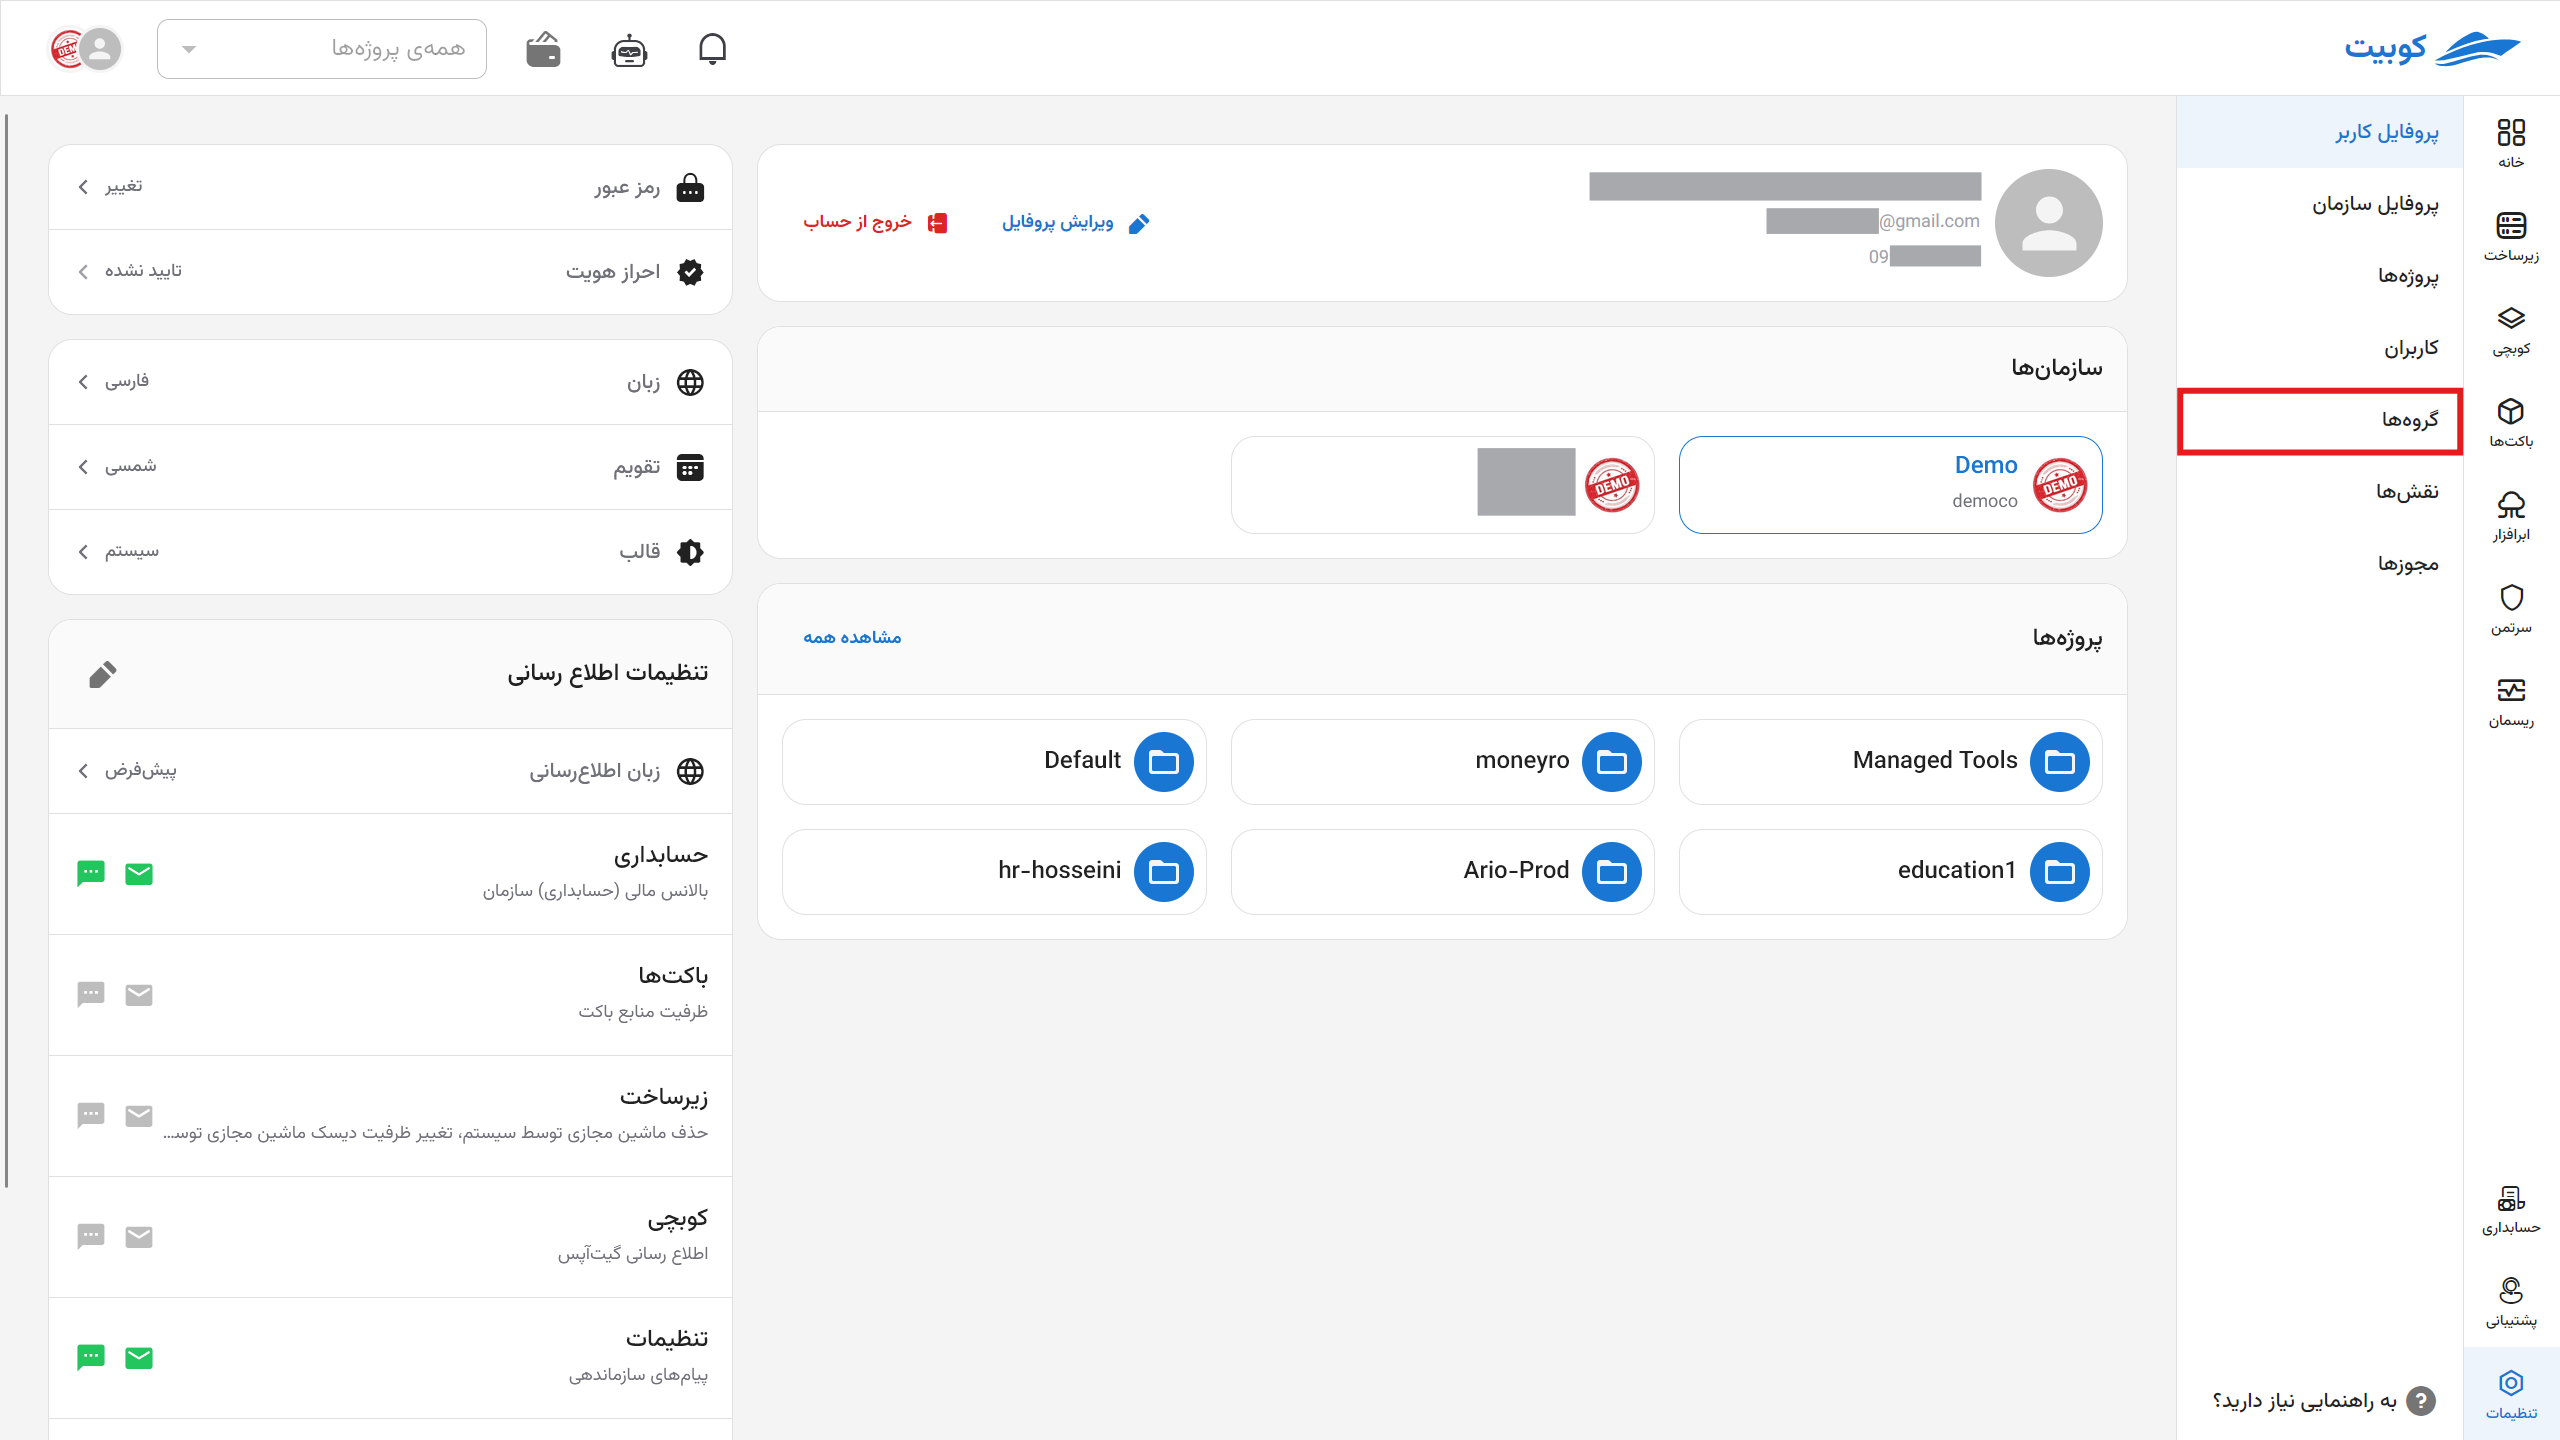
From the Organization section, go to the Groups section:
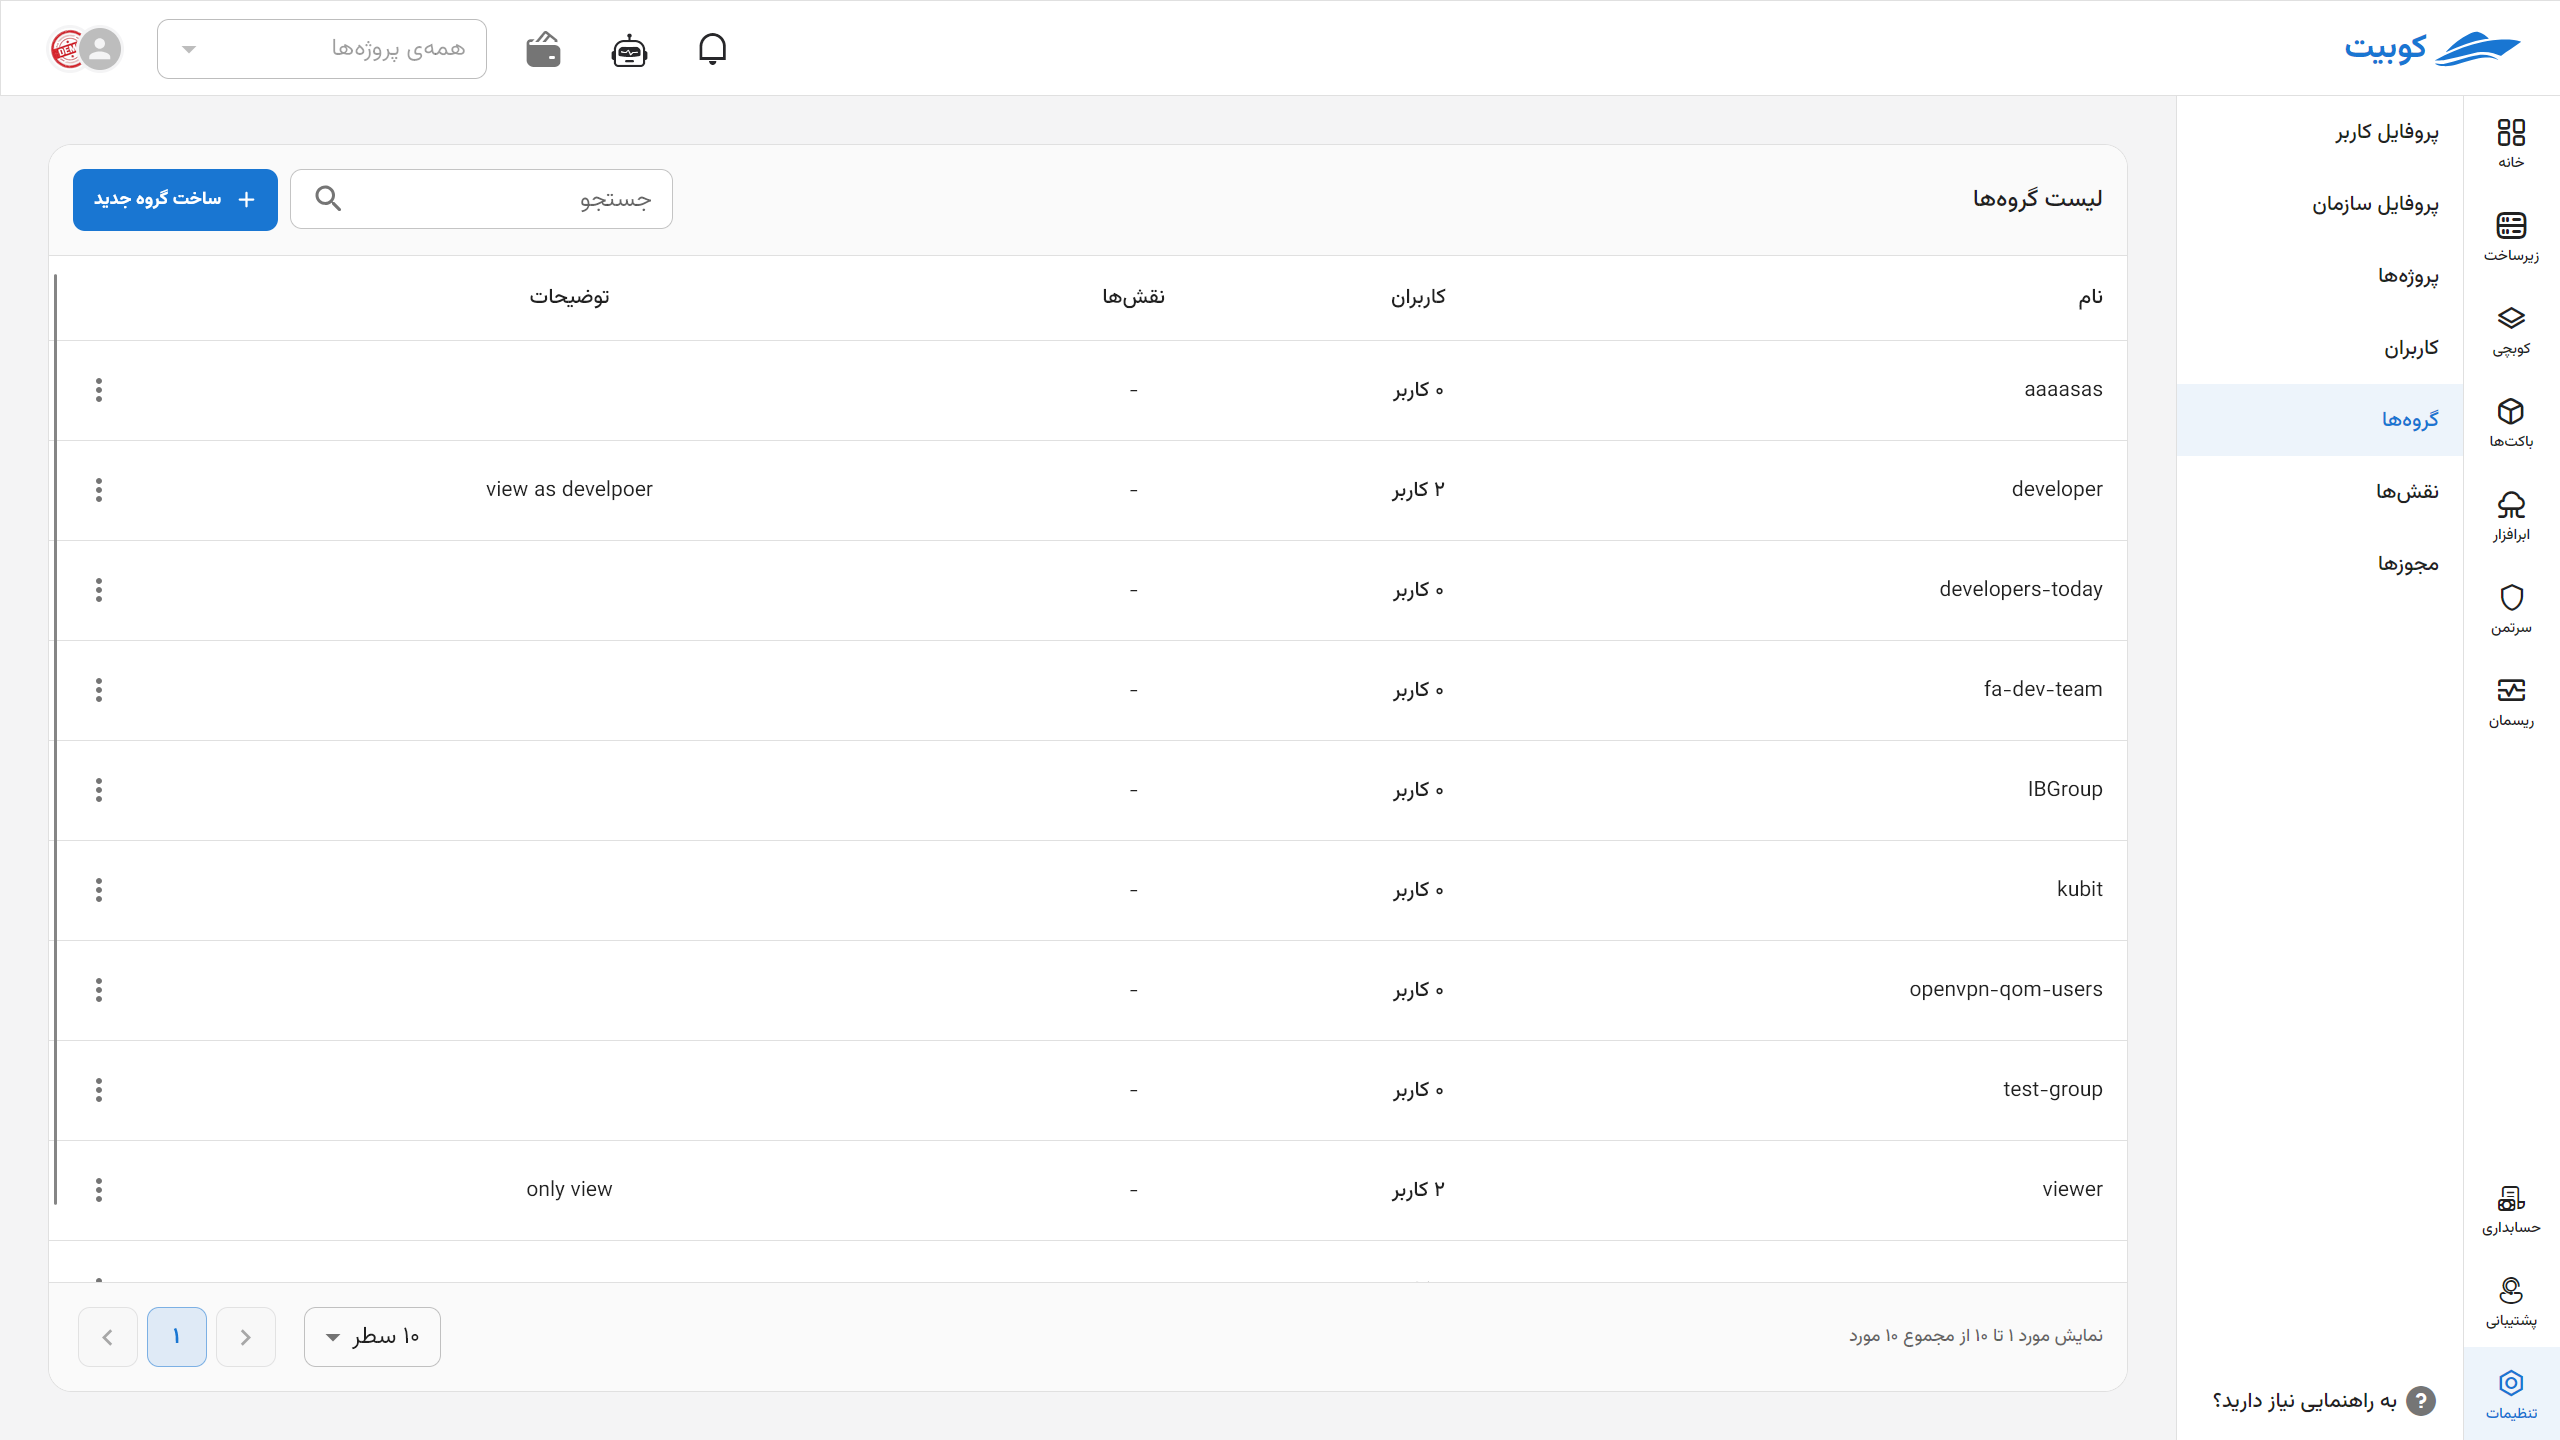
In this section, you can view the list of organization groups:

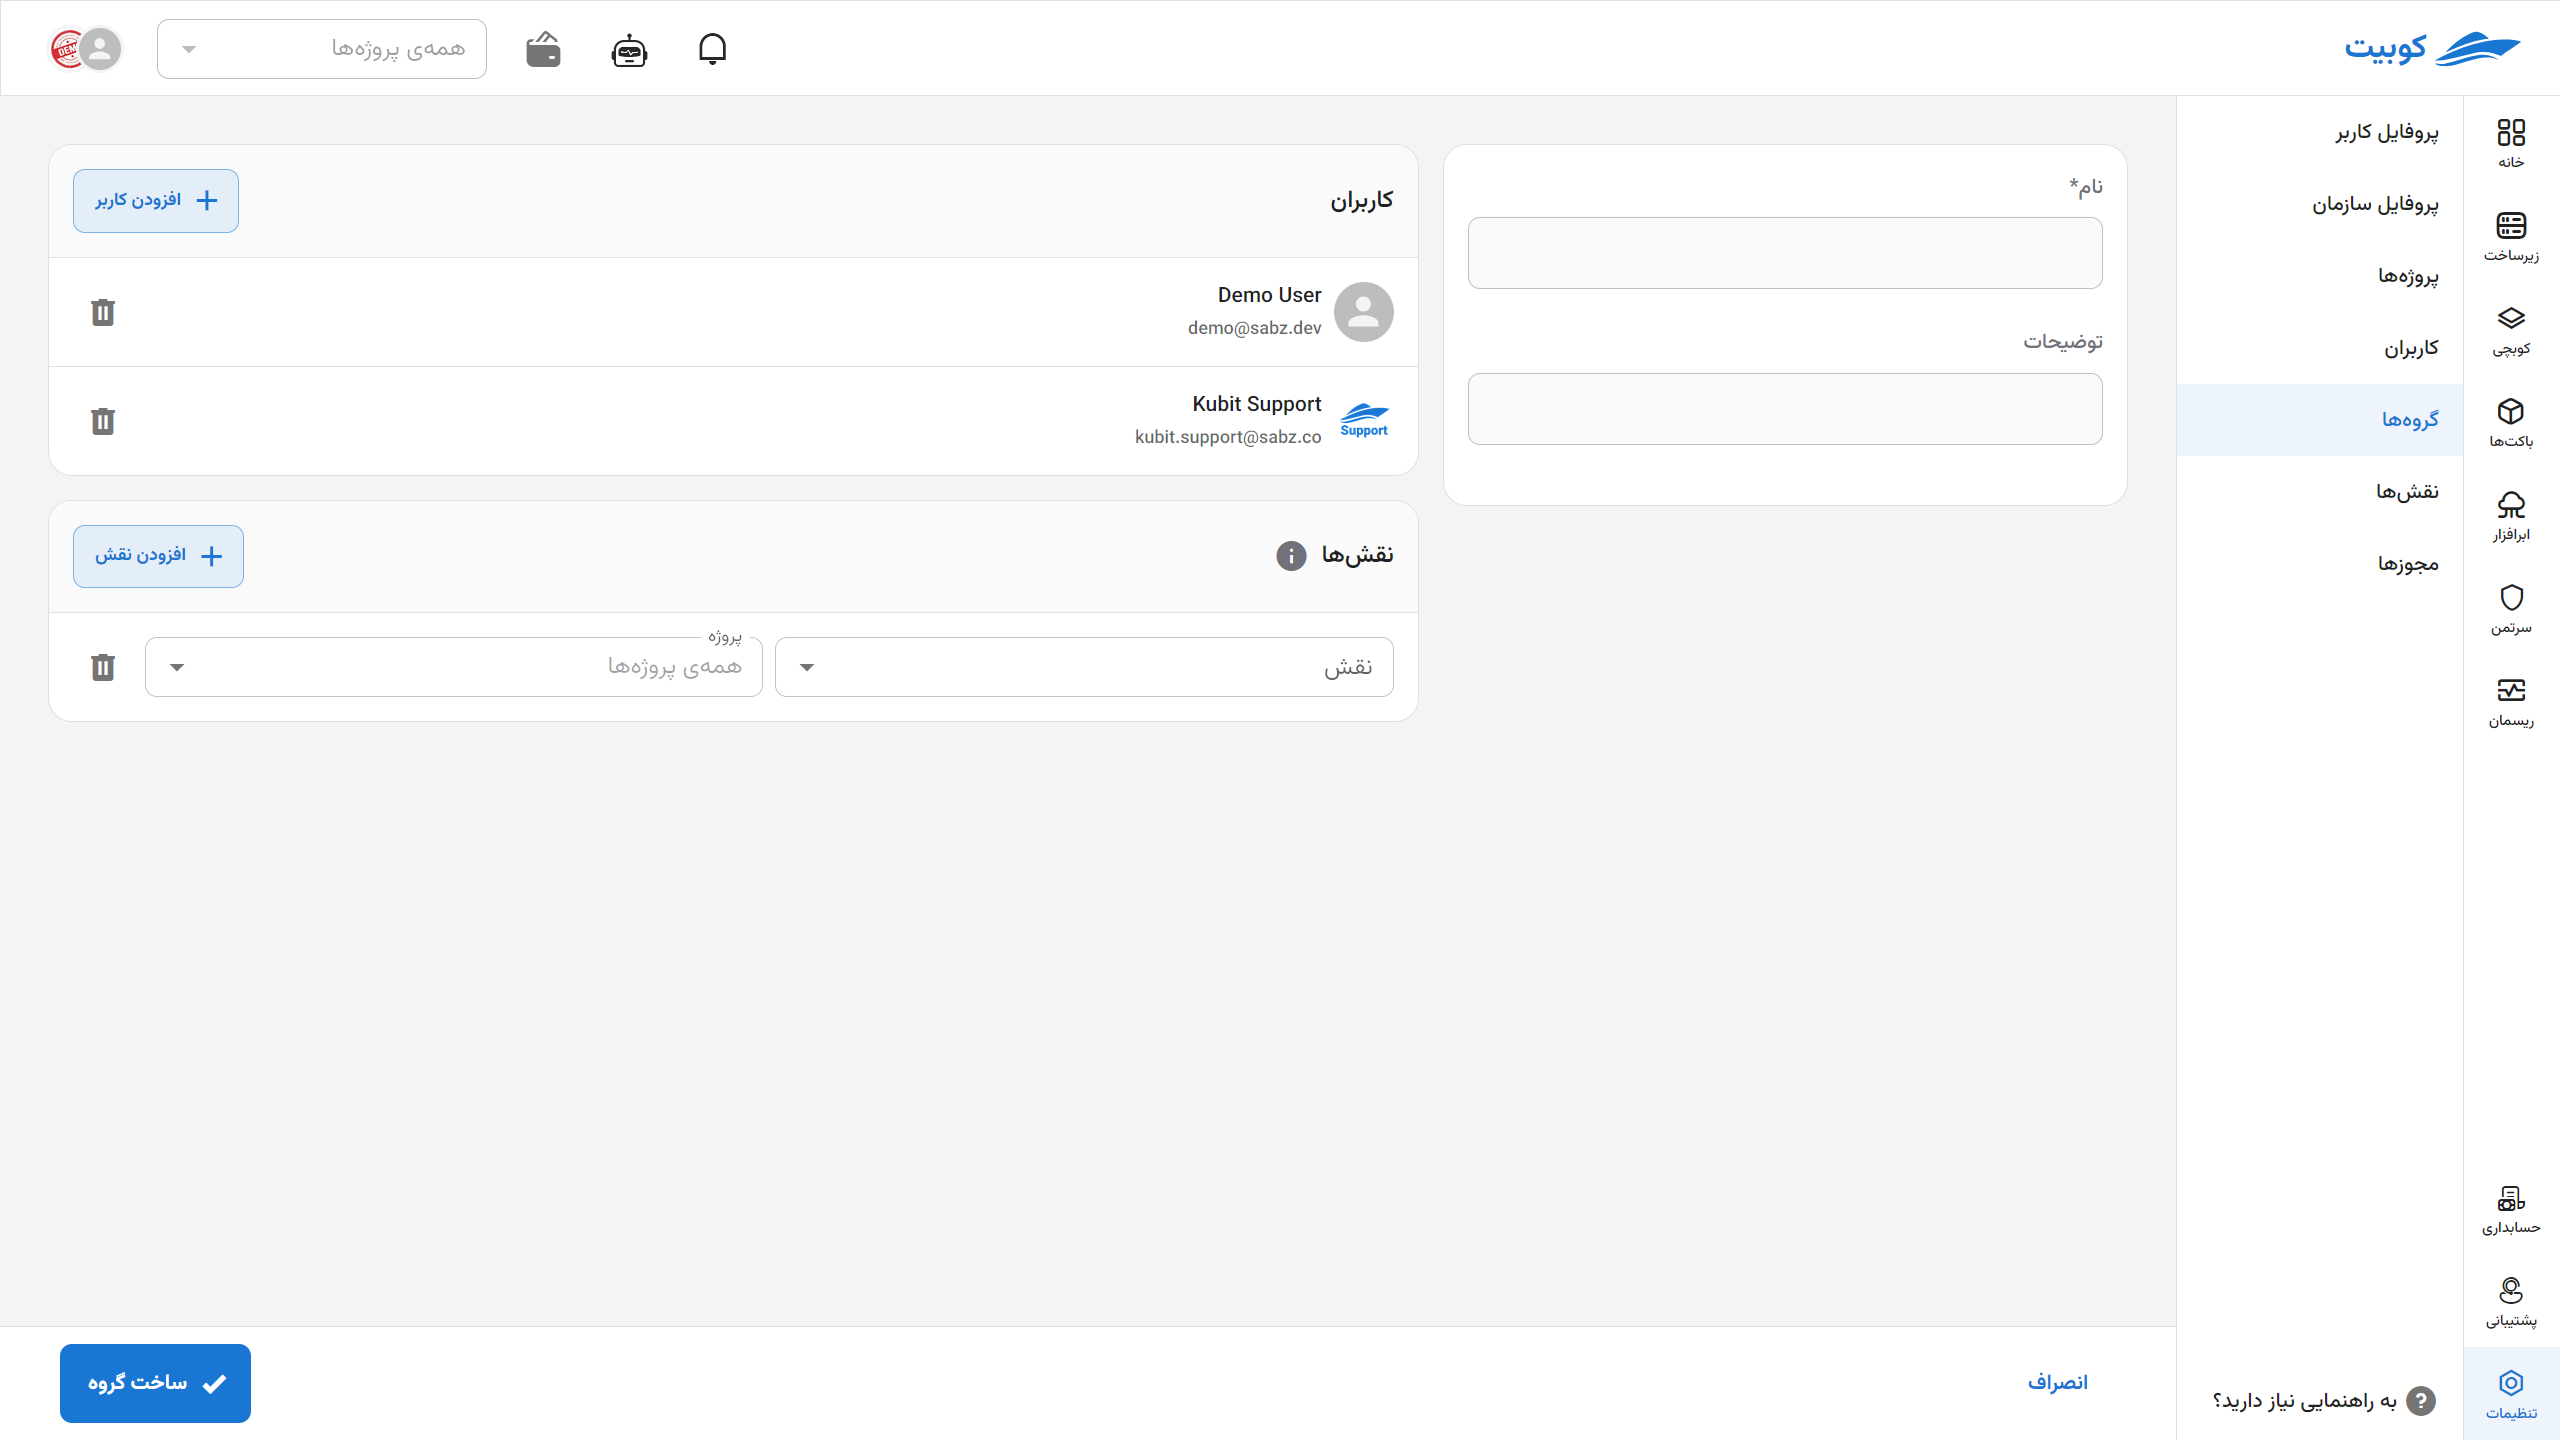
By clicking on the name of any group, you will be directed to the group details page:
Creating a Group
By clicking on the New Group button, you can define a new group:
The description, users, and roles fields are optional, and you can create a group by entering only the name. This document assumes all required information is provided.
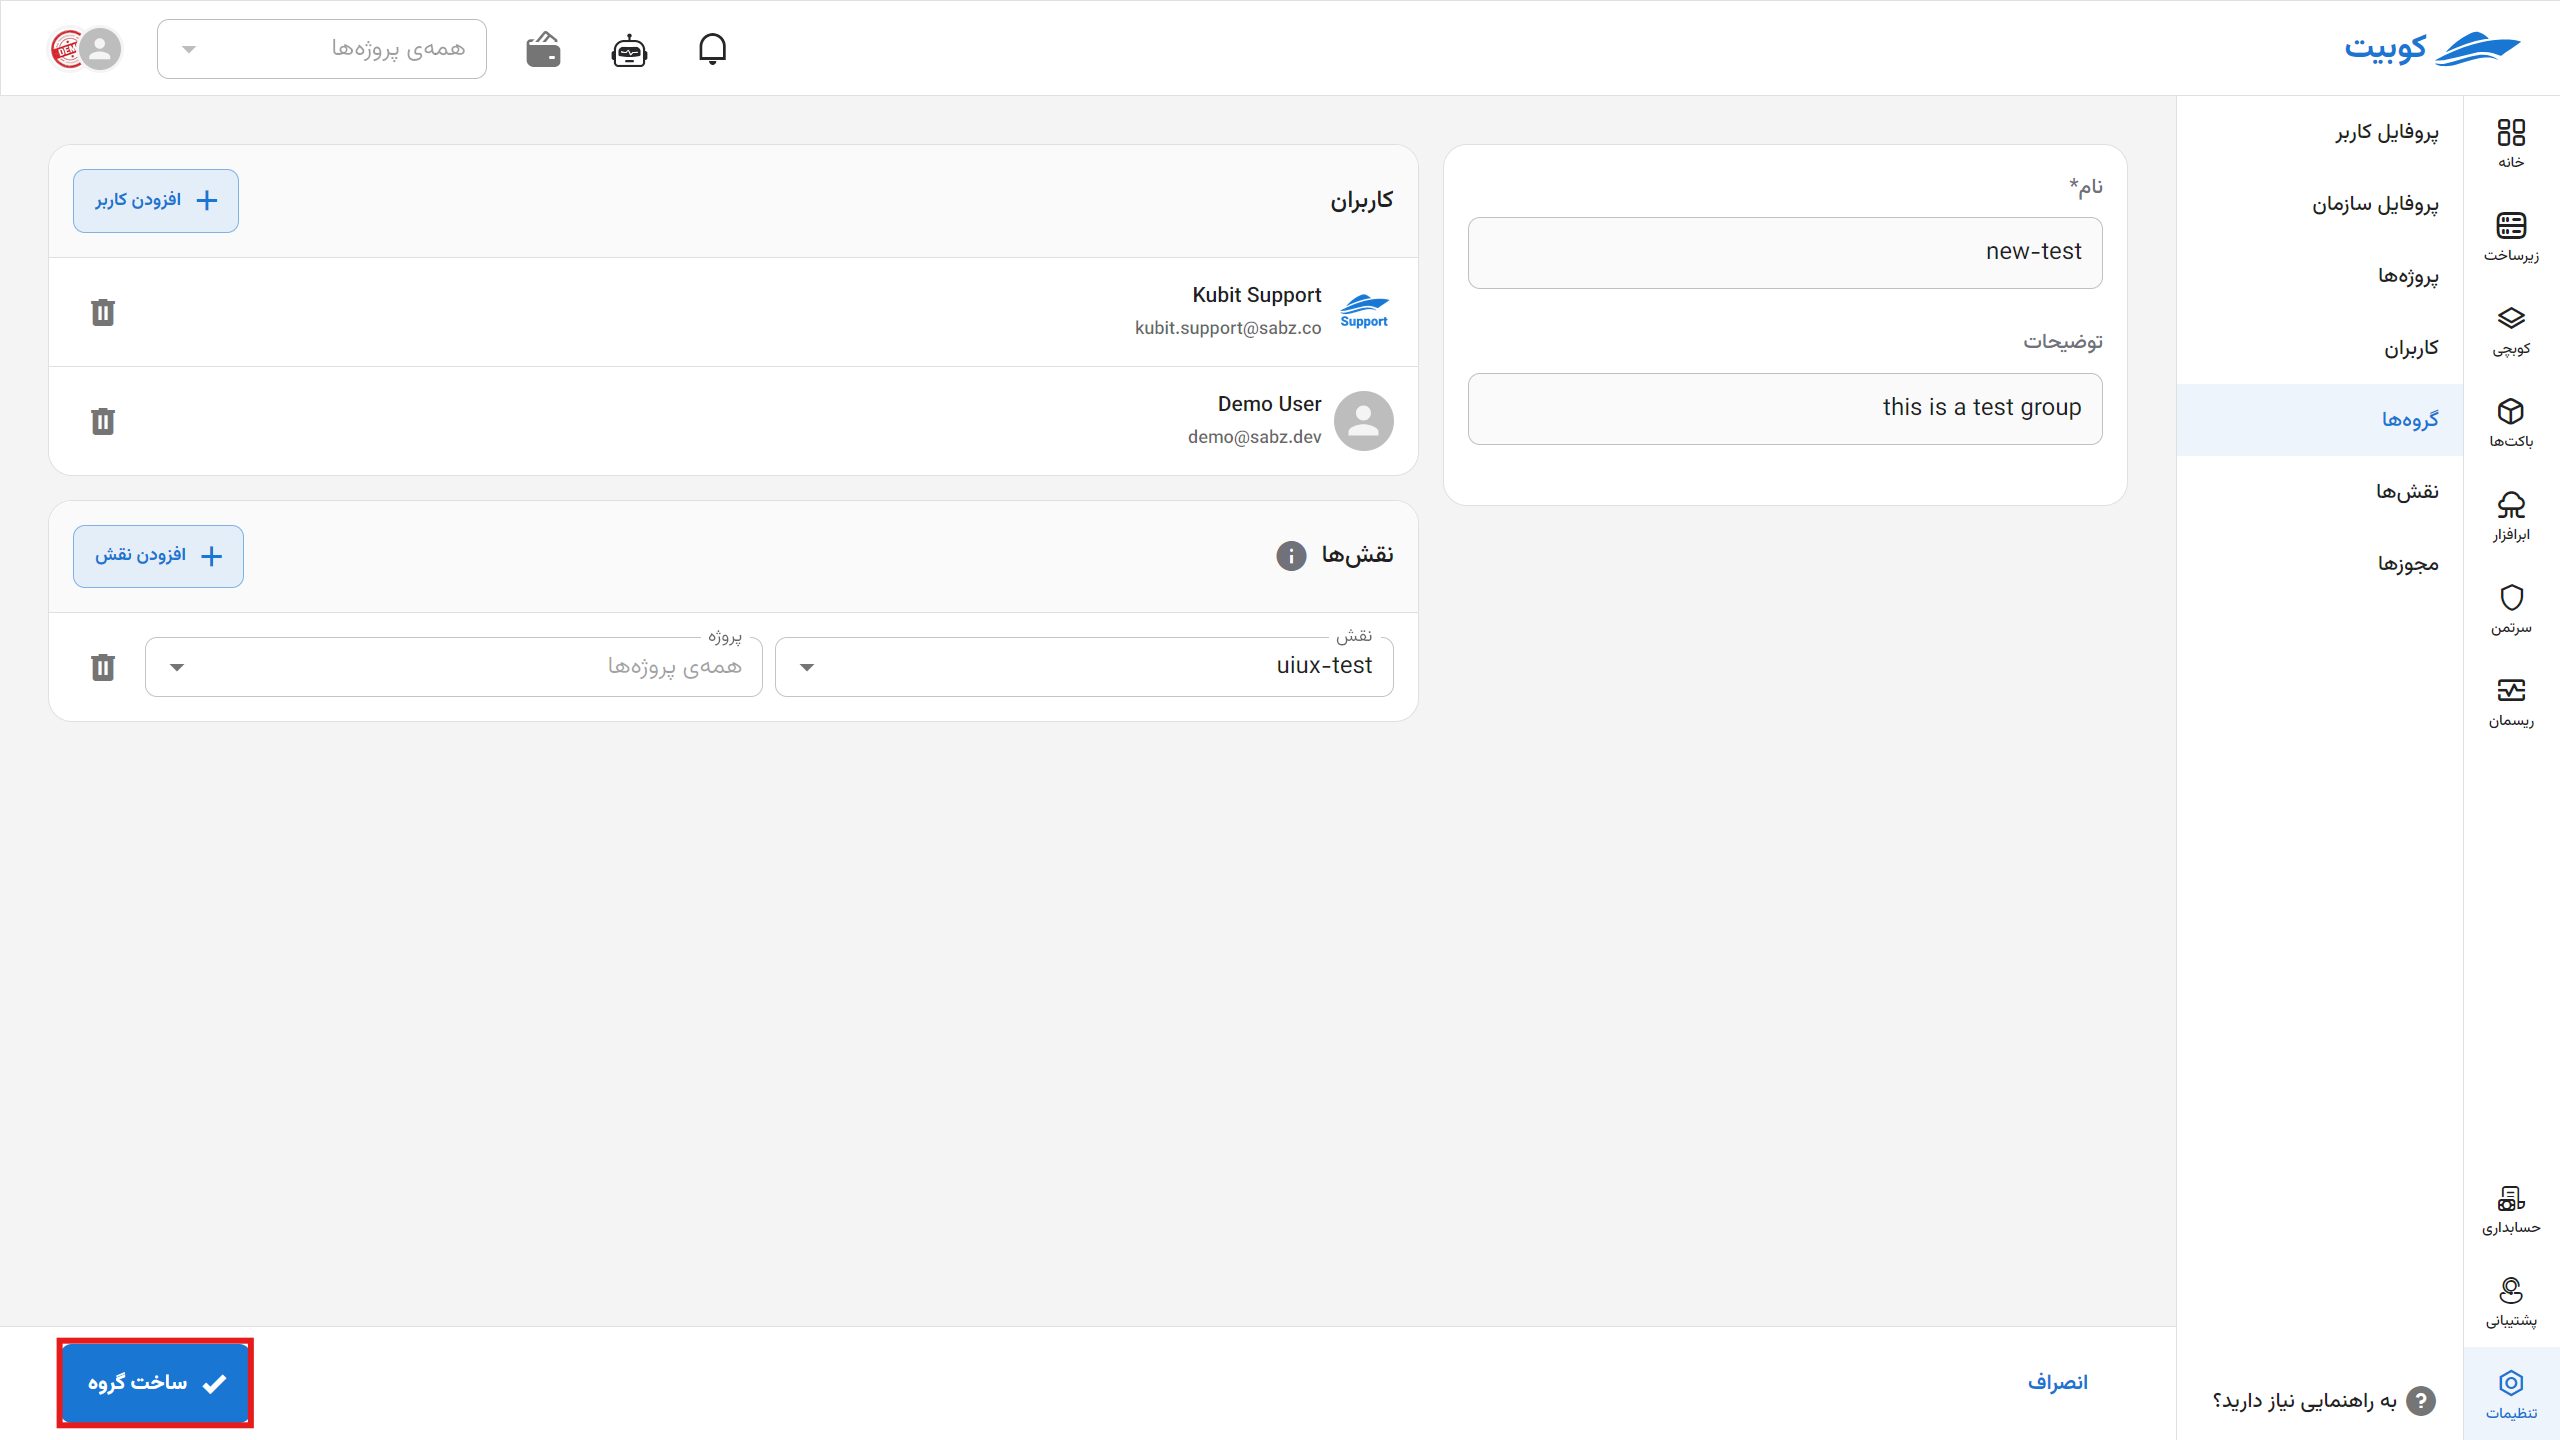
Enter the name and description, and select users from the list of organization users:
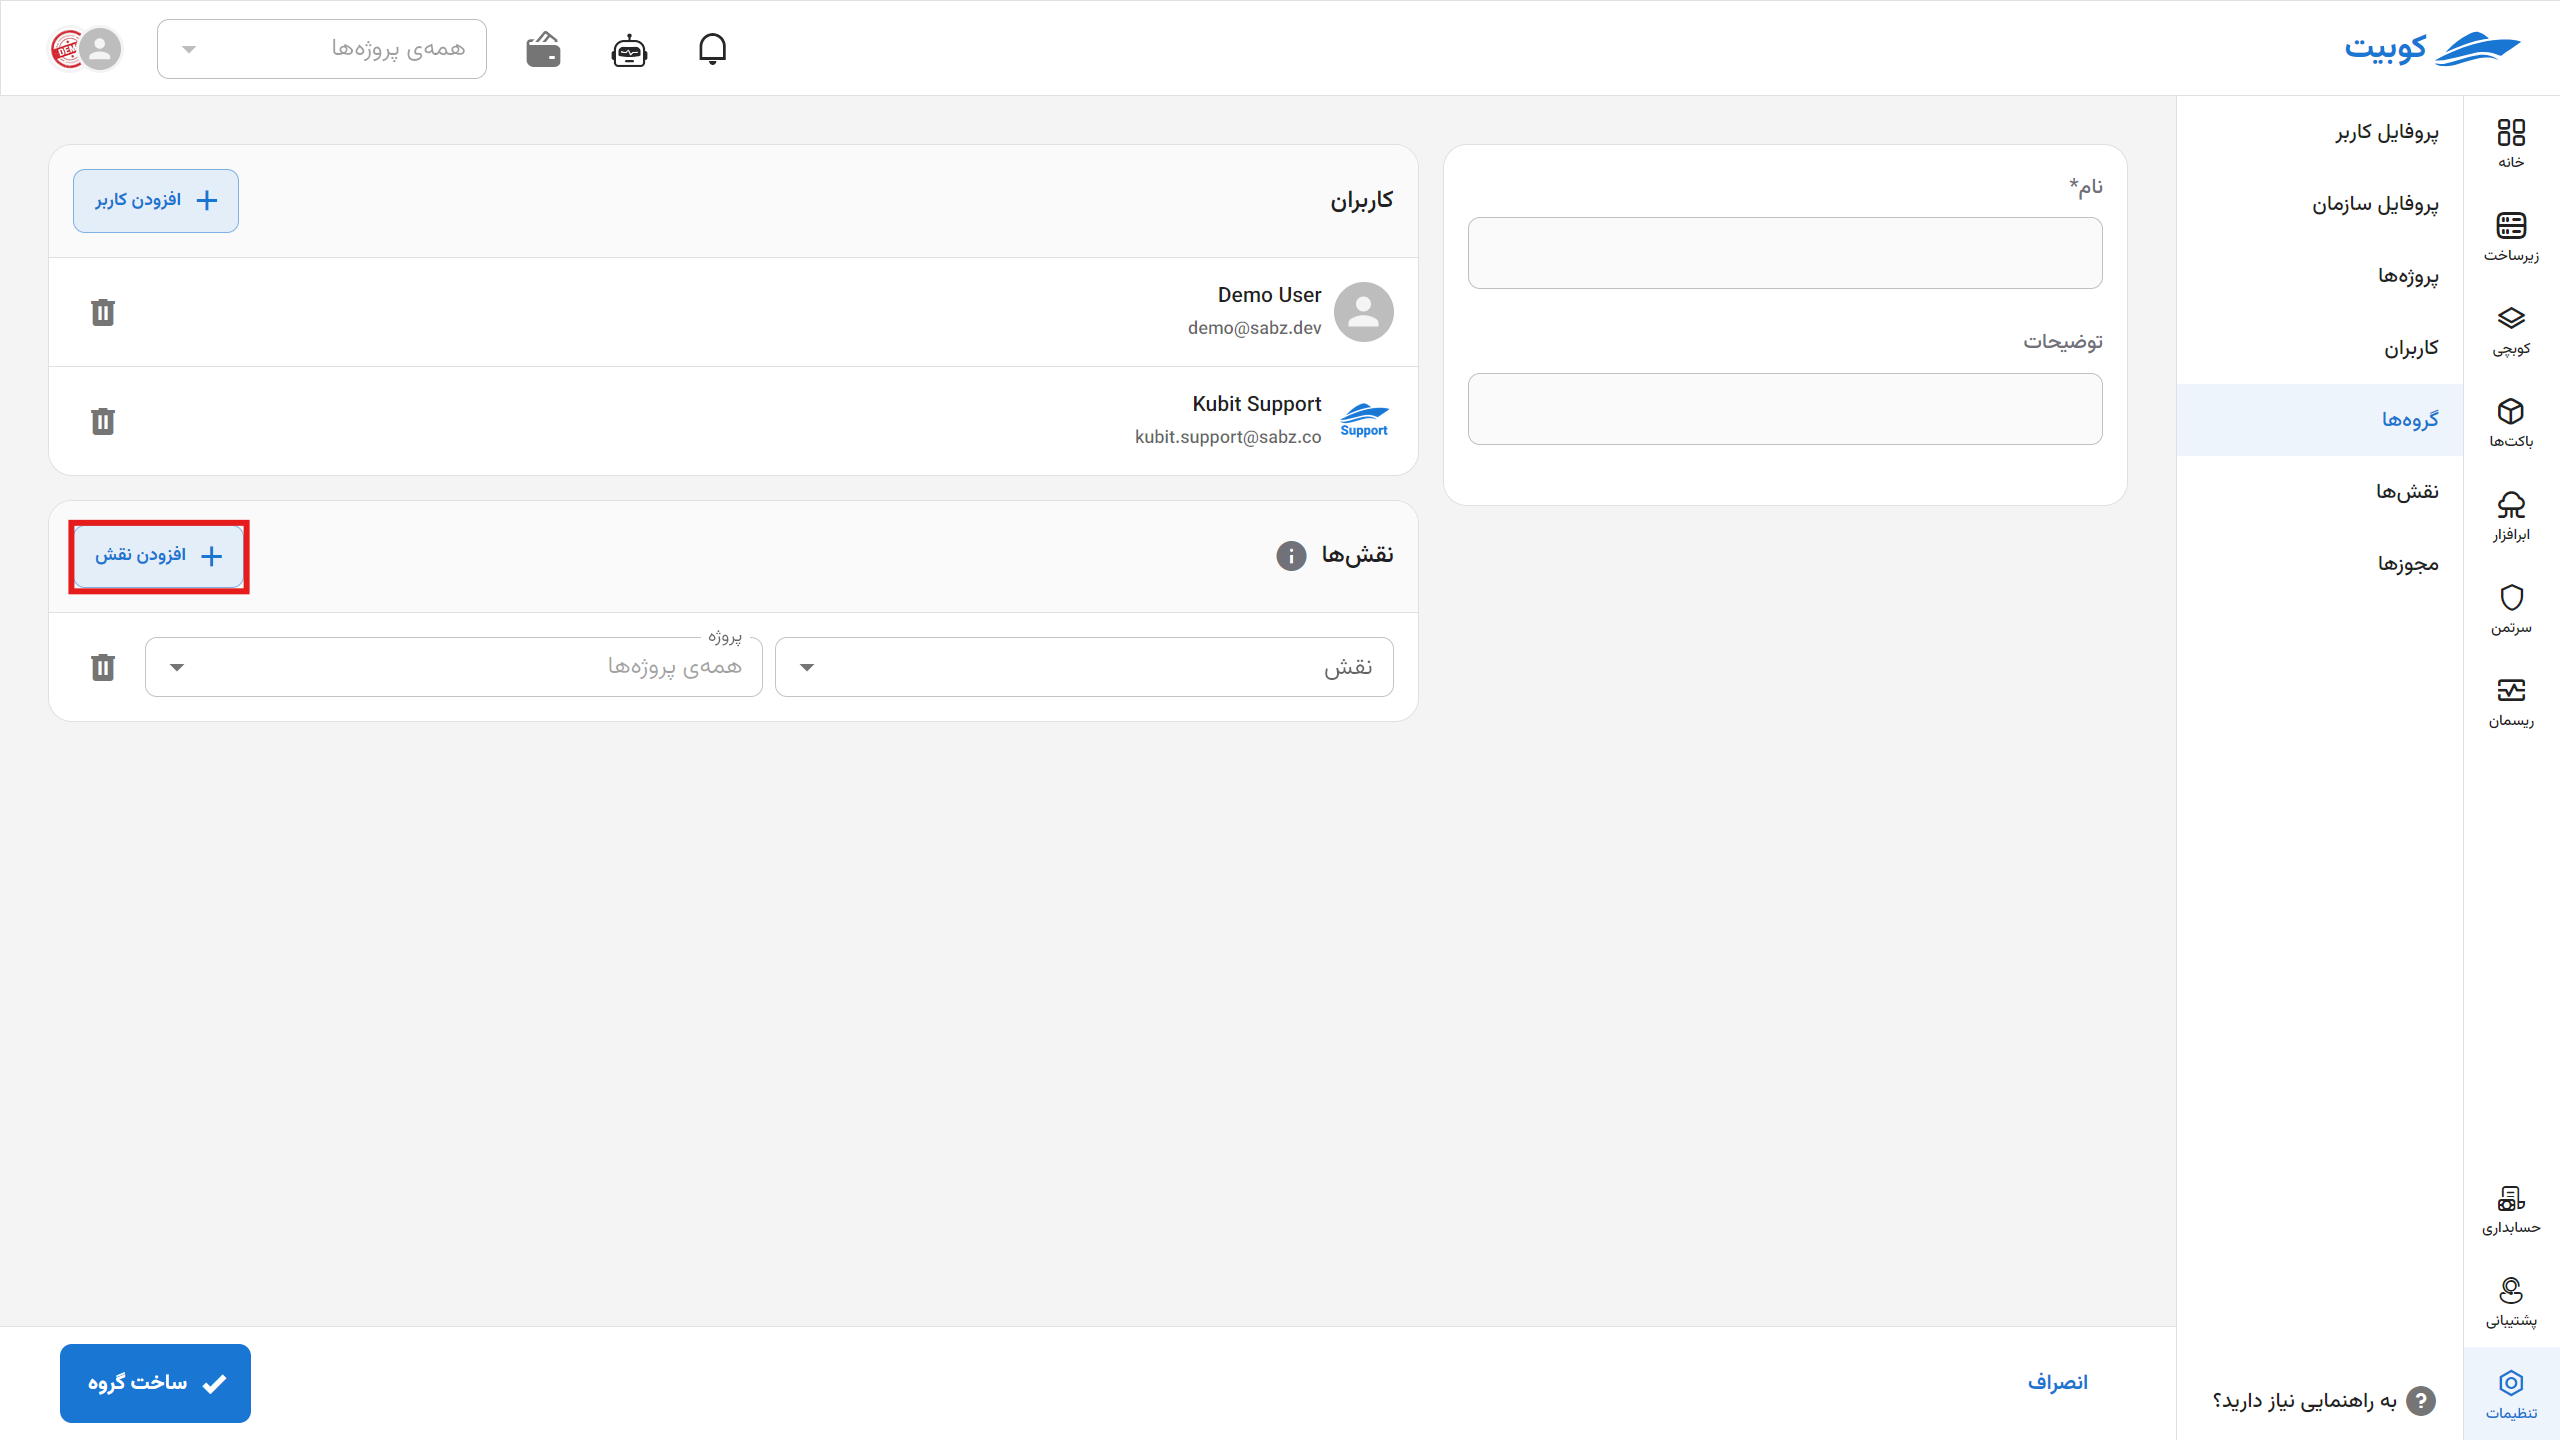
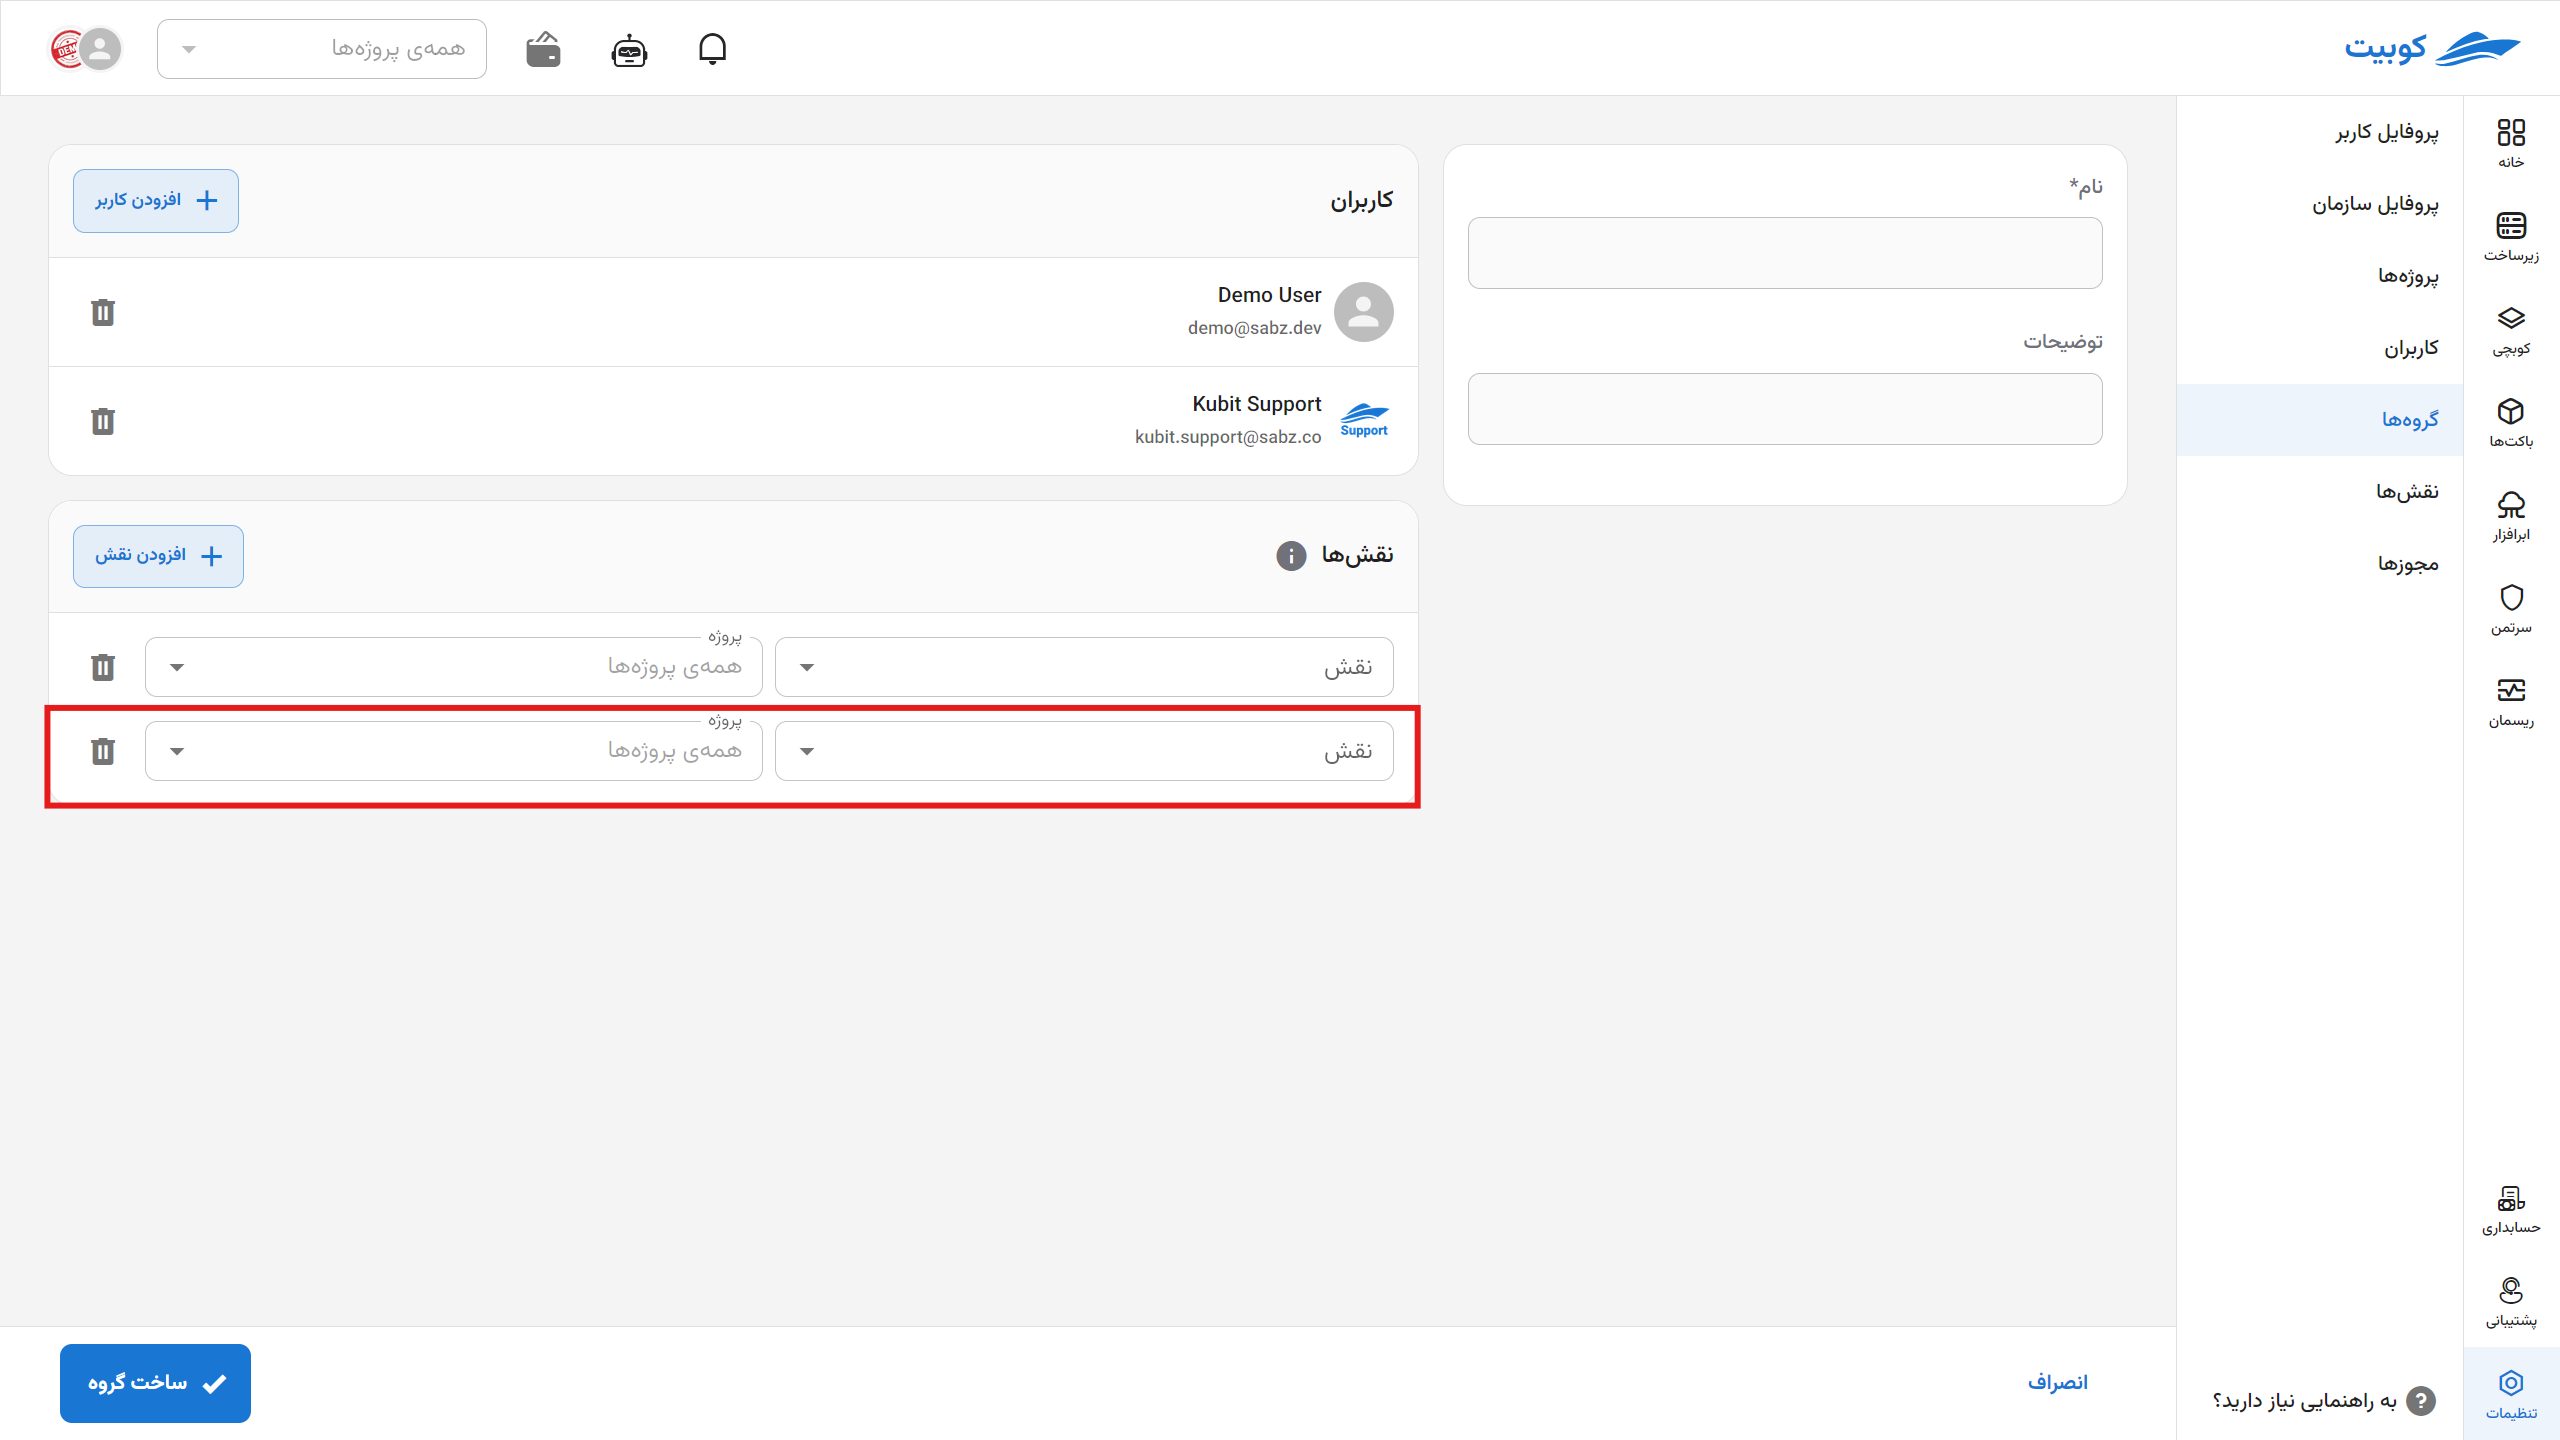
To add a role to the group, click on the Add Role button:
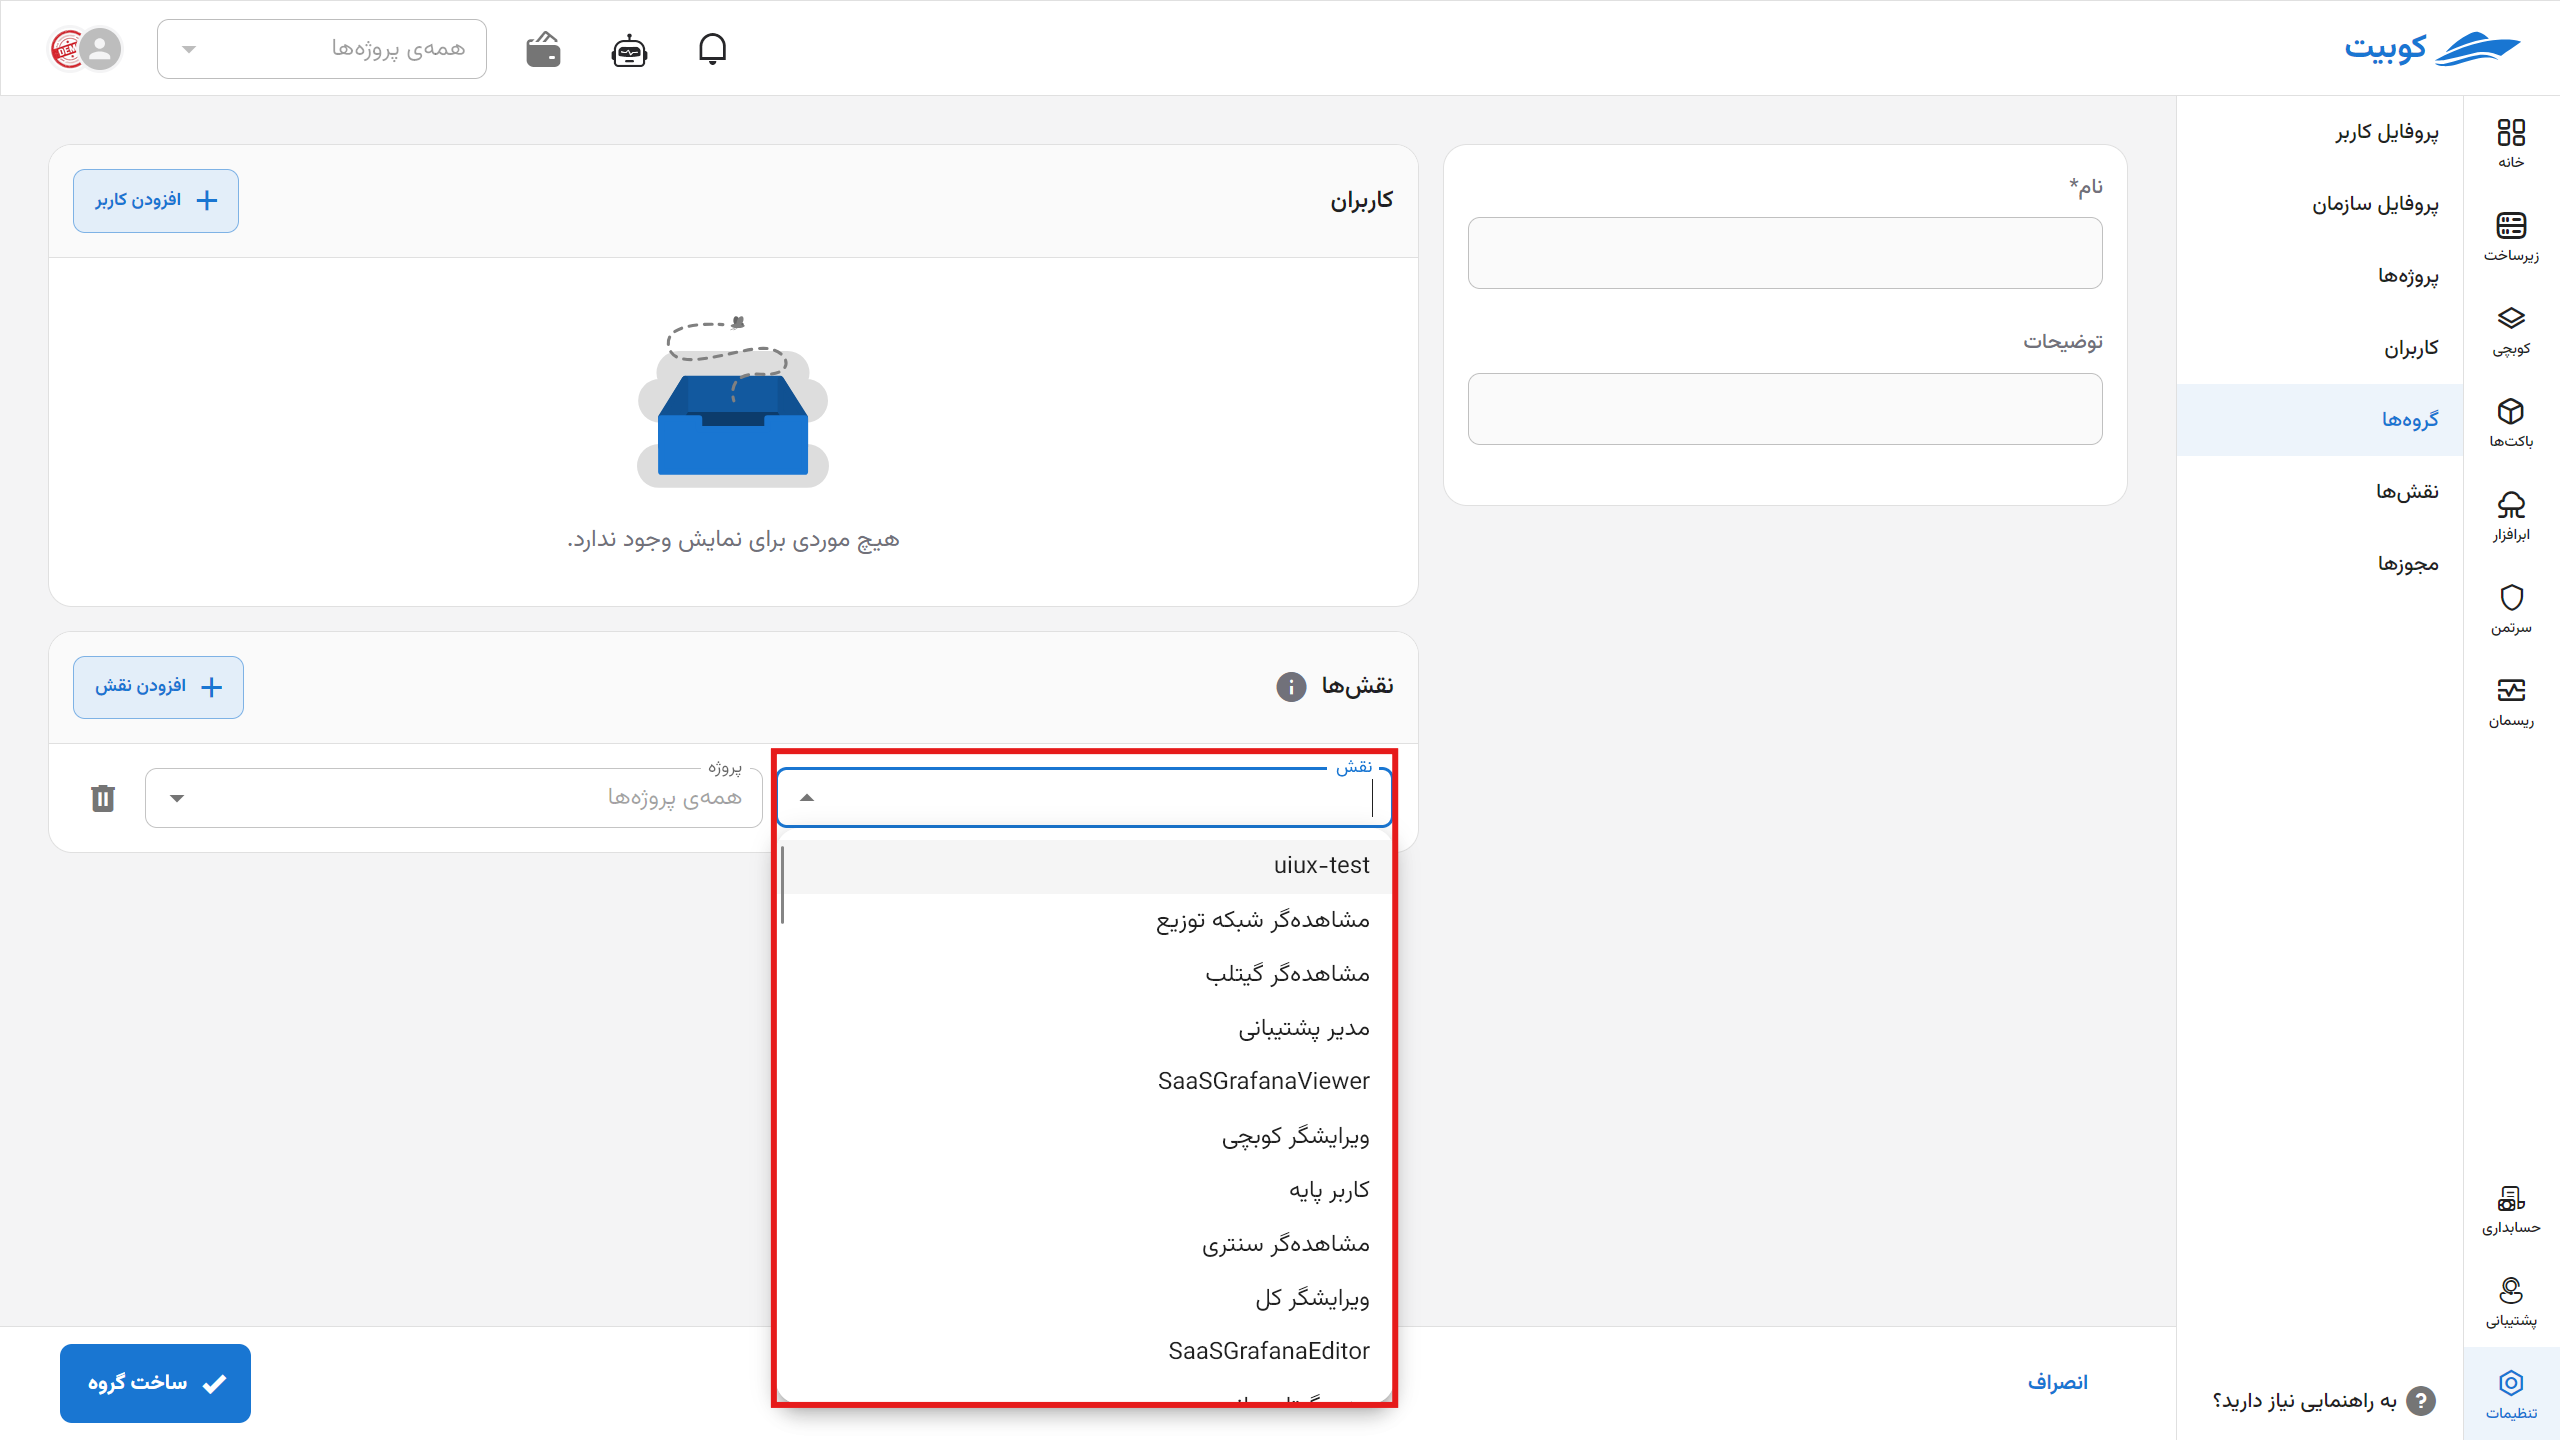
Then select the desired role from the list of available roles and specify the access level in the project:
Finally, click on the Create New Group button:
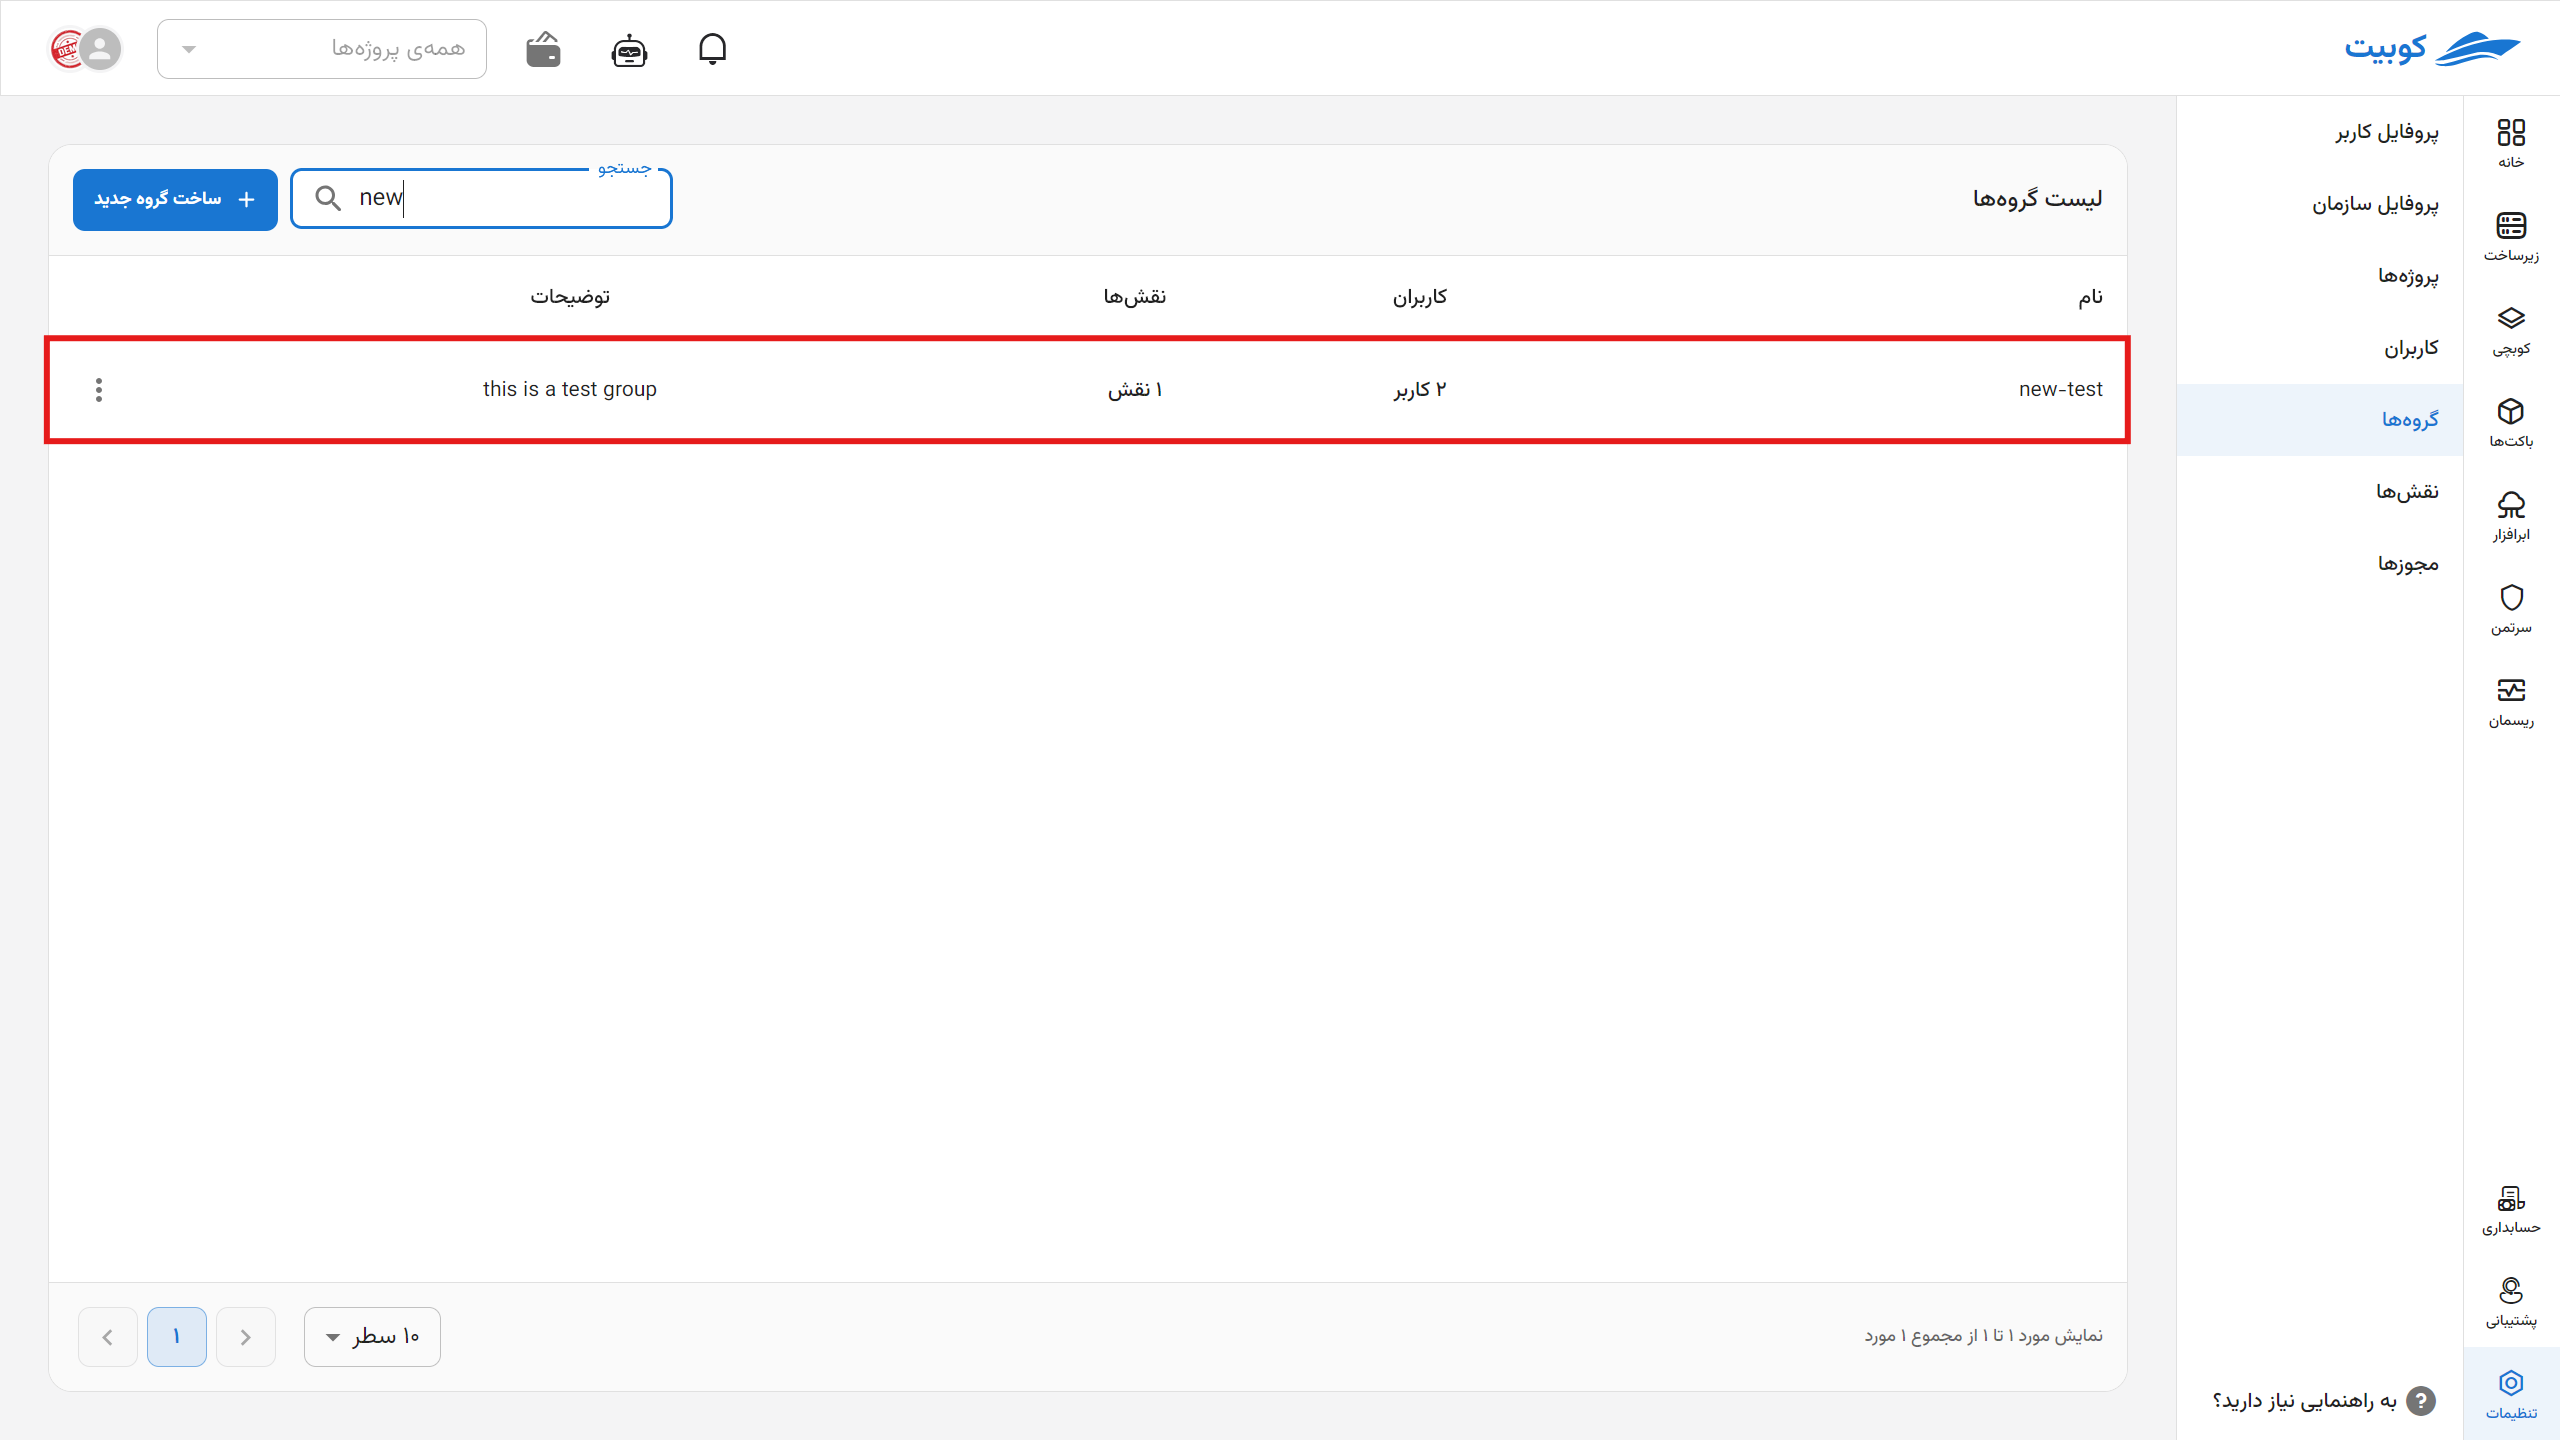
The group is created, and you will be directed to the groups list page:
Deleting a Group
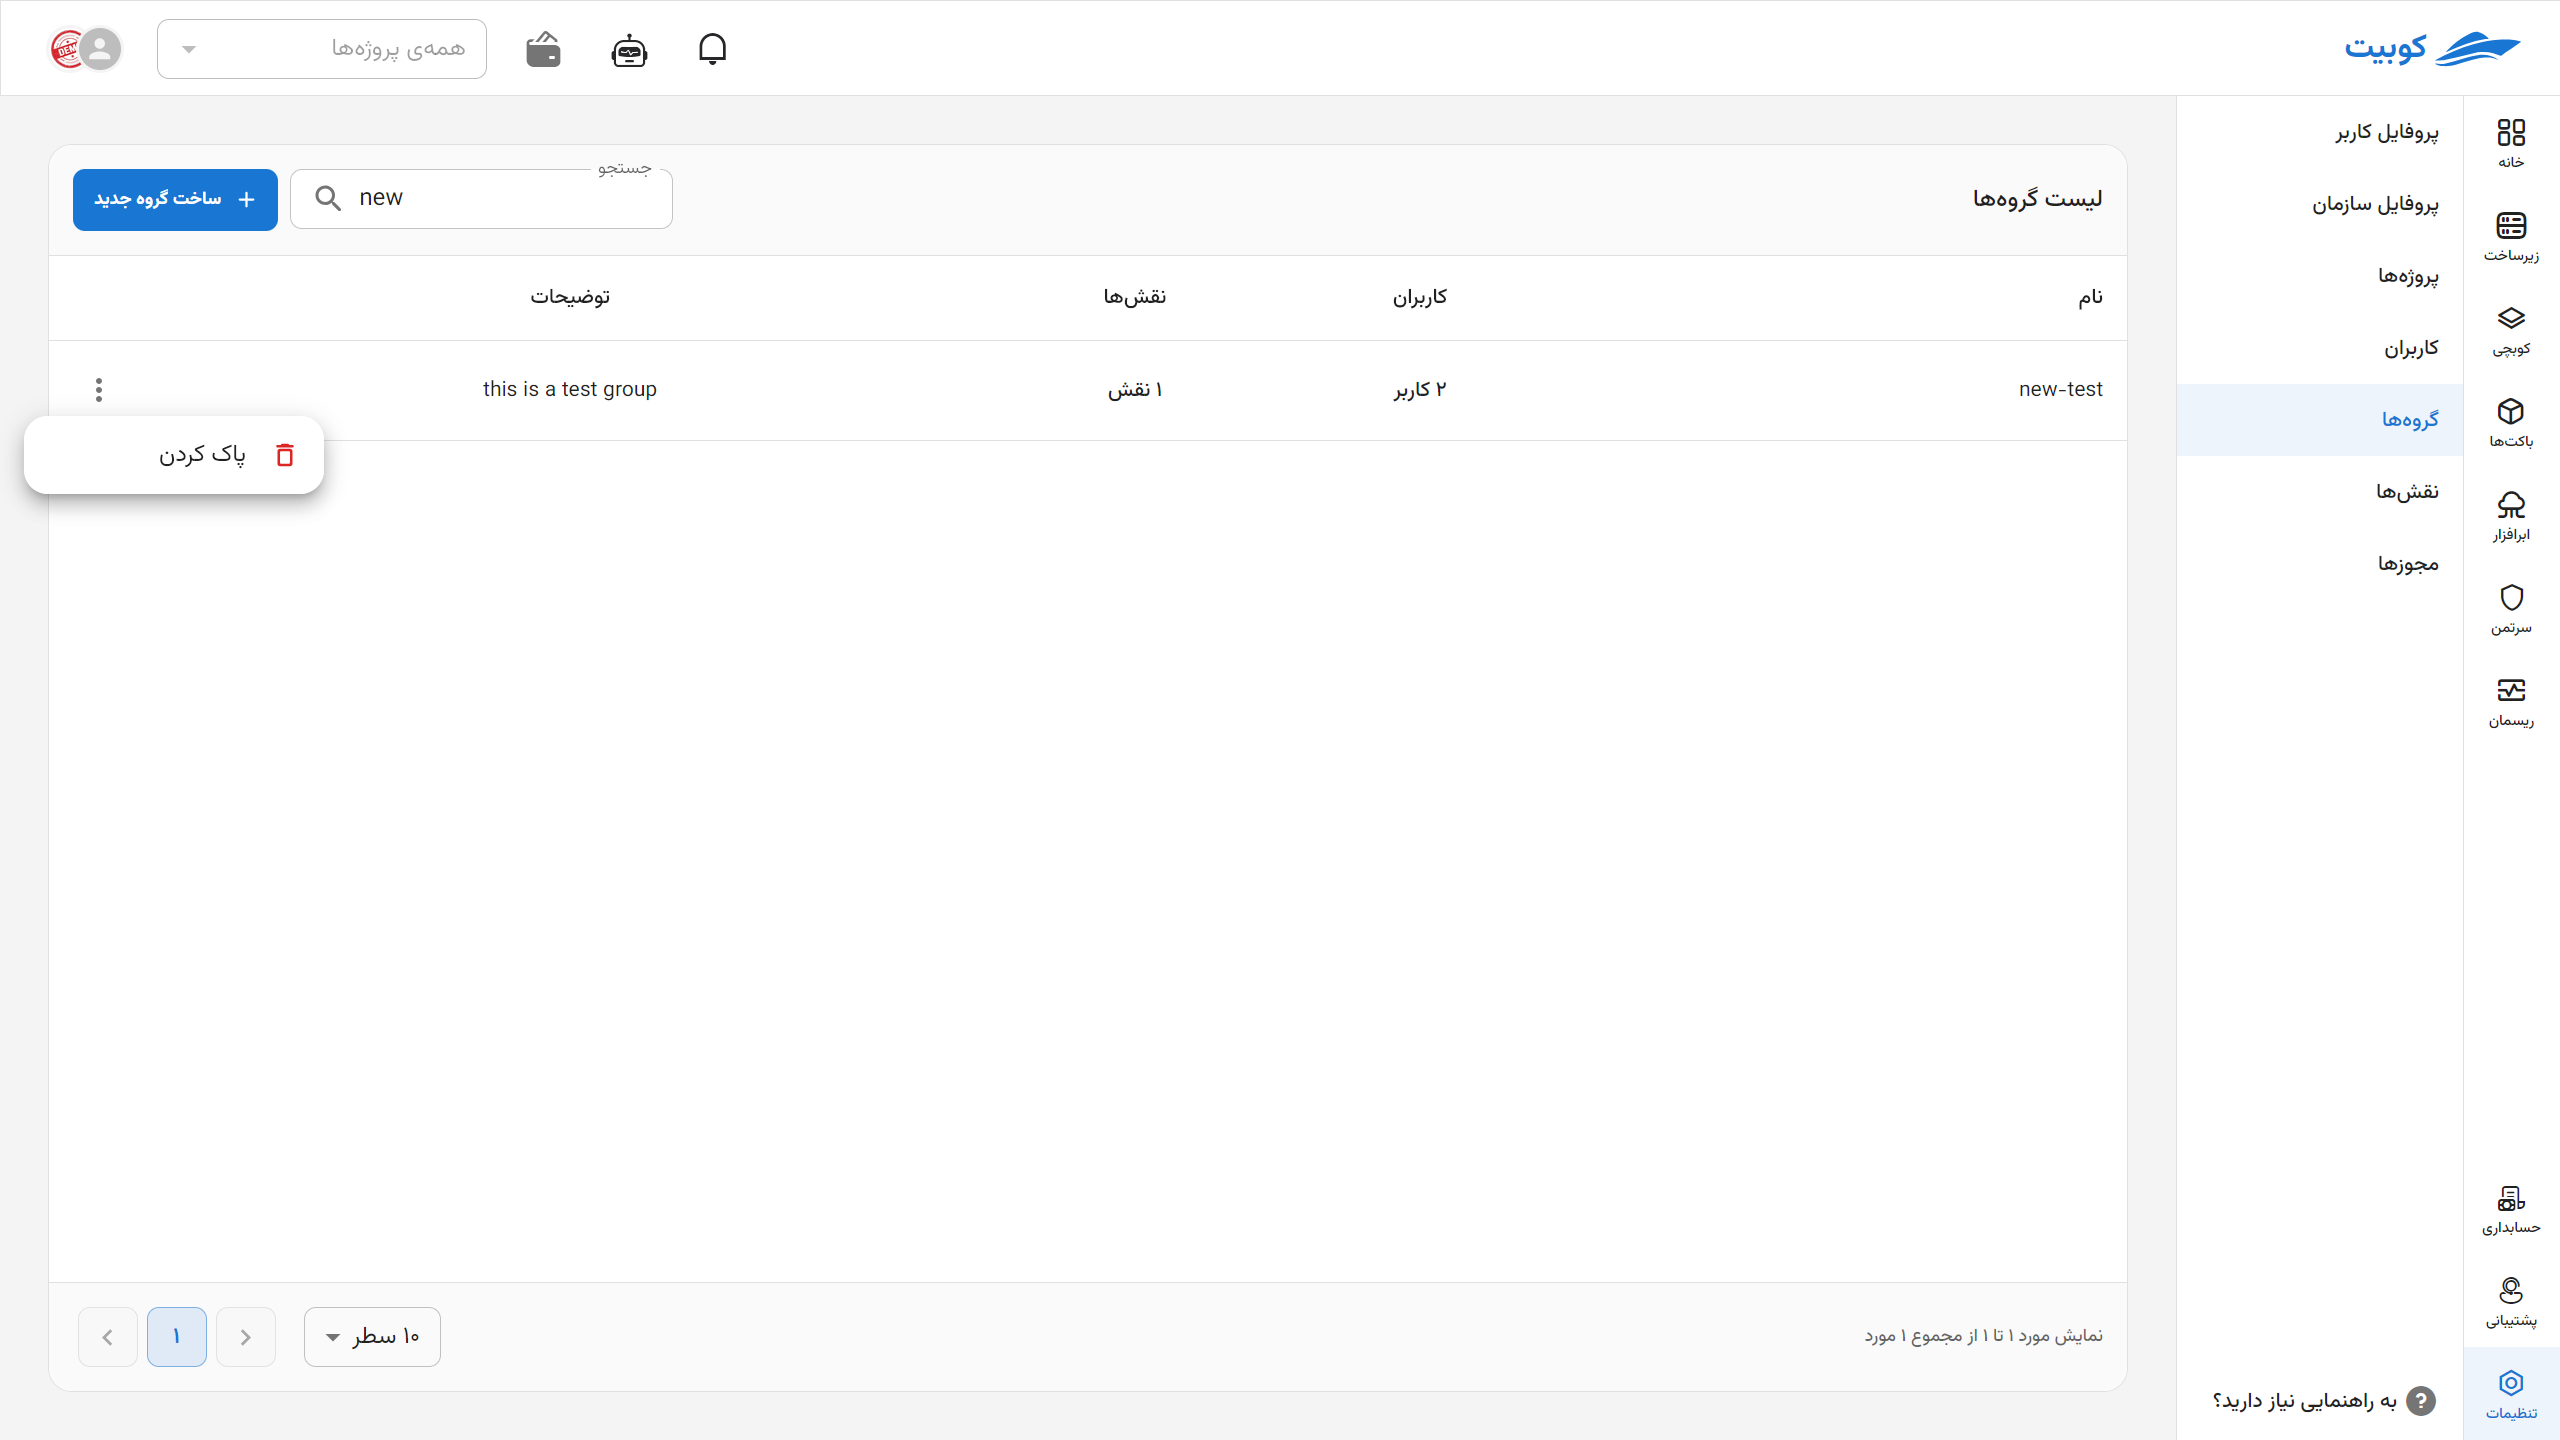
To delete a group, go to the groups list, click on the three-dot button of the desired group, and select the Delete option:
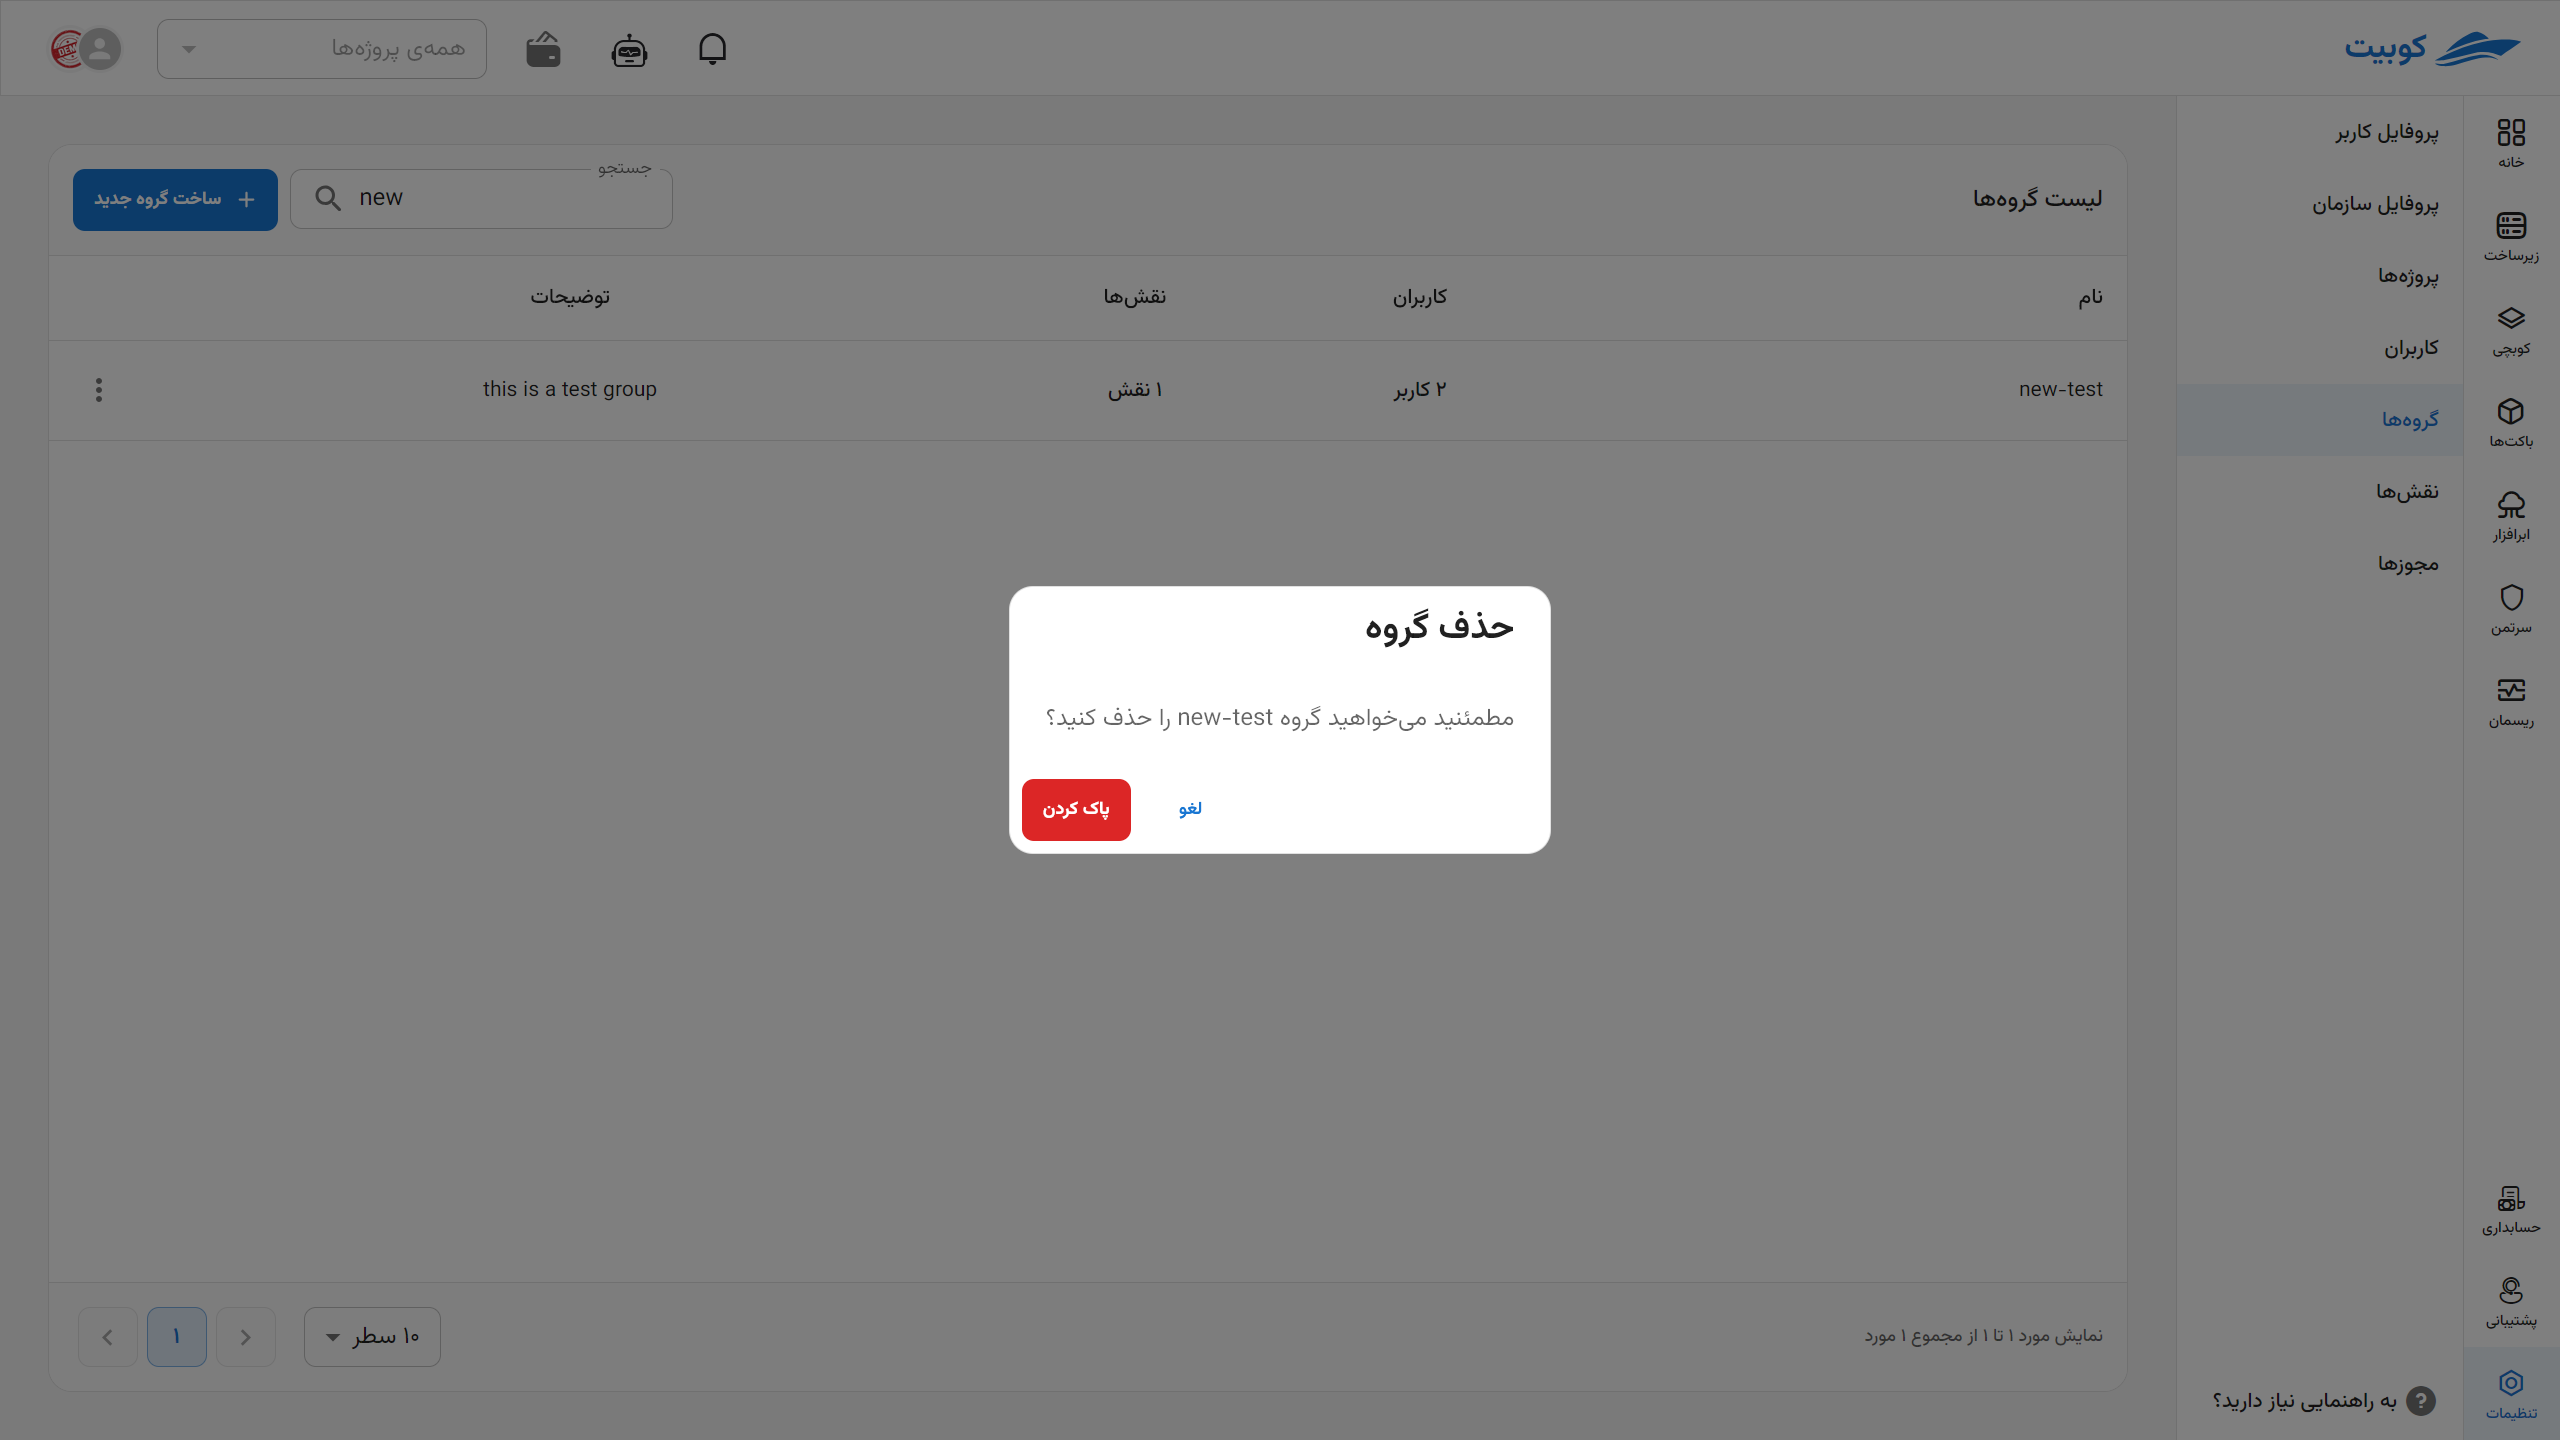
Then, by selecting the Delete option, the group will be deleted:
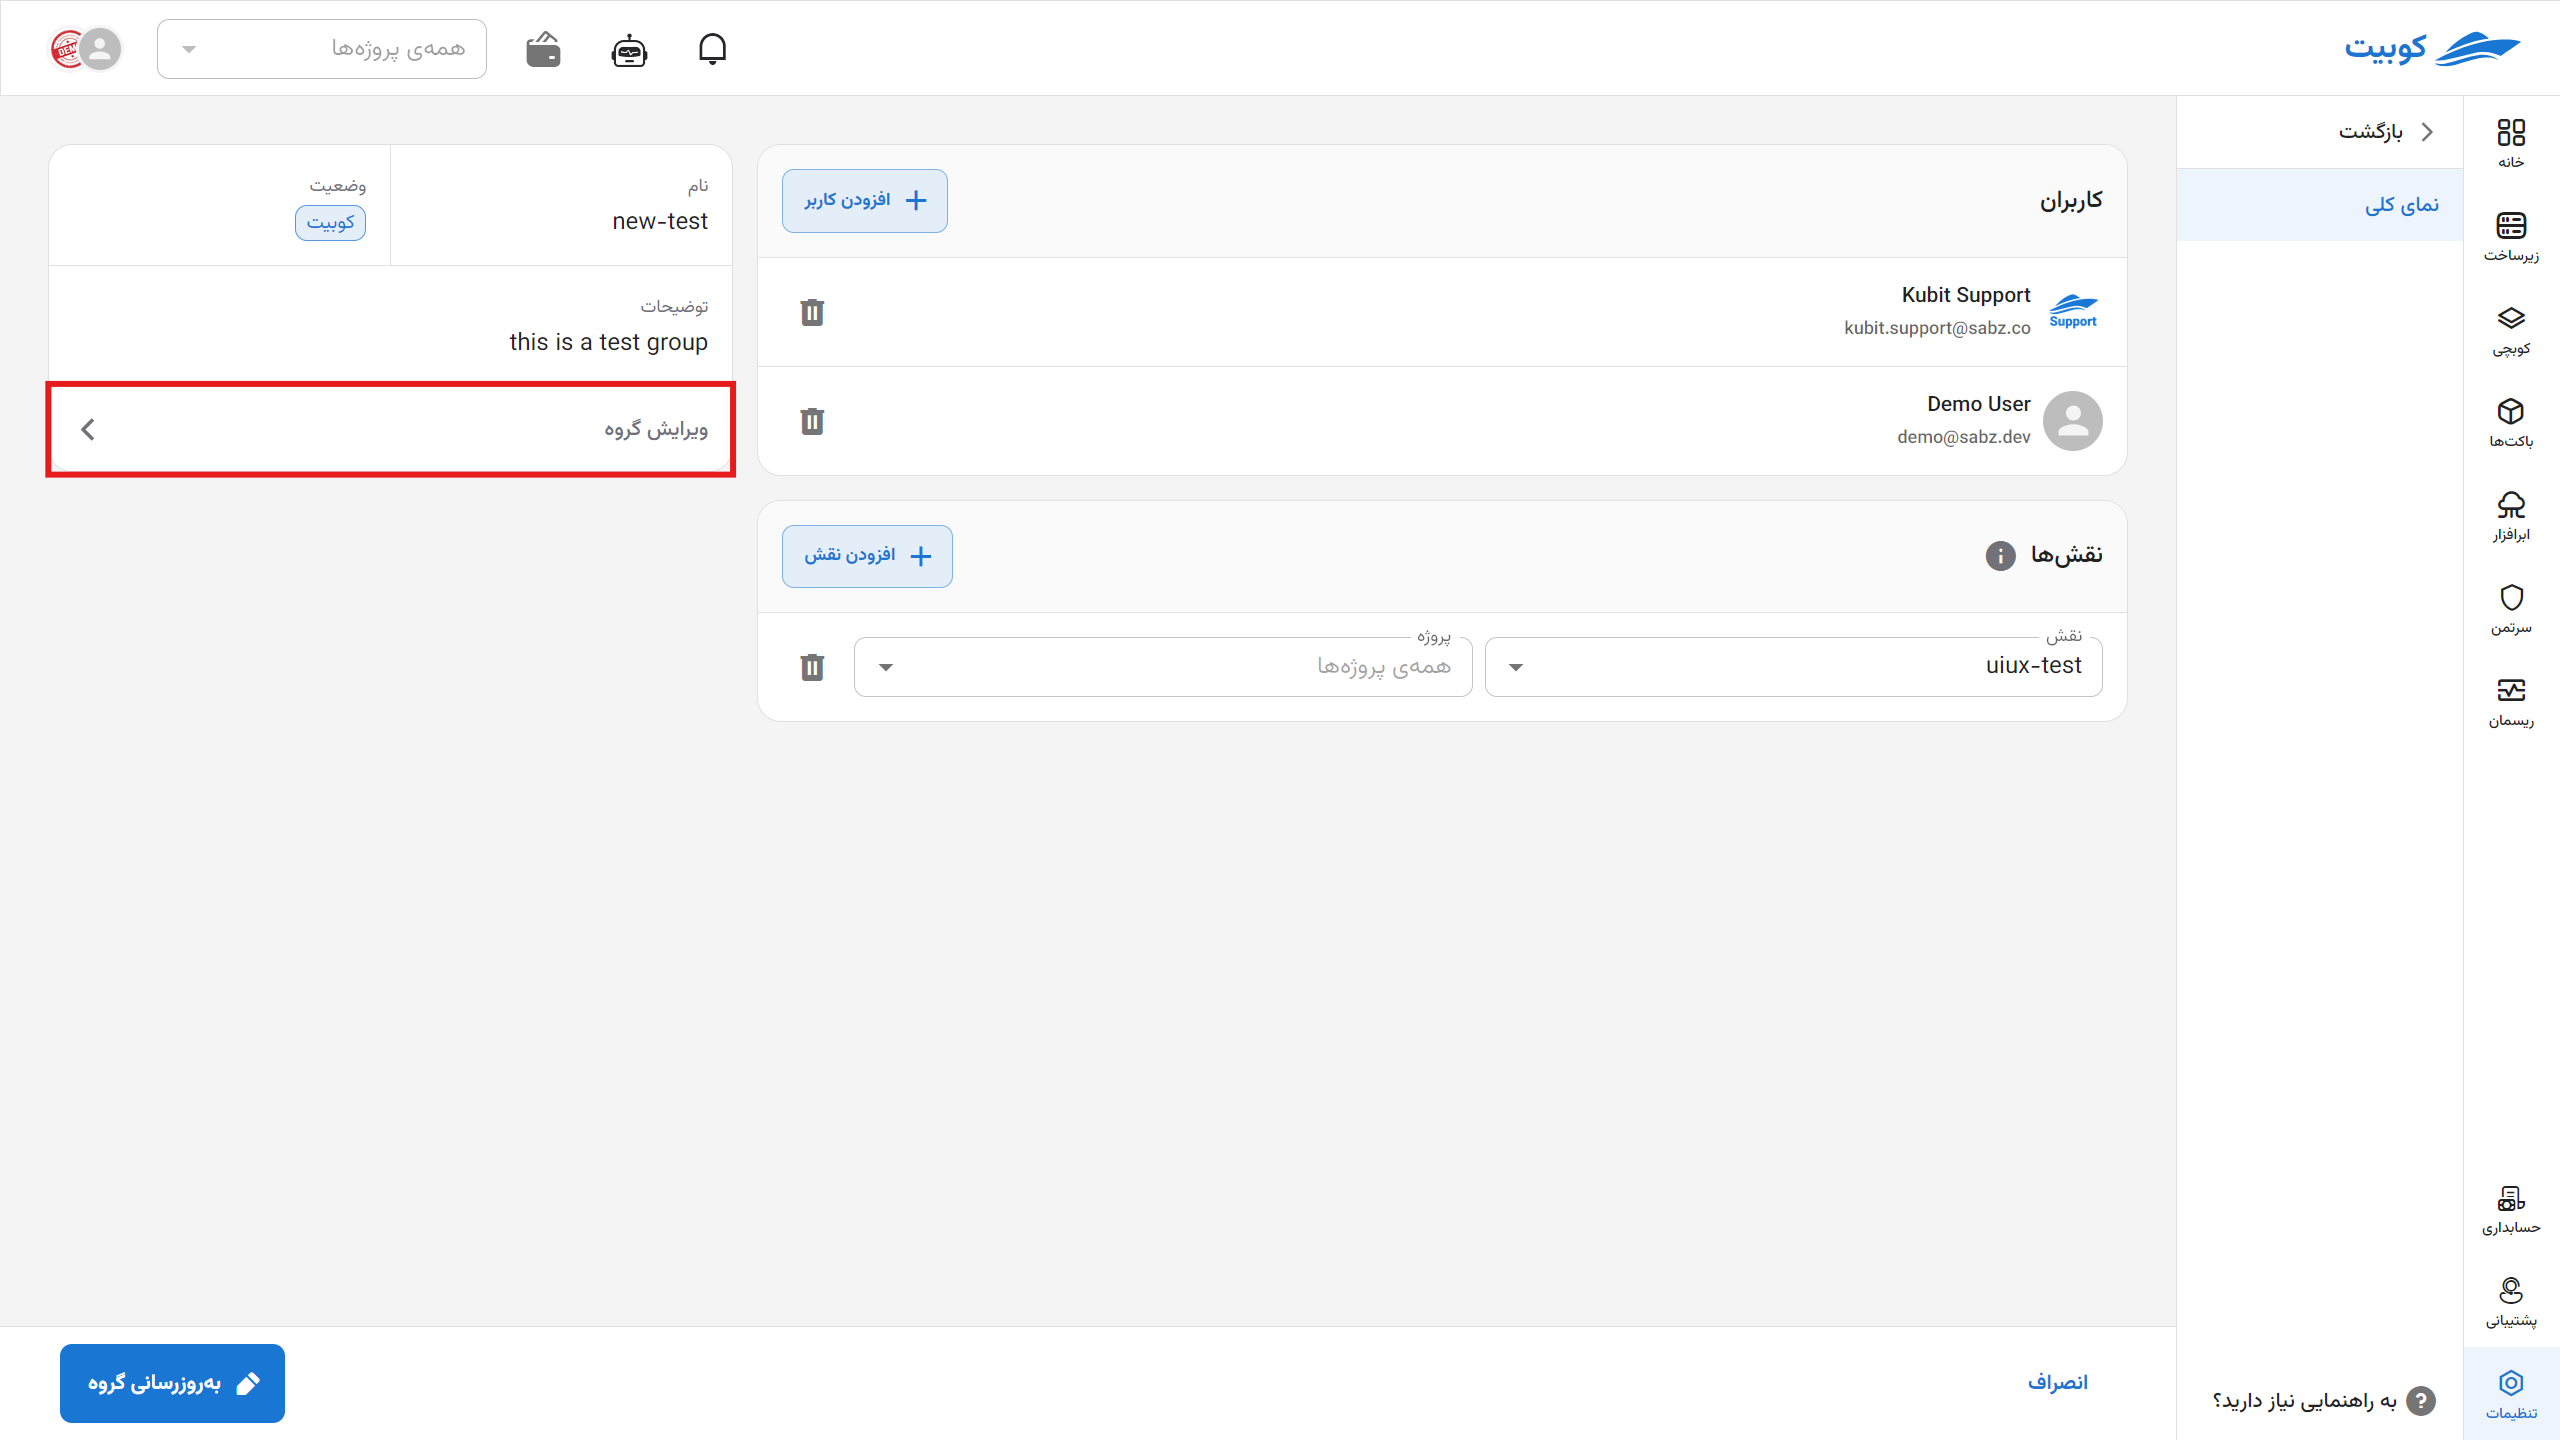
Editing a Group
When editing a group, you can perform operations such as editing the name and description, adding or removing users, and adding or removing roles in the group.
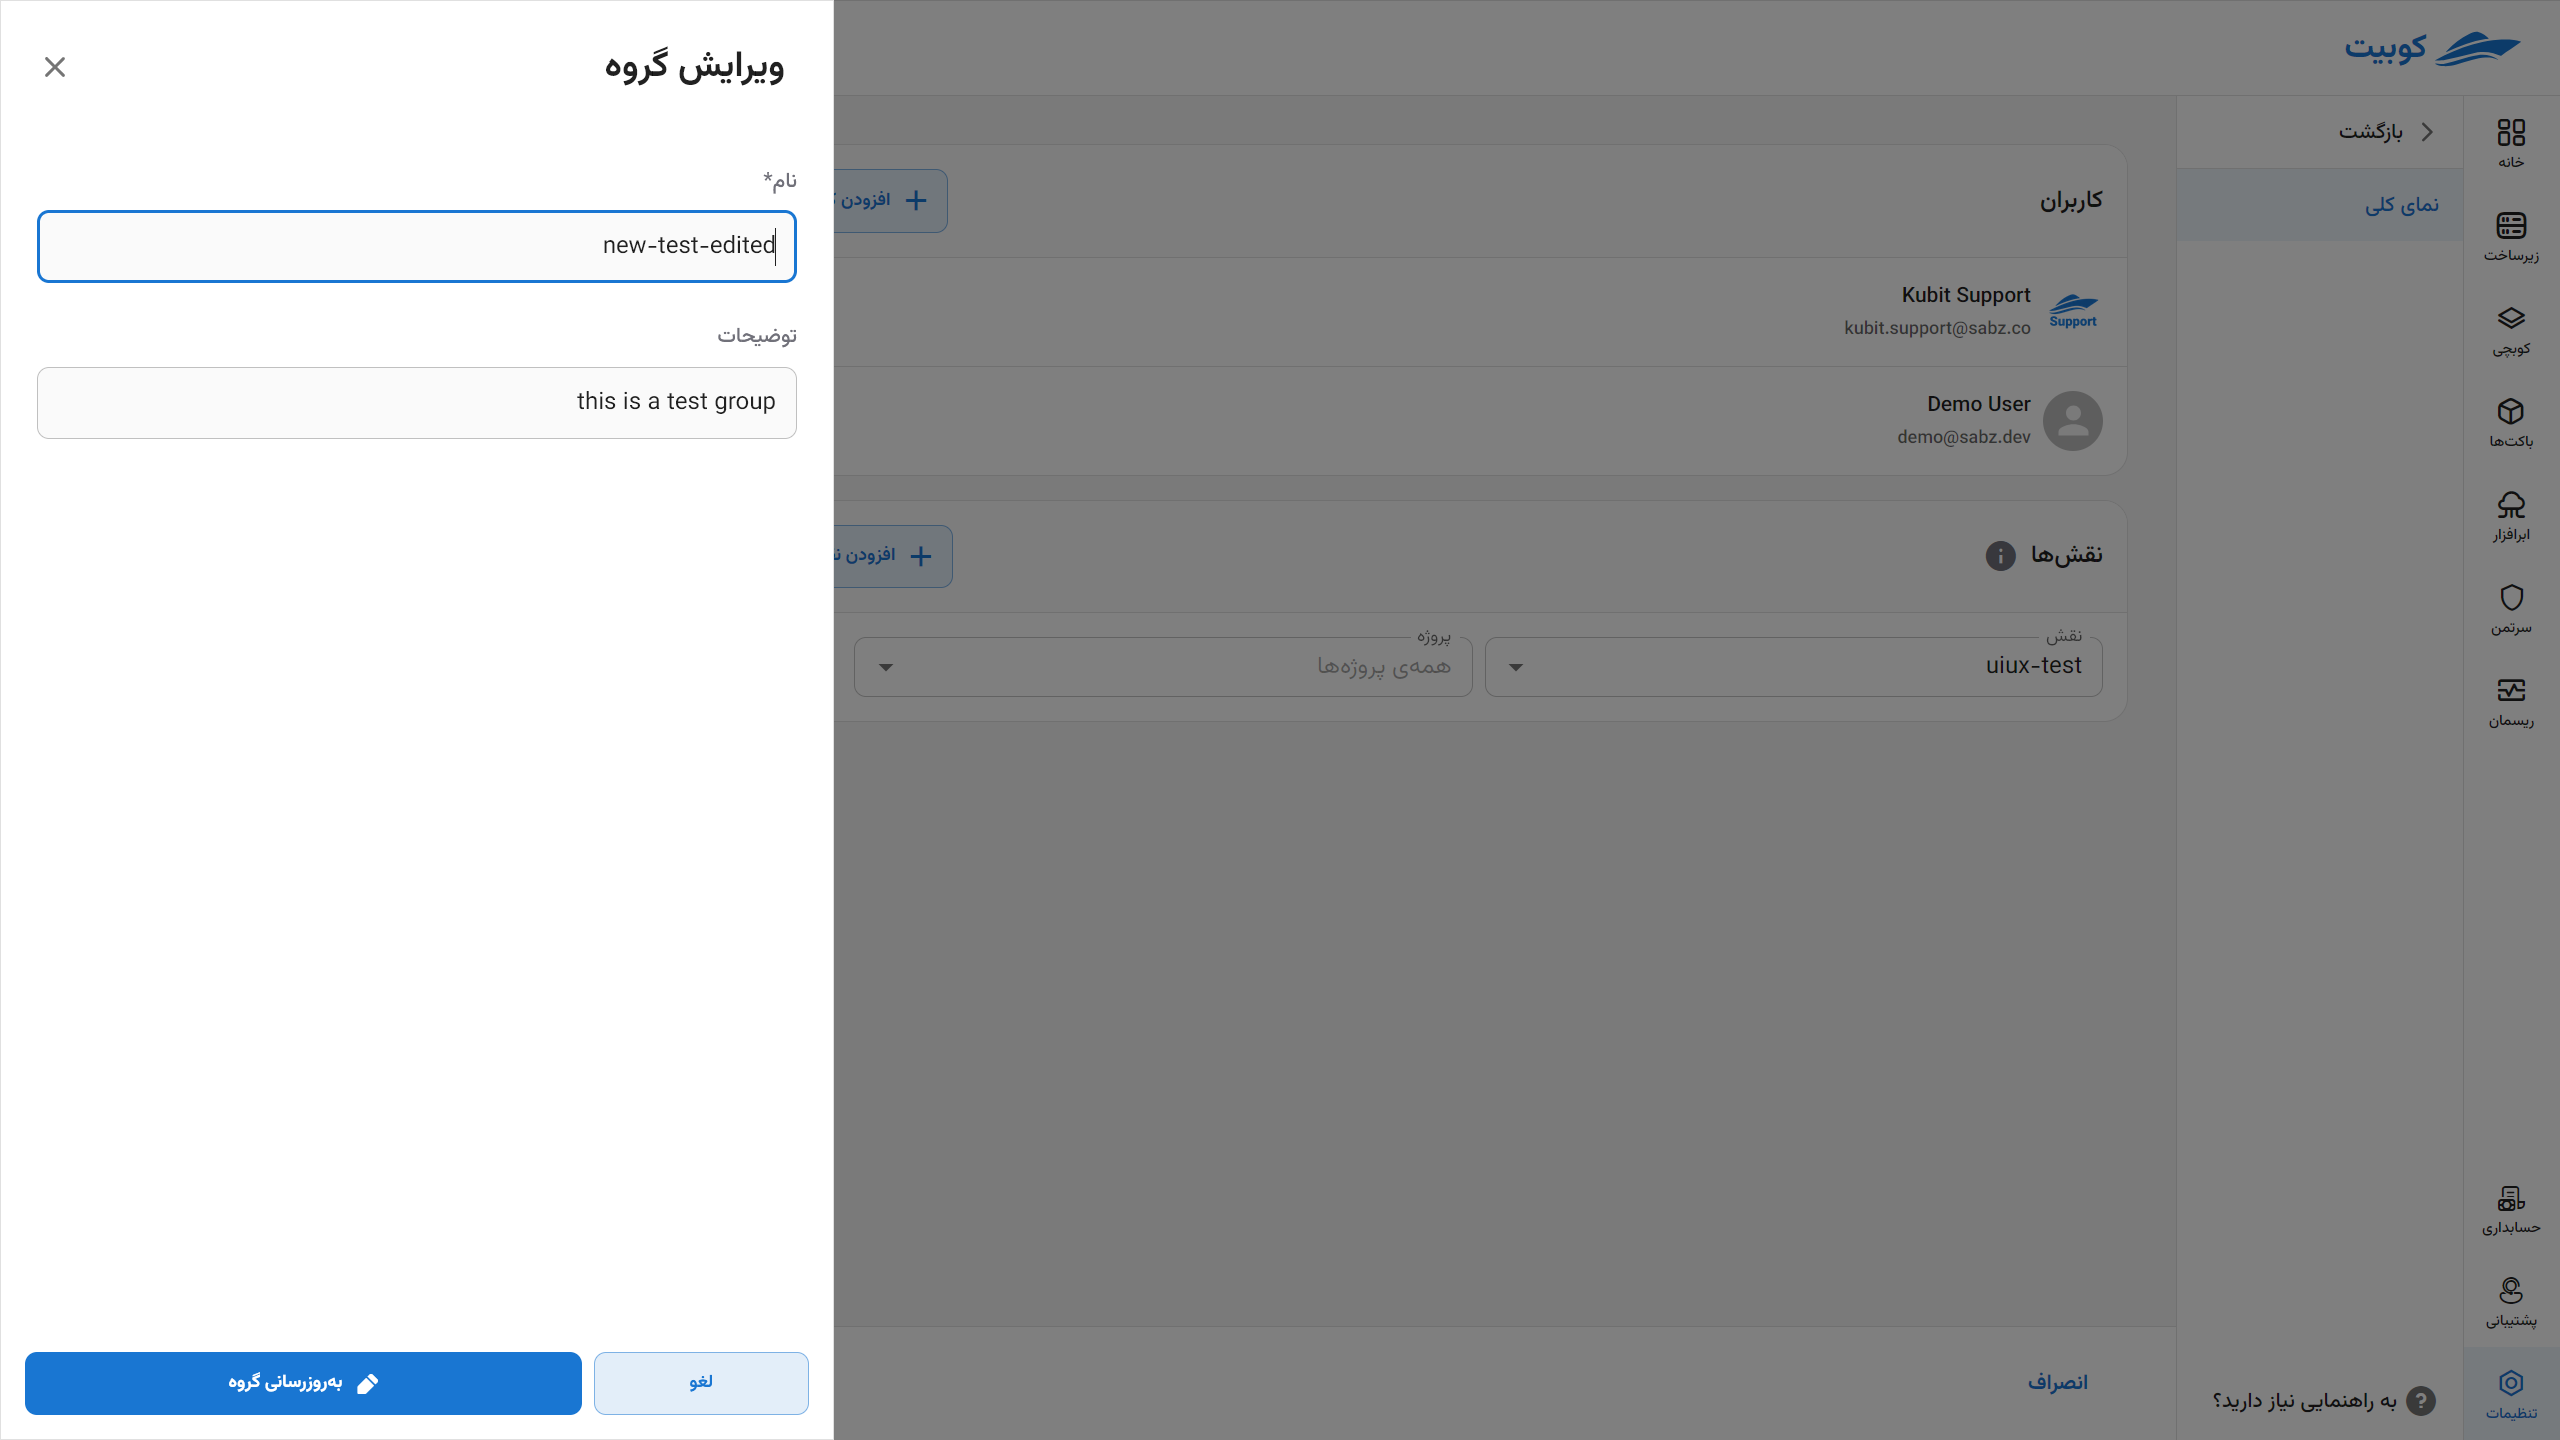
Editing Group Information
- To edit the group’s name and description, simply enter the new information.
- Then, by clicking on the Update Group button, your changes will be applied.
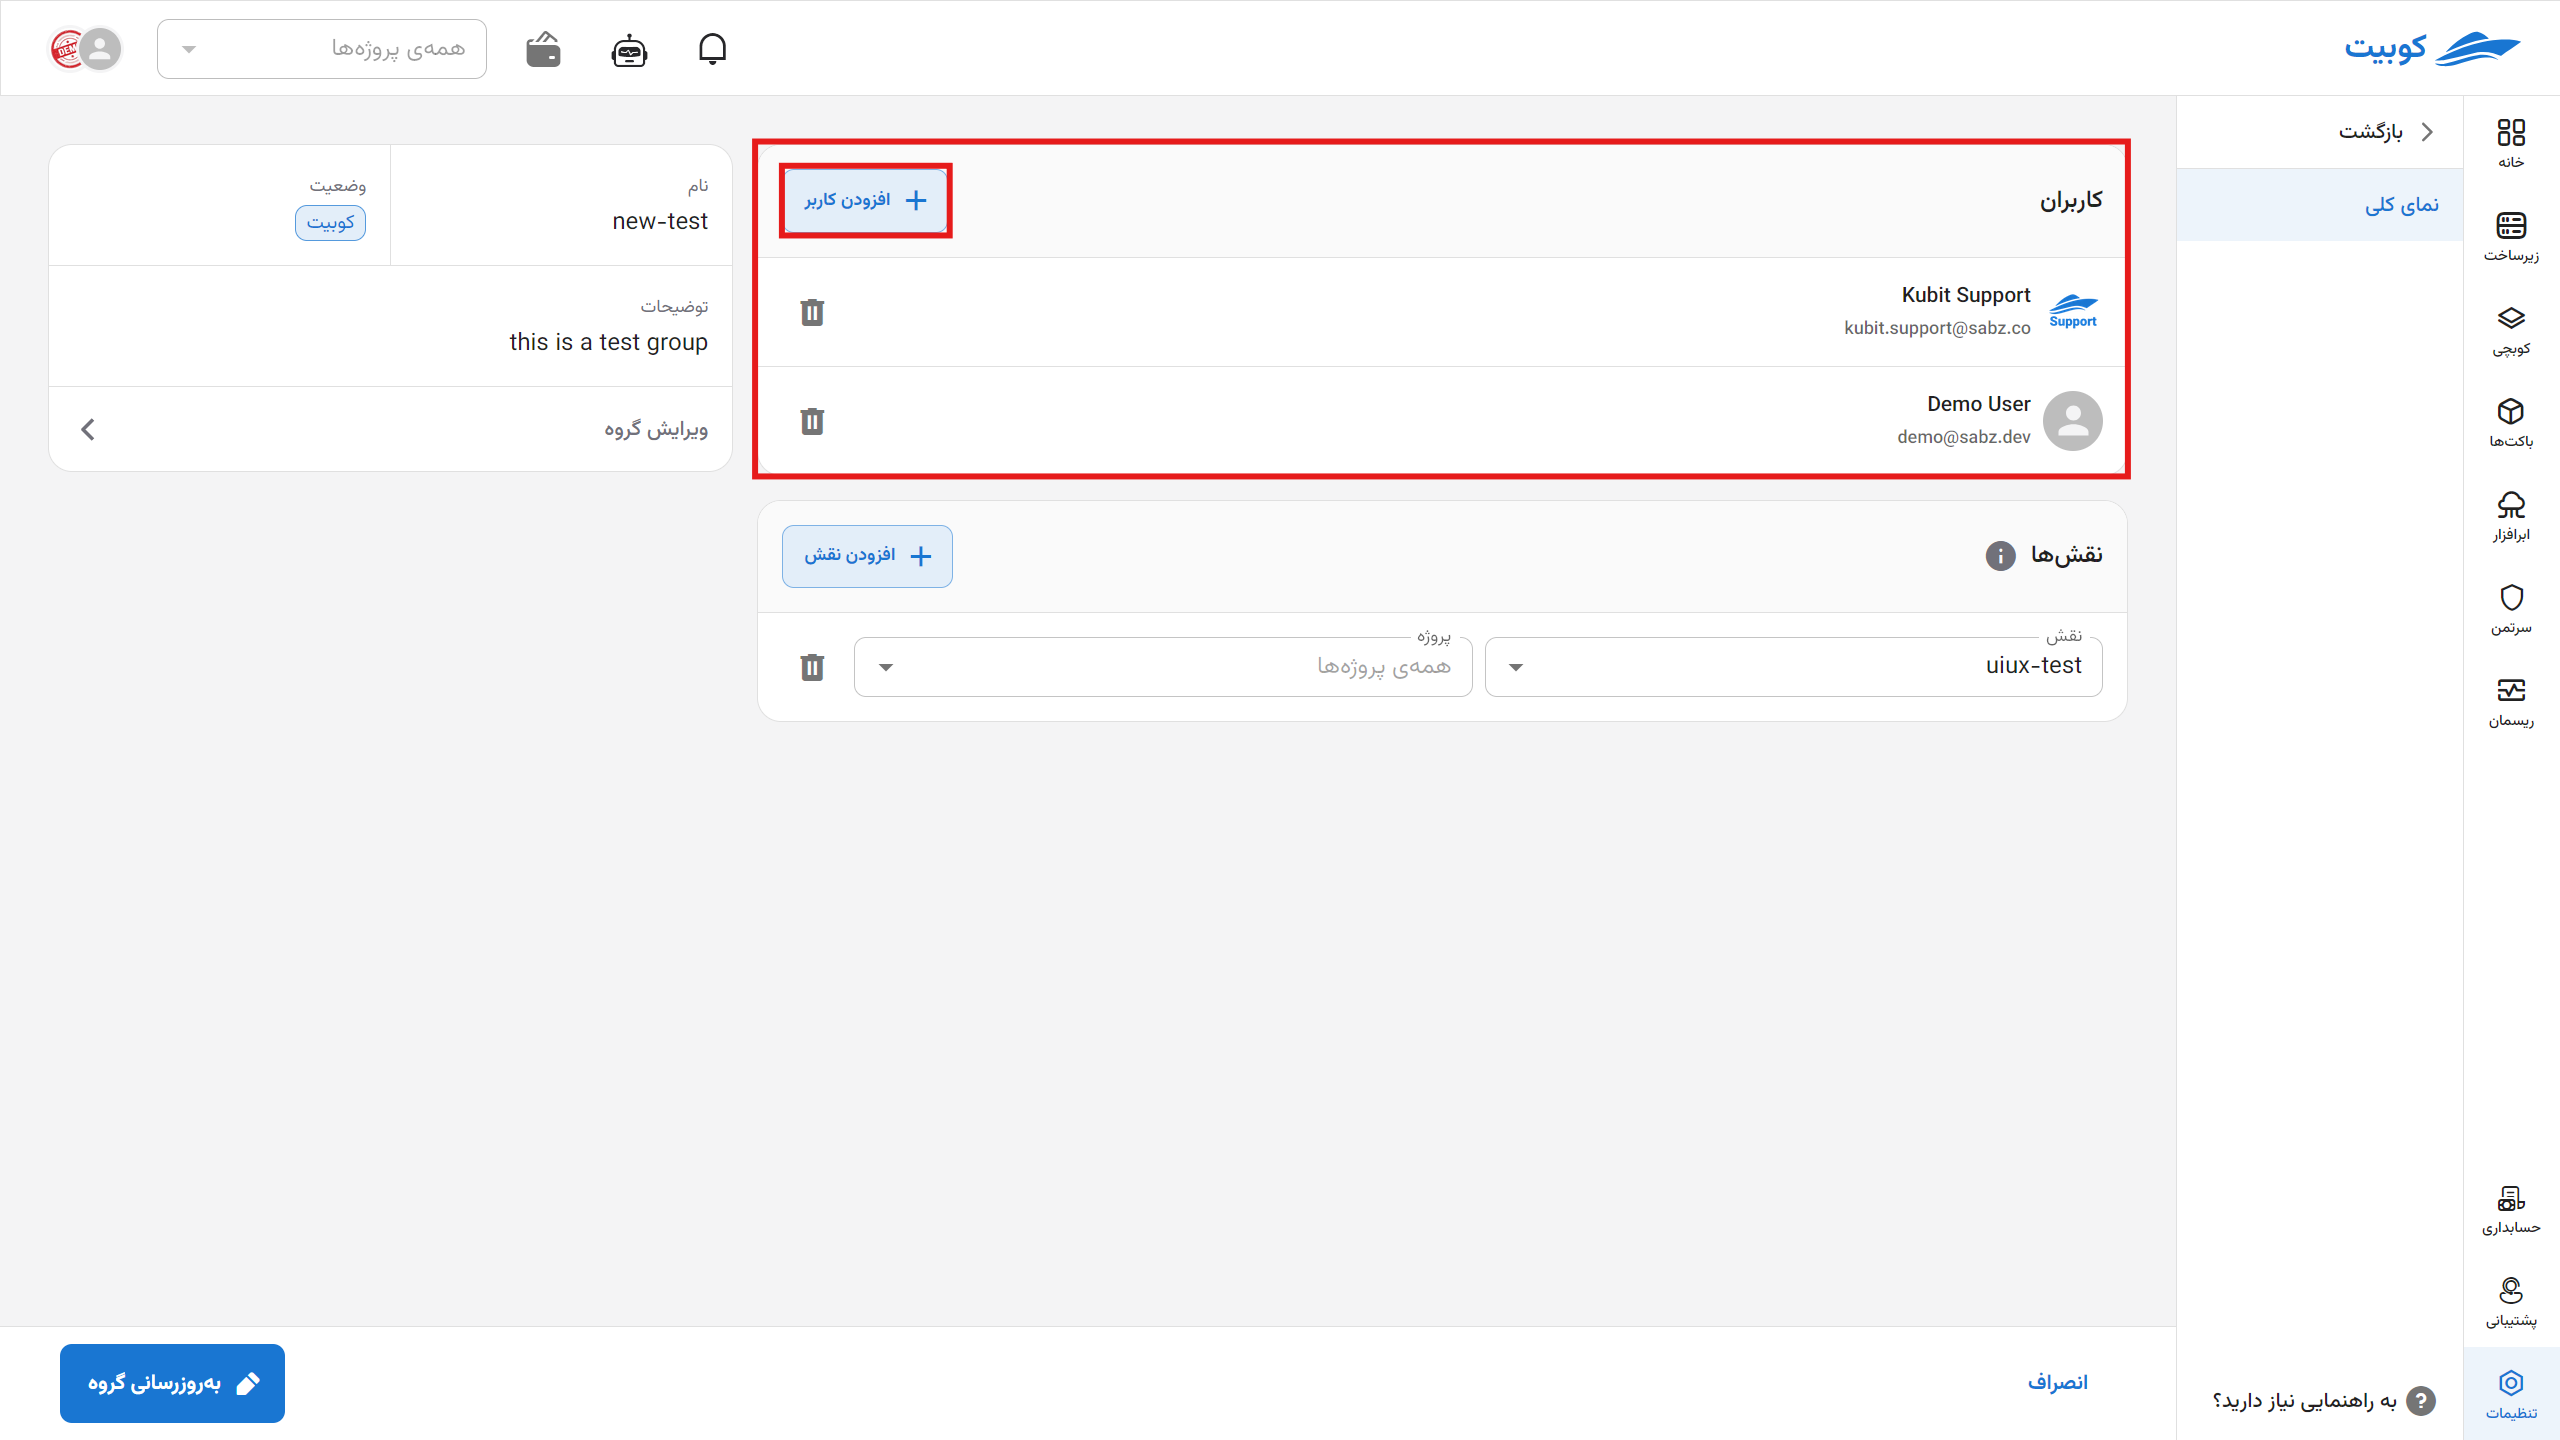
Adding/Removing Users
Adding a User
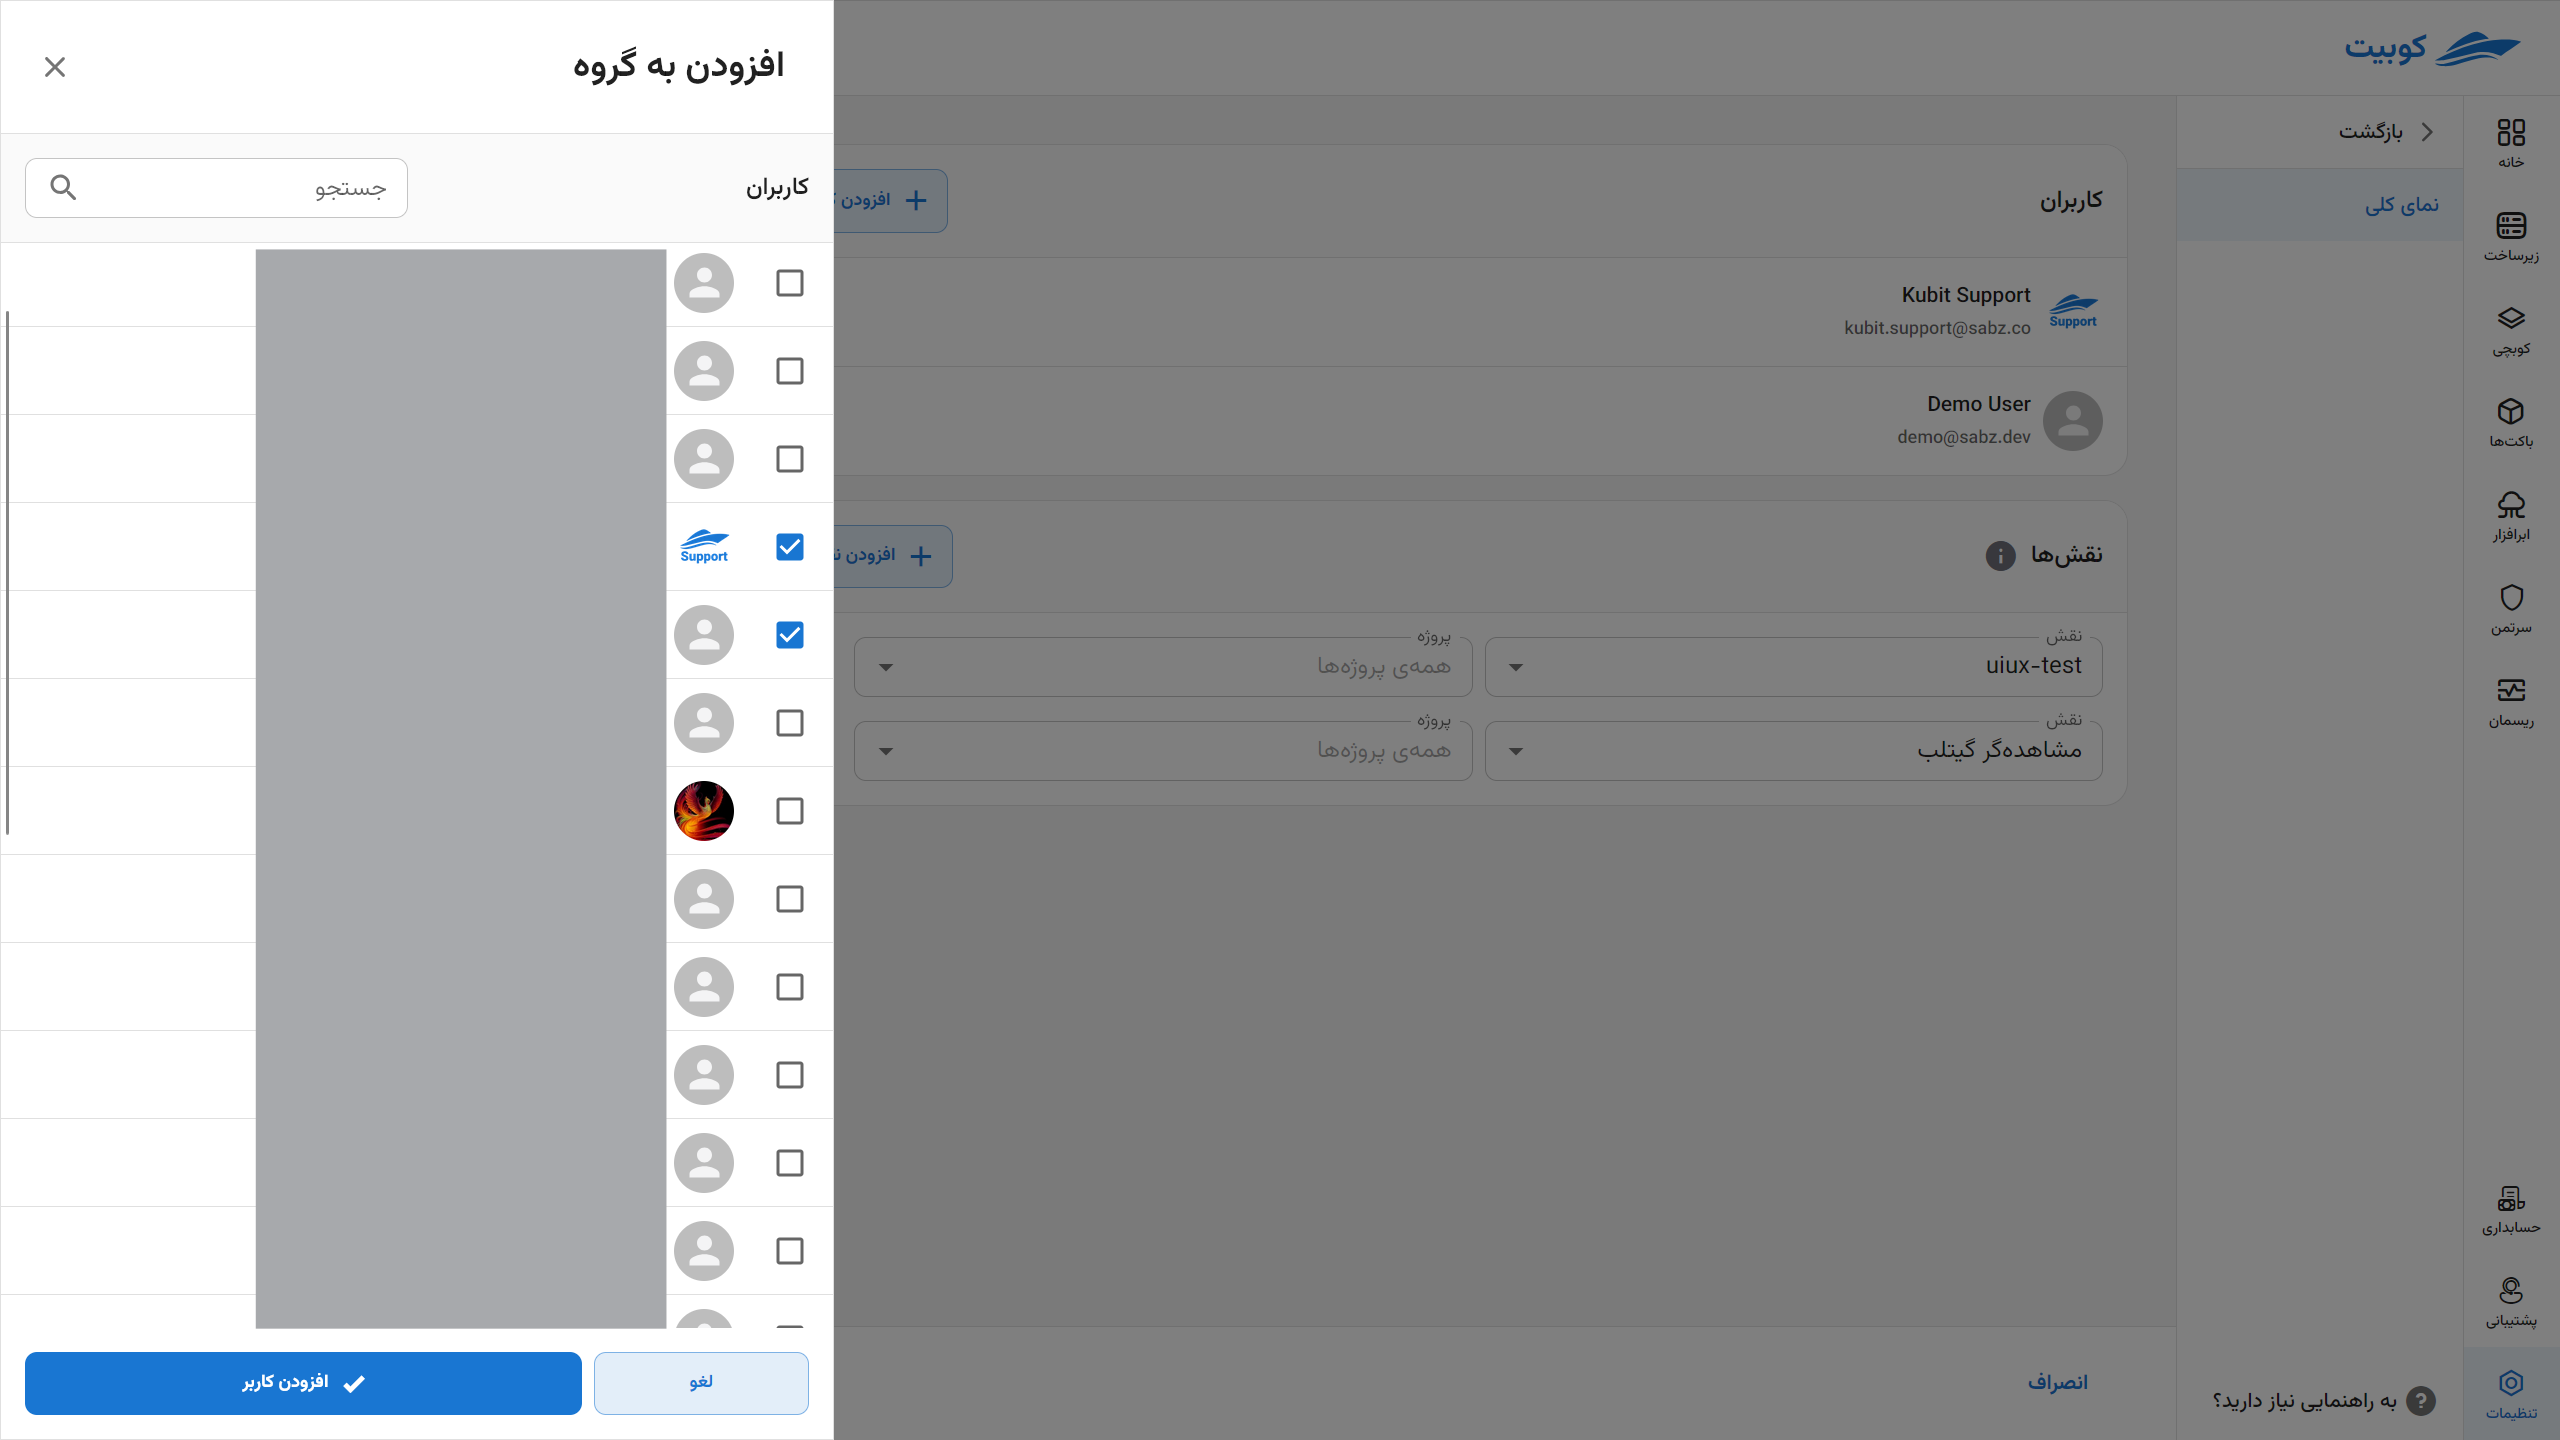
- To add a user to the user group, from the Users section, select the desired users from the list of organization users.
- Then, by clicking on the Update Group button, the selected user will be added to the group.
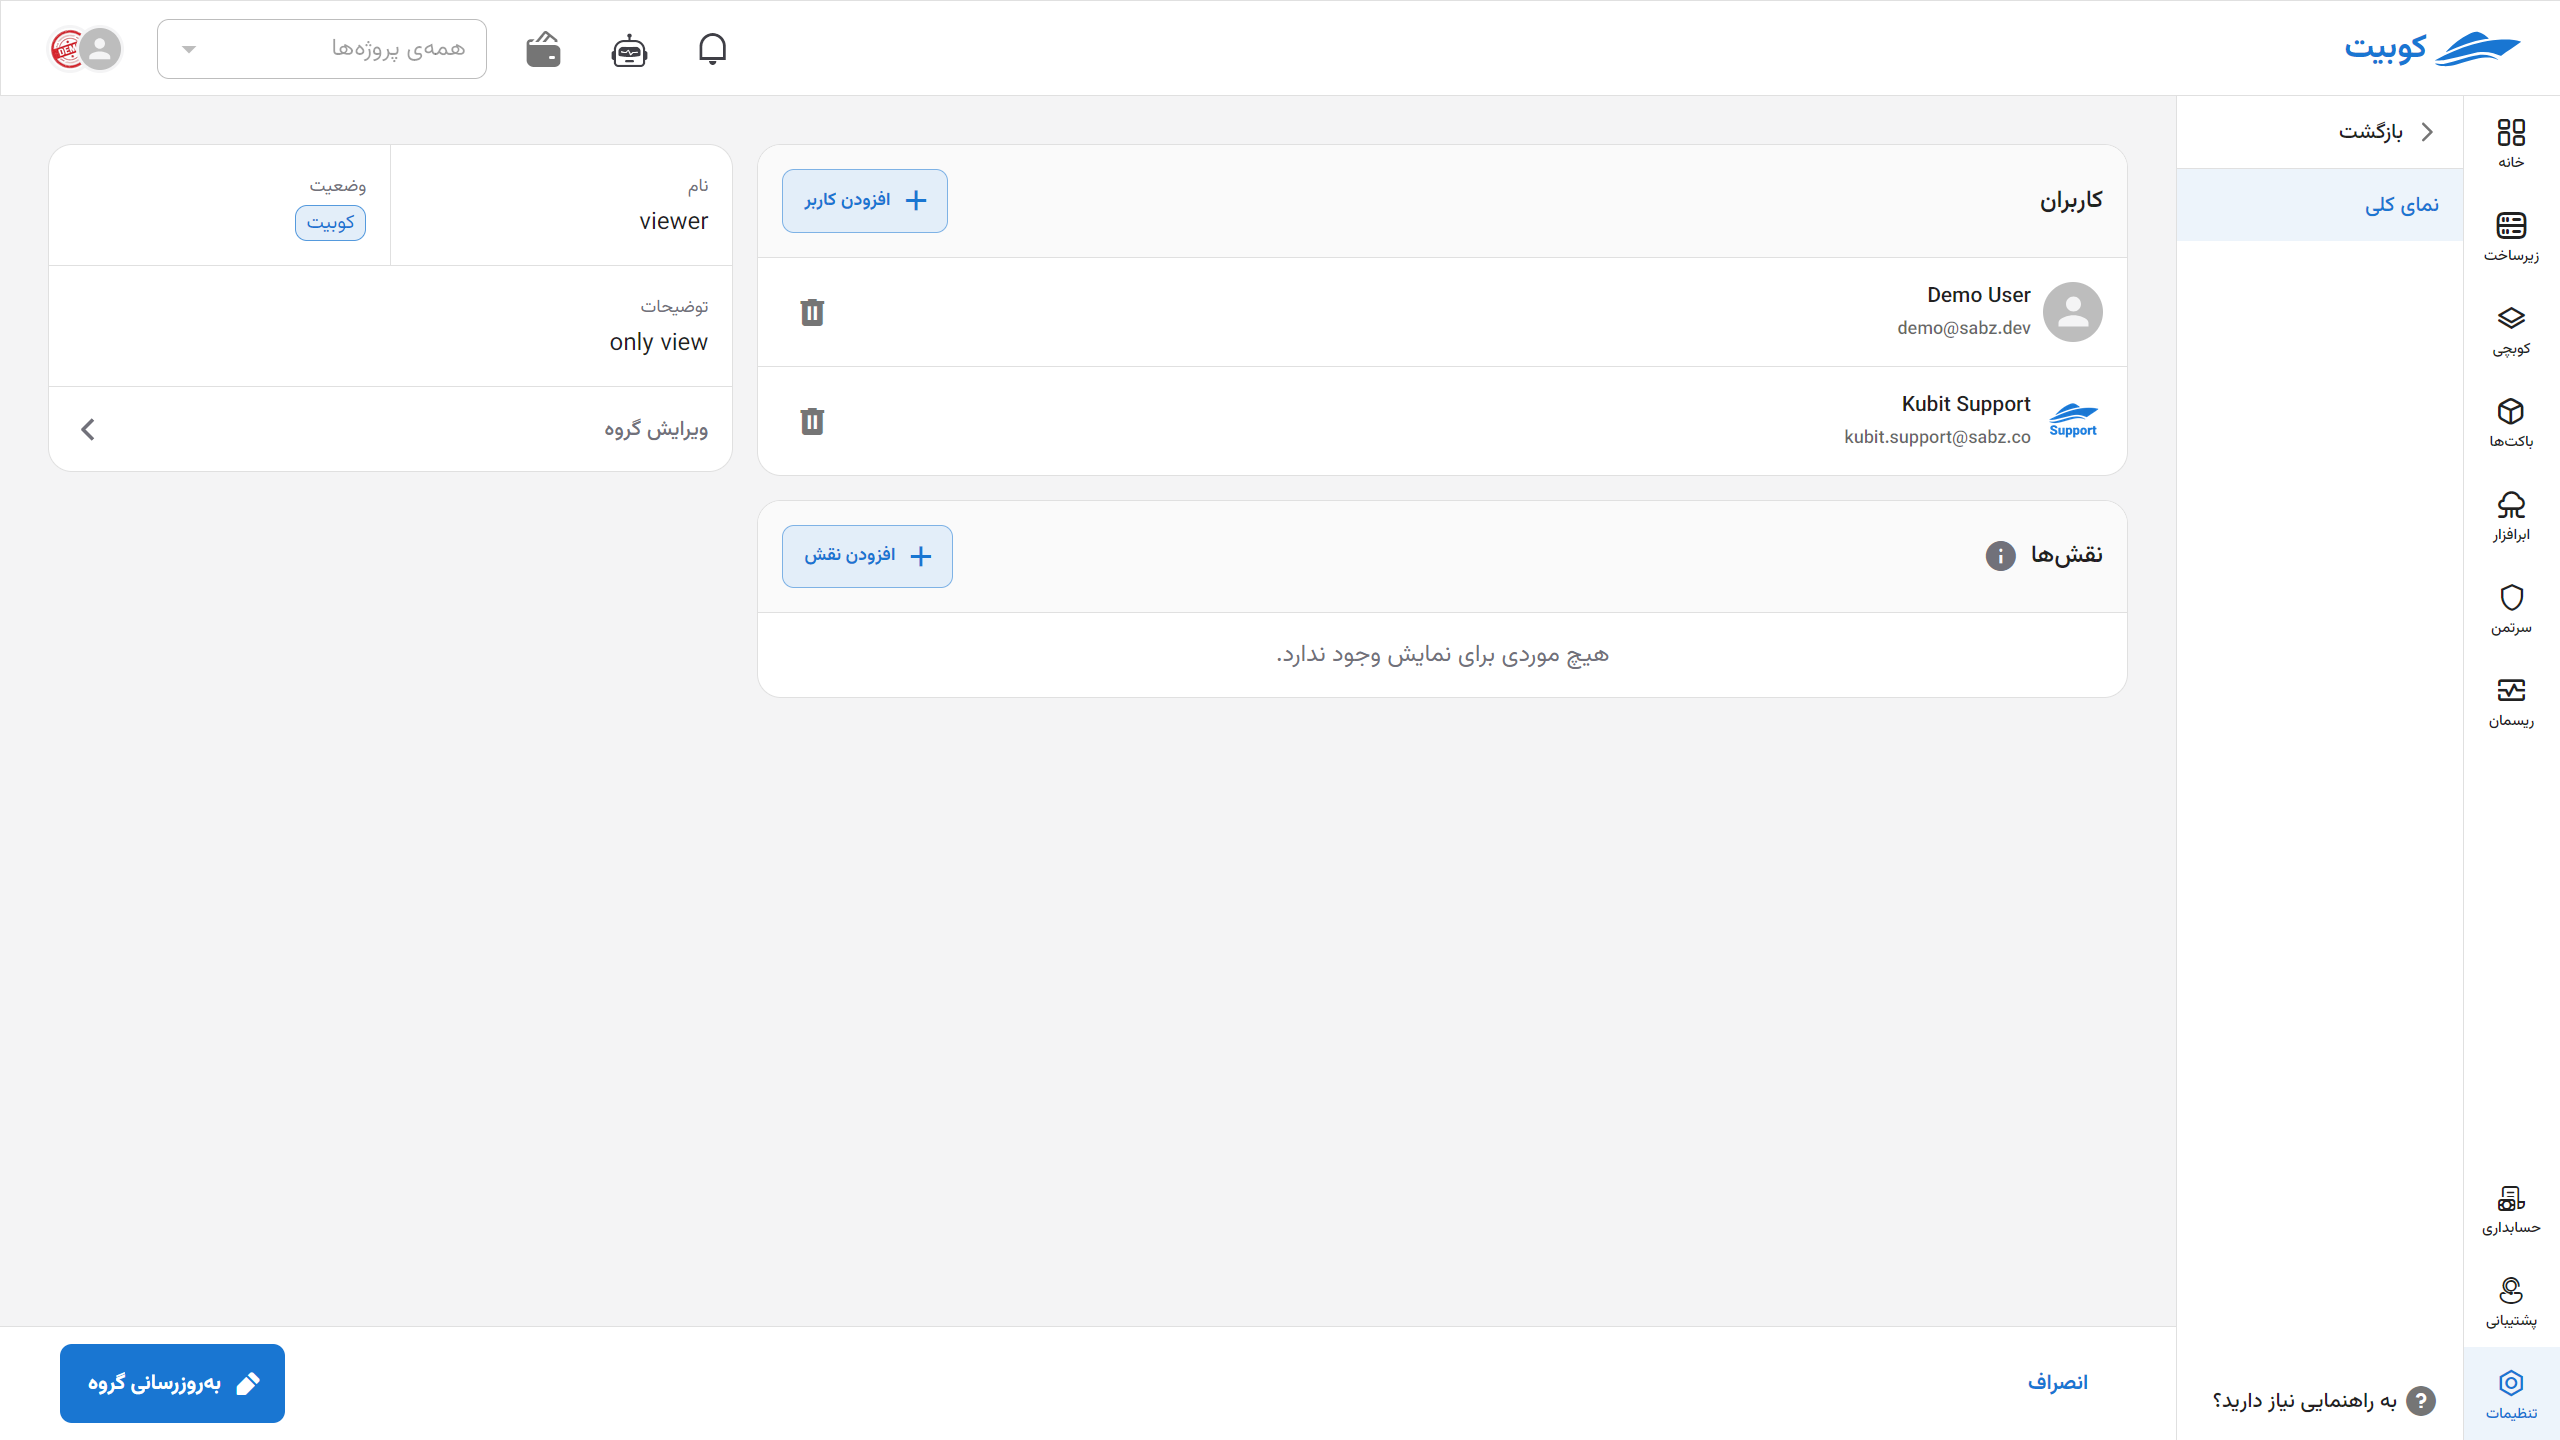
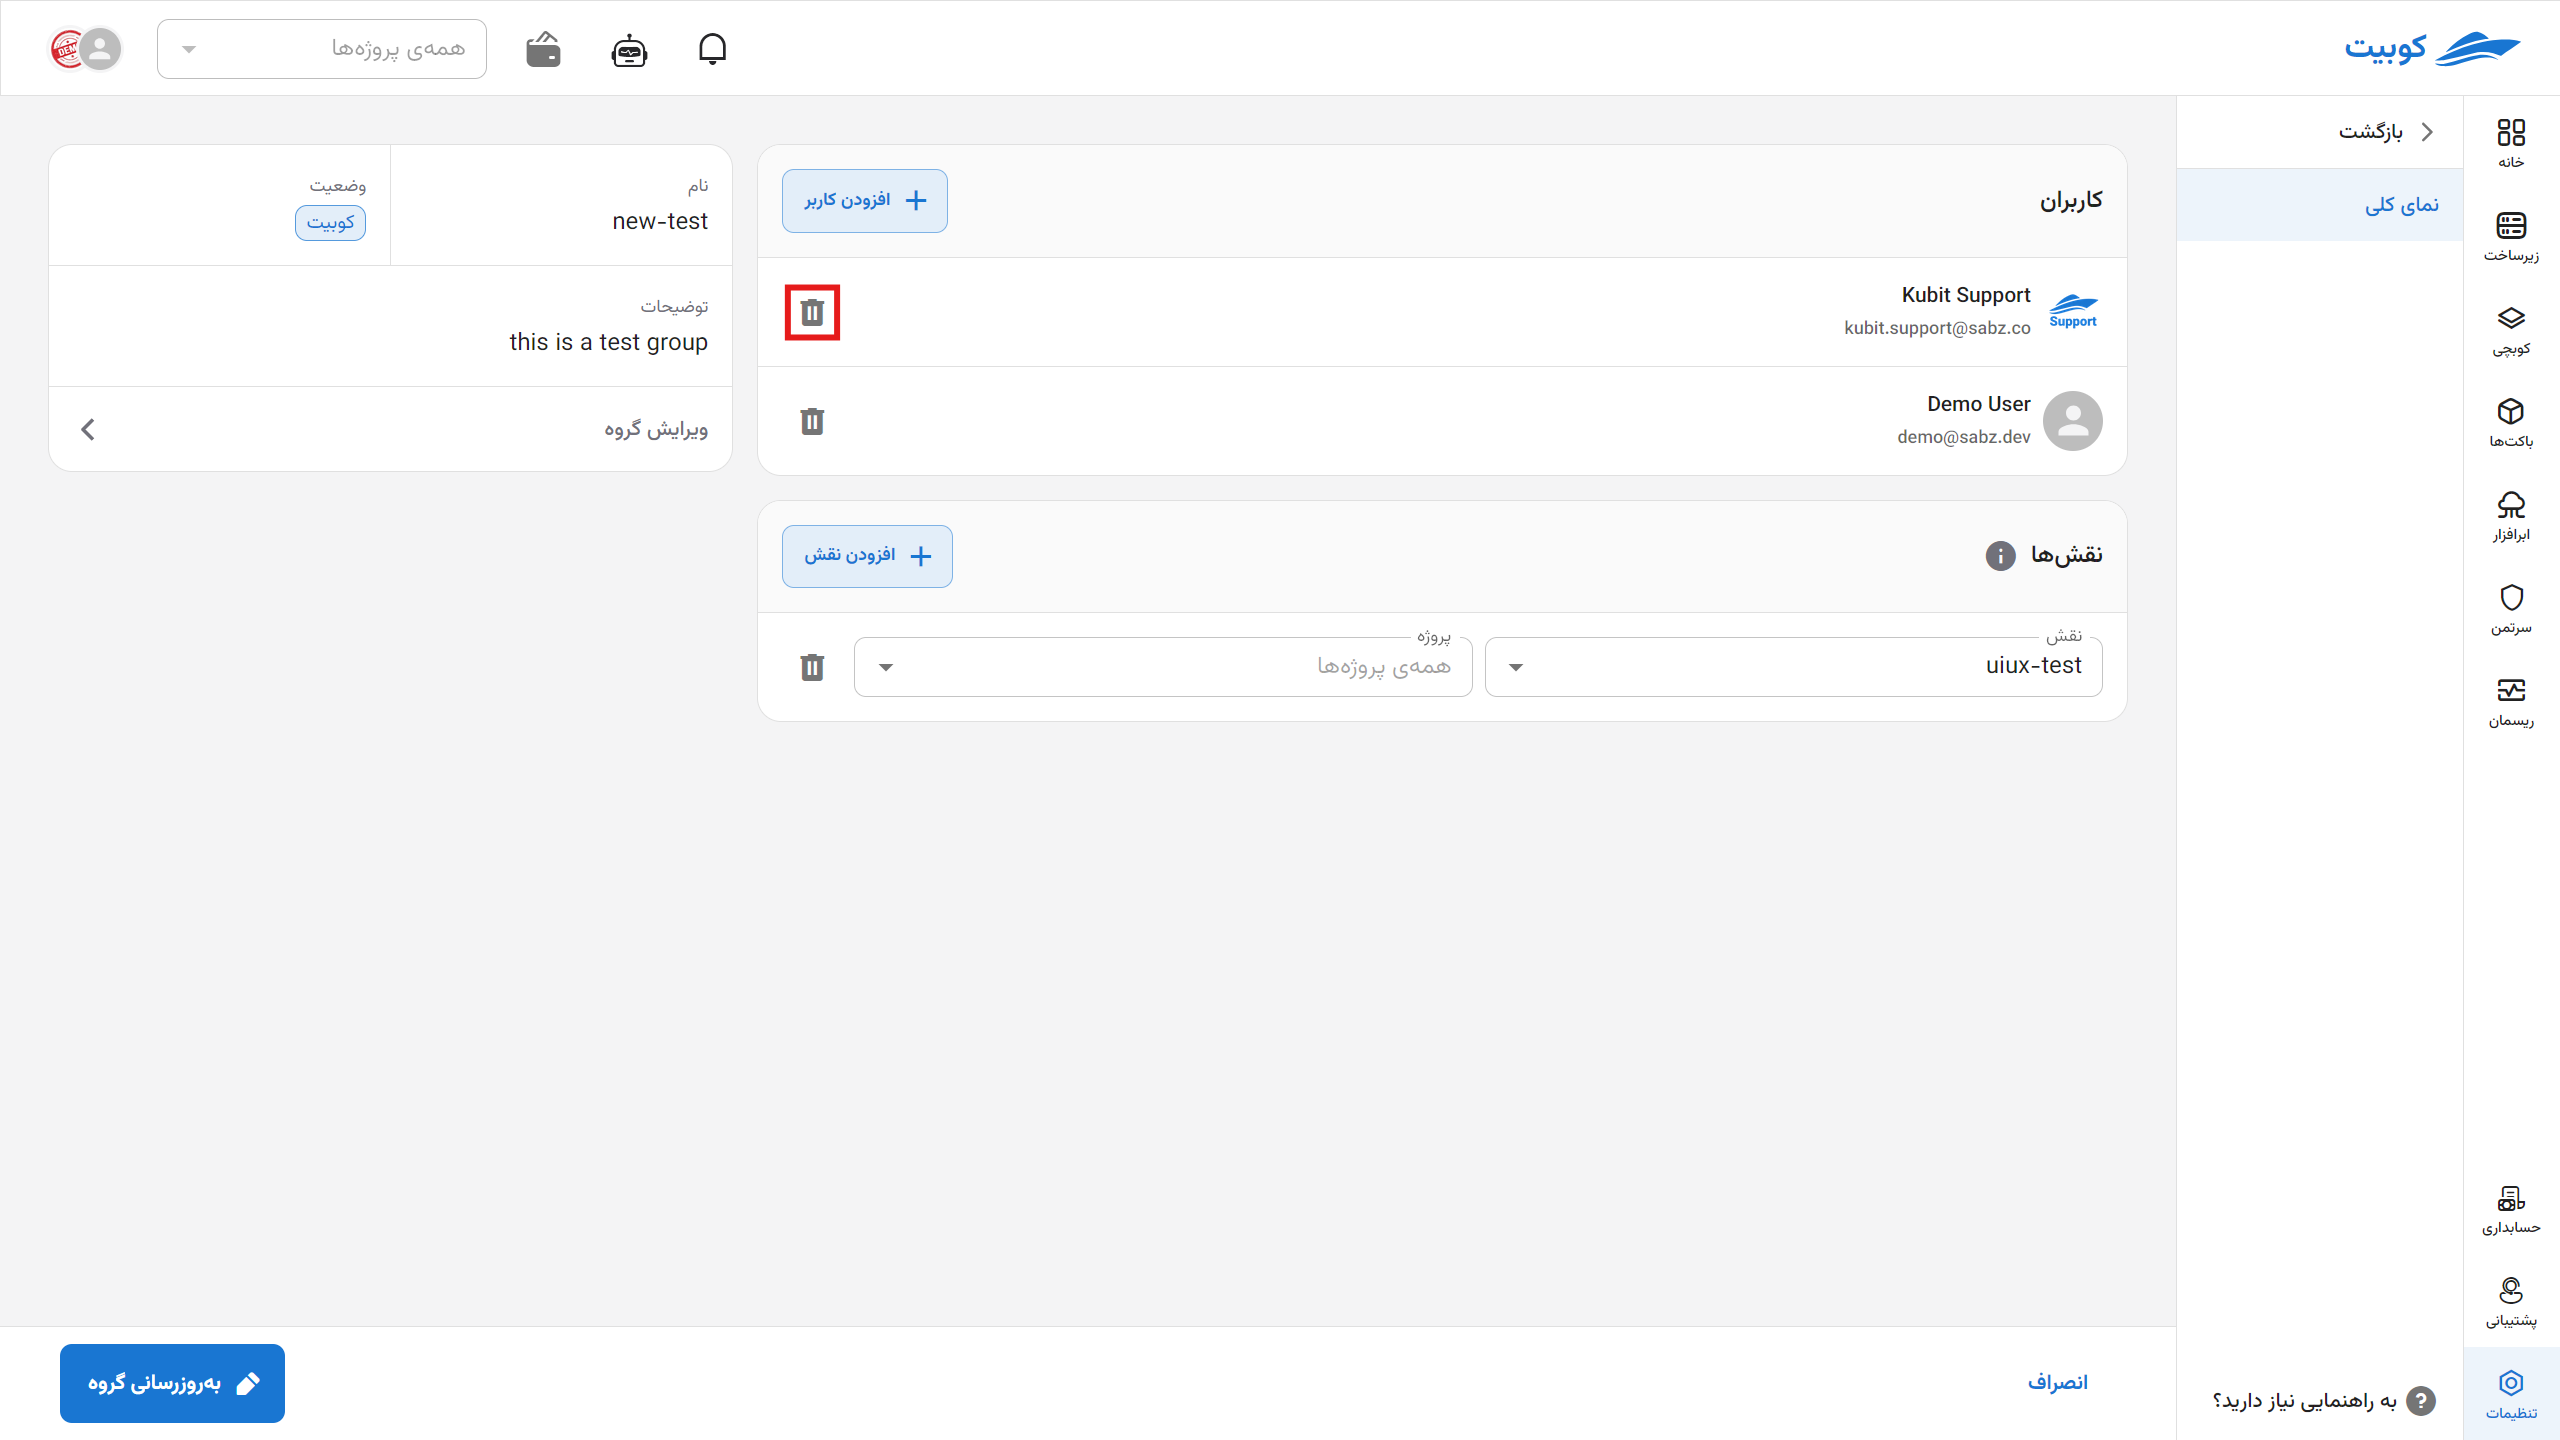
Removing a User
- To remove a user from the group, simply click on the cross icon next to the user’s name:
- Then, by clicking on the Update Group button, save the applied changes:
Adding/Removing Roles
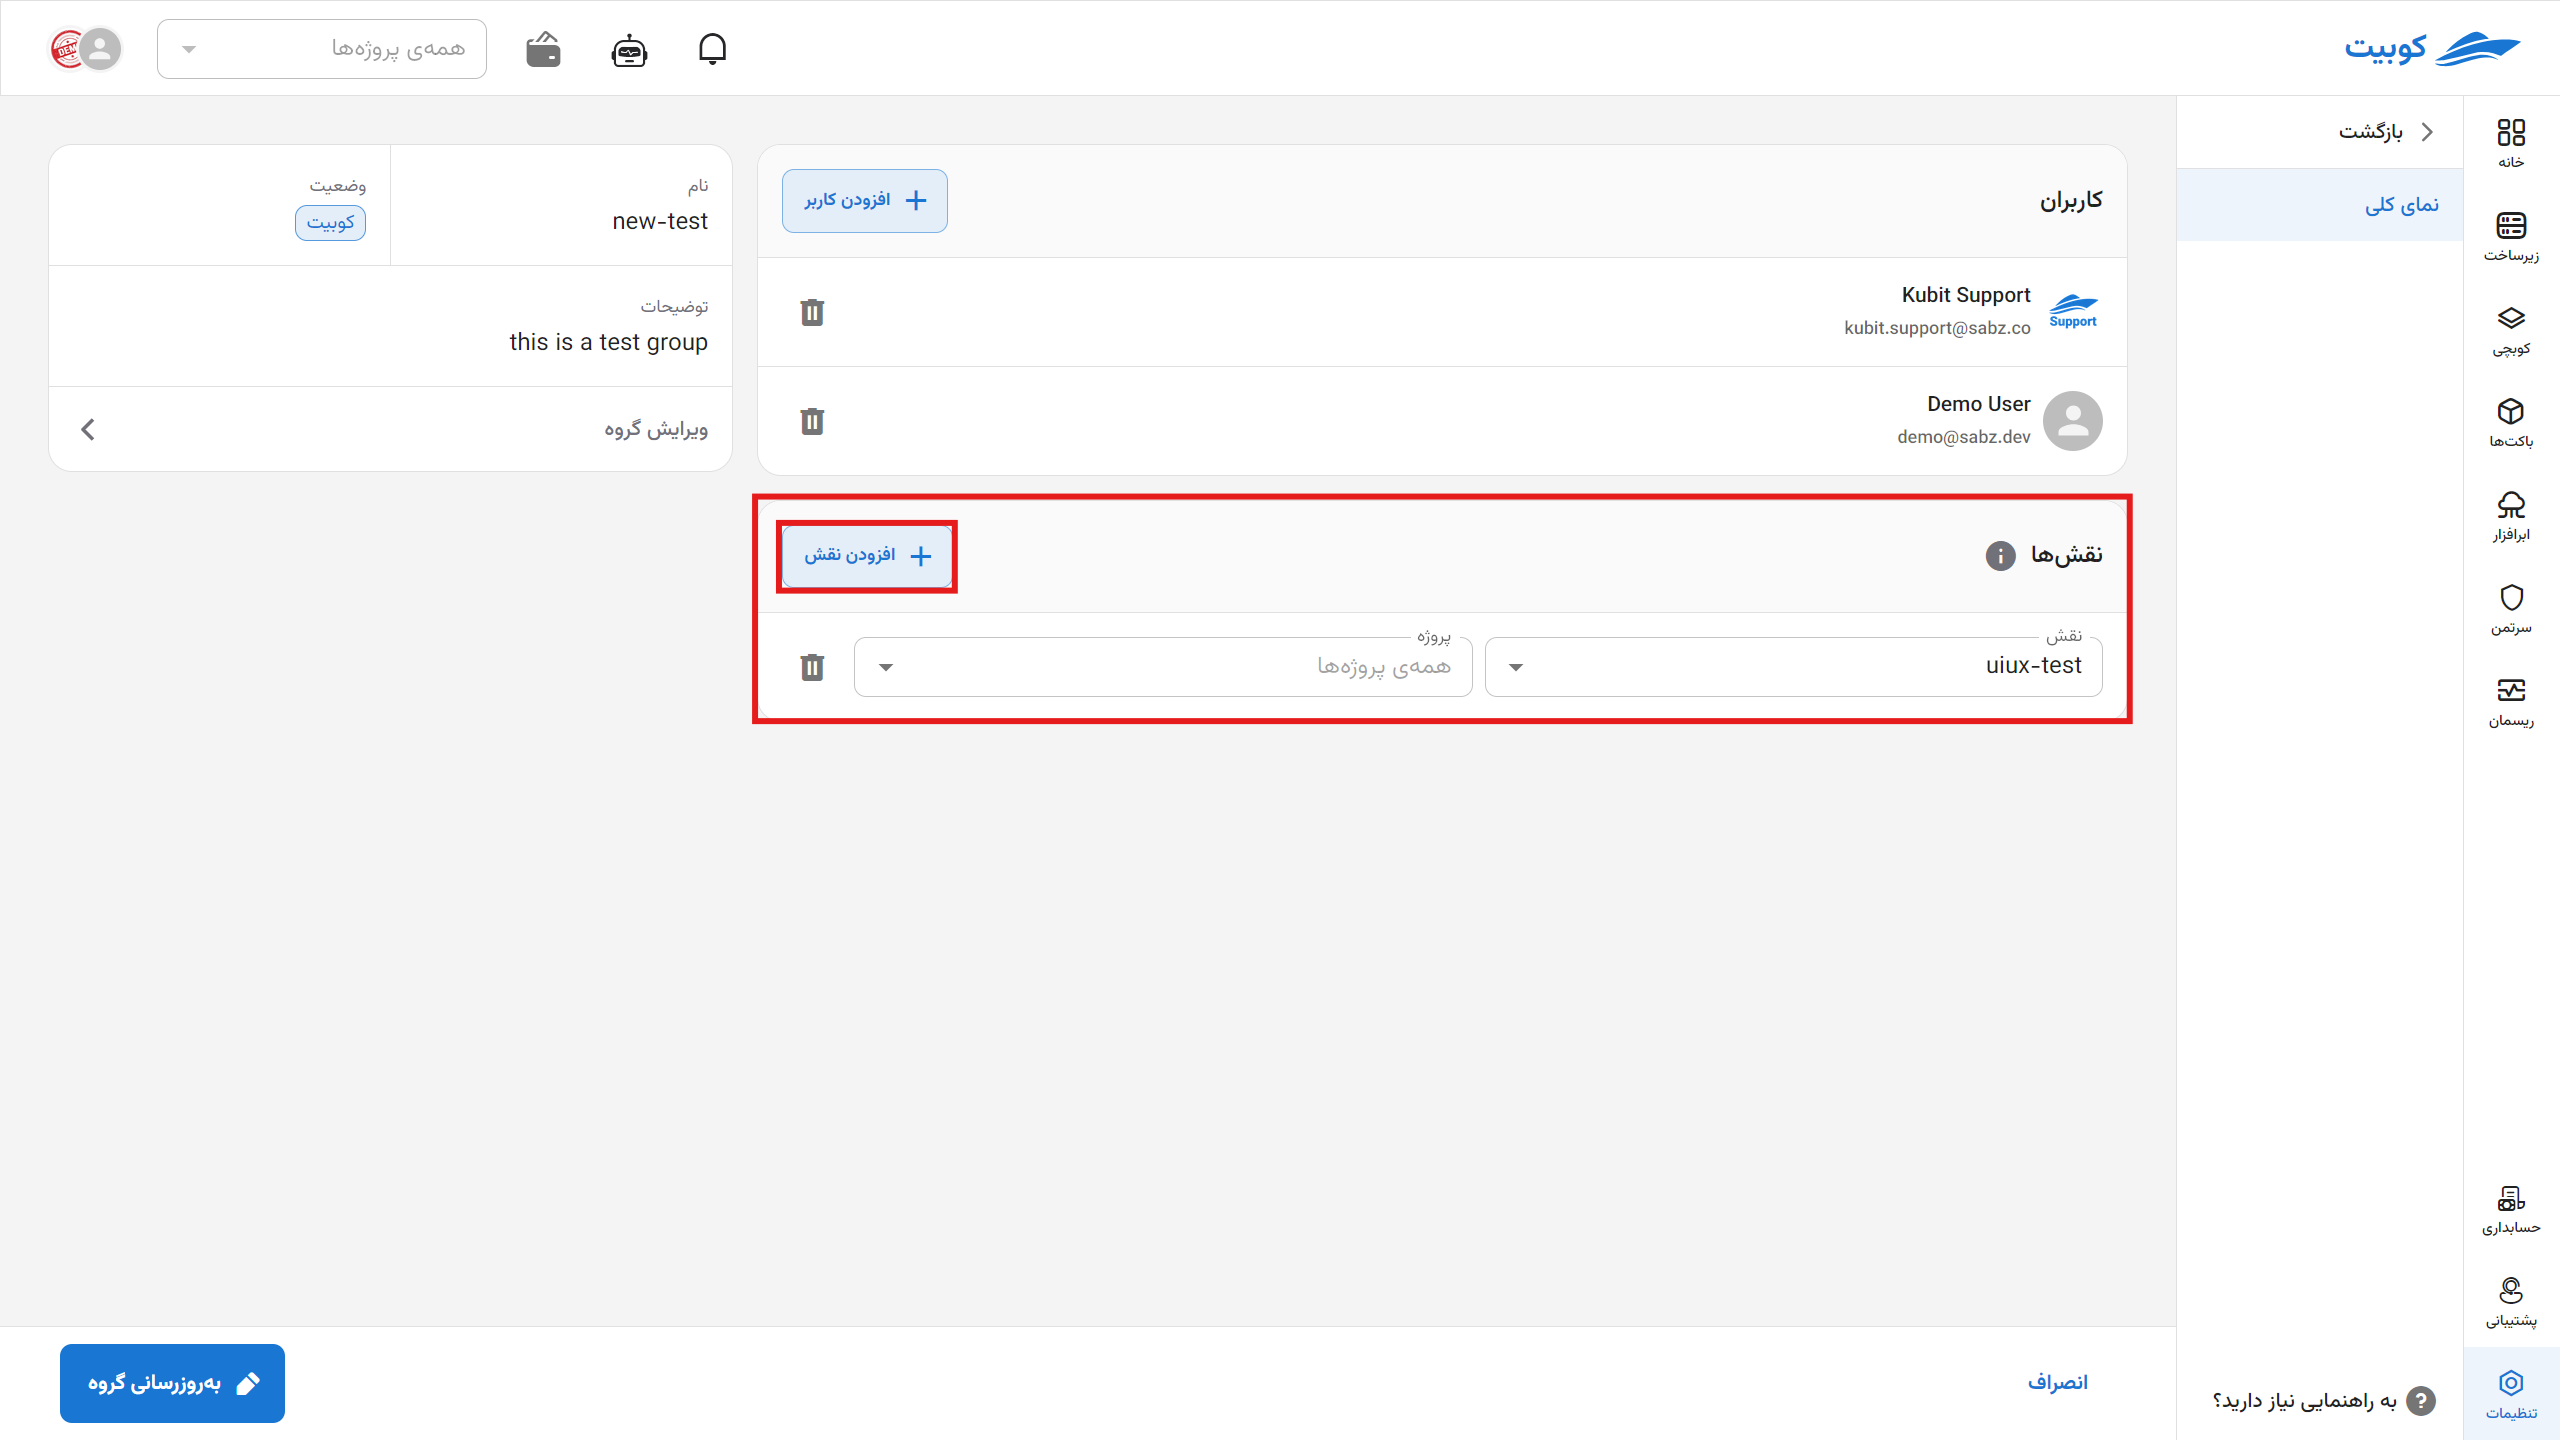
Adding a Role
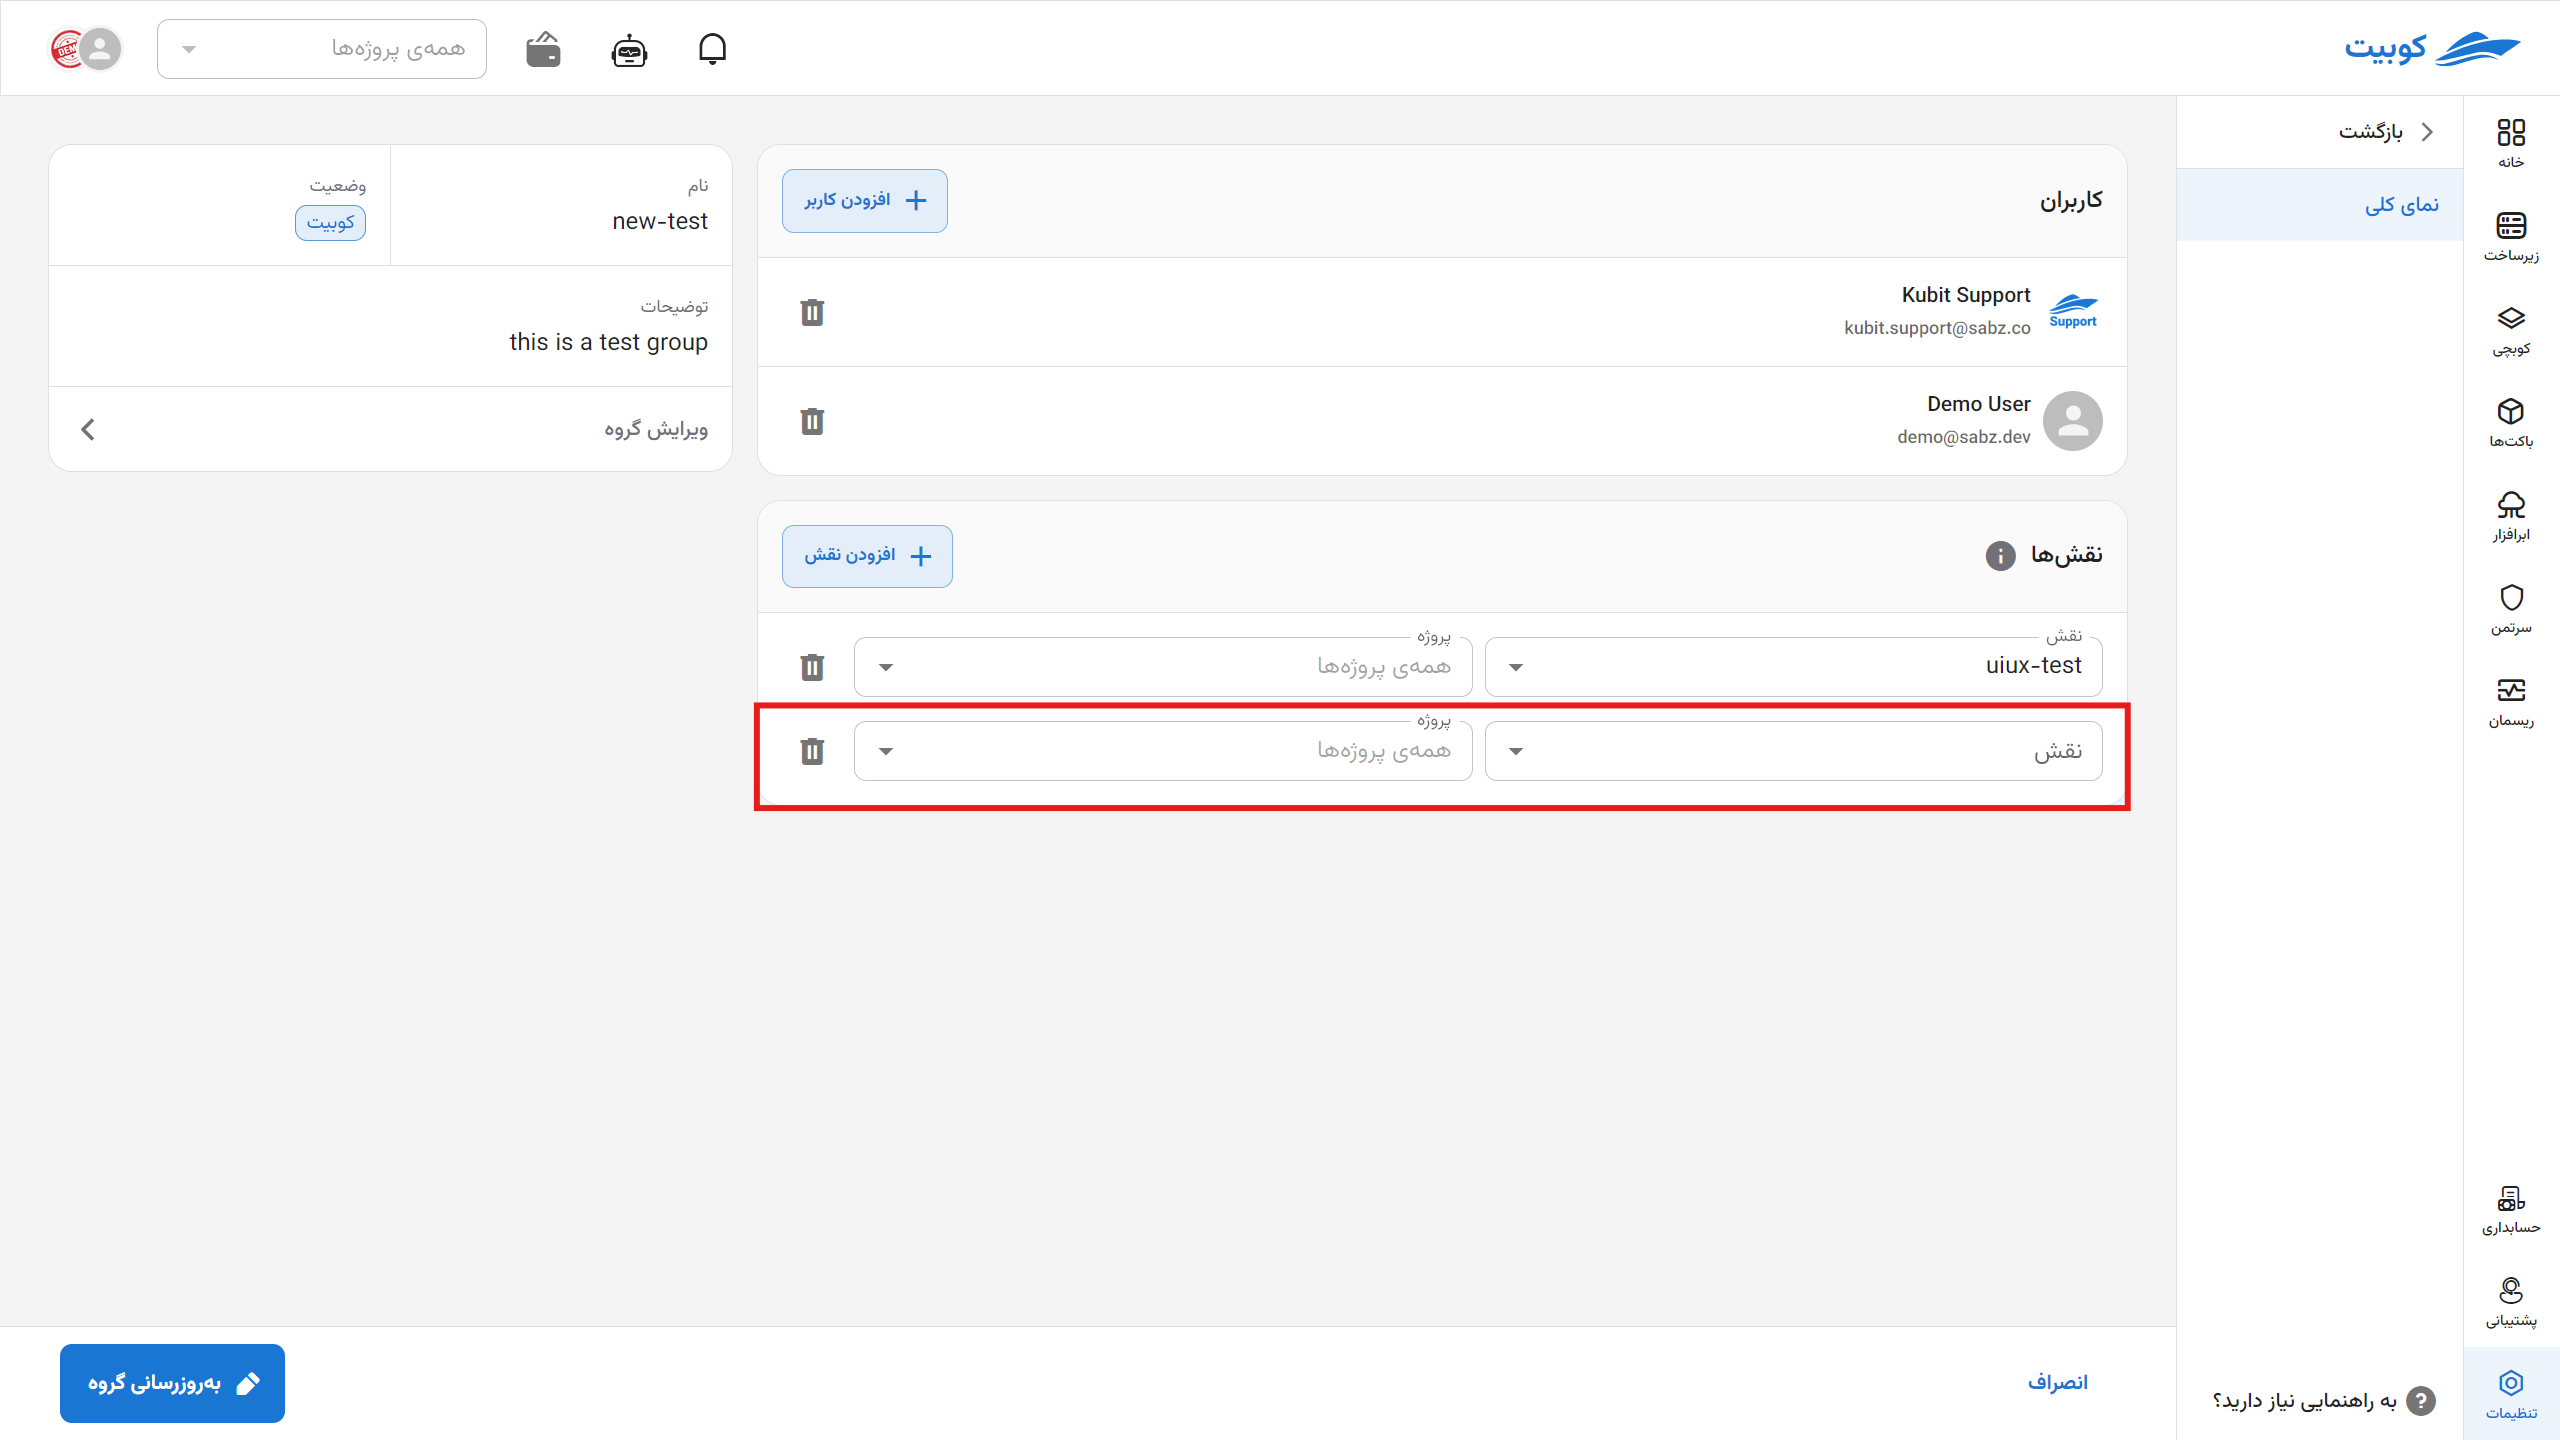
To add a role to the user group, from the Roles section, click on Add Role:
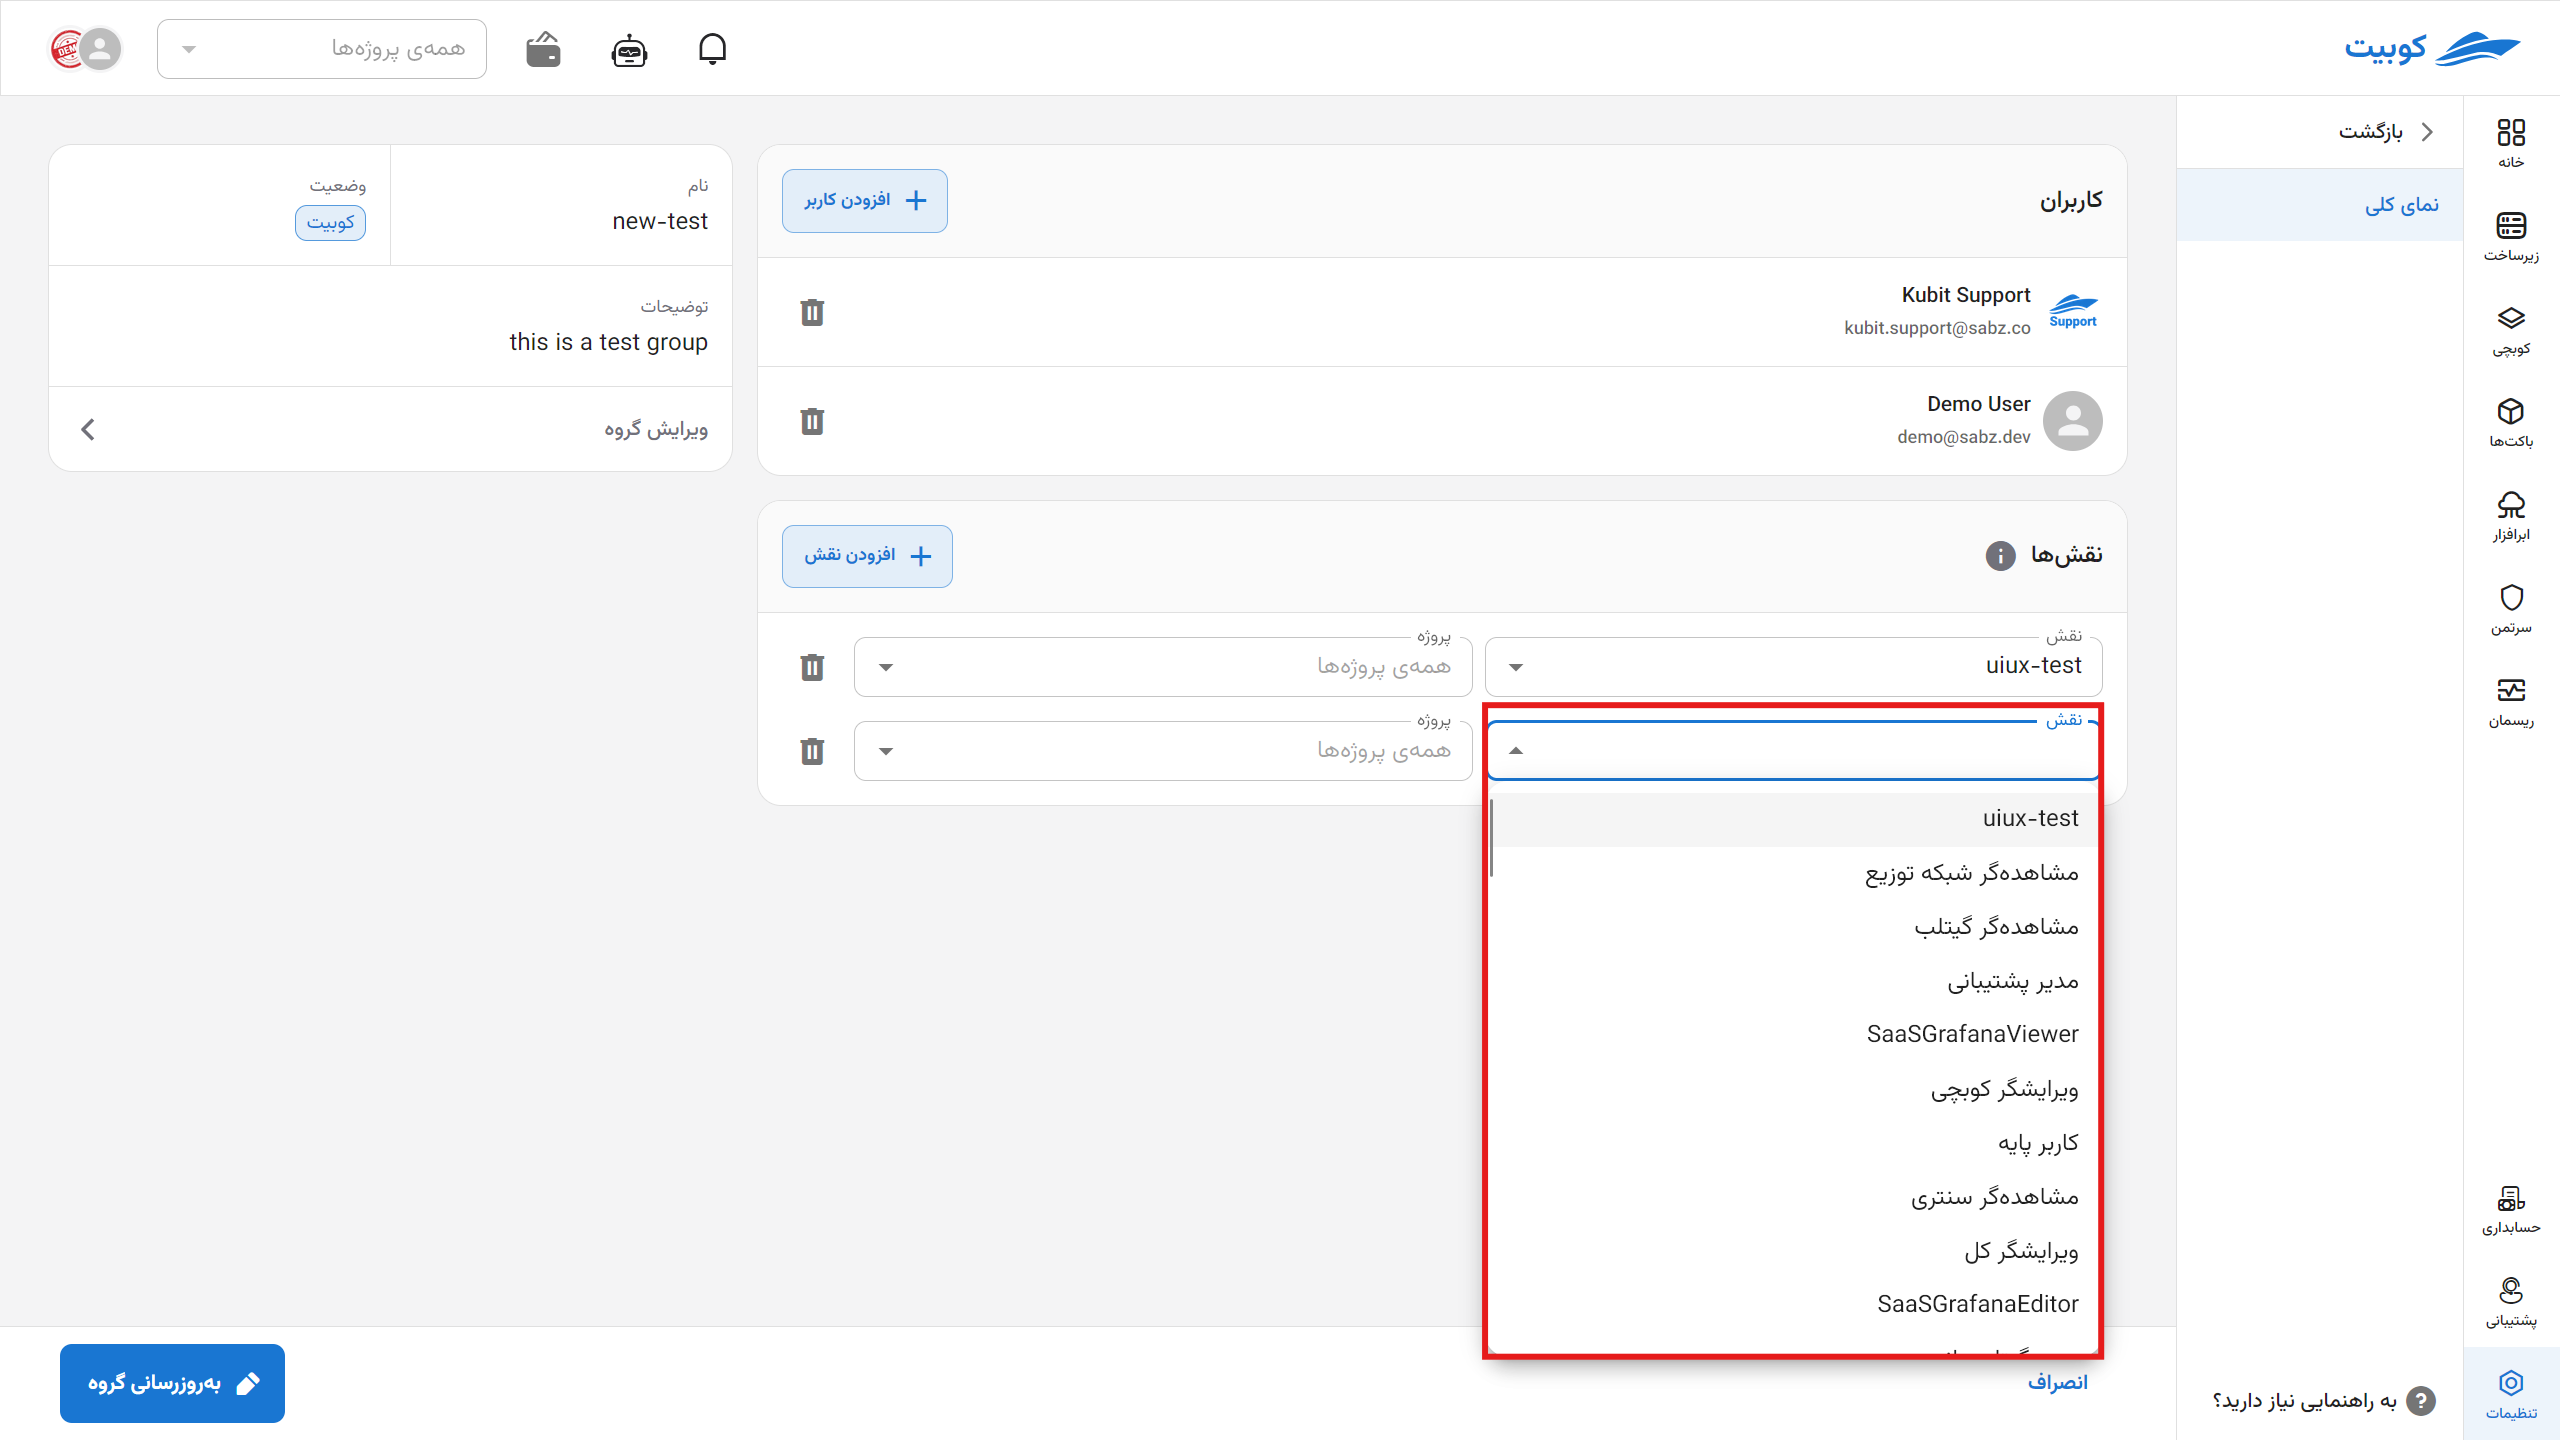
Select the desired role along with the access level in the project:
Then, by clicking on the Update Group button, the selected role will be added to the group:

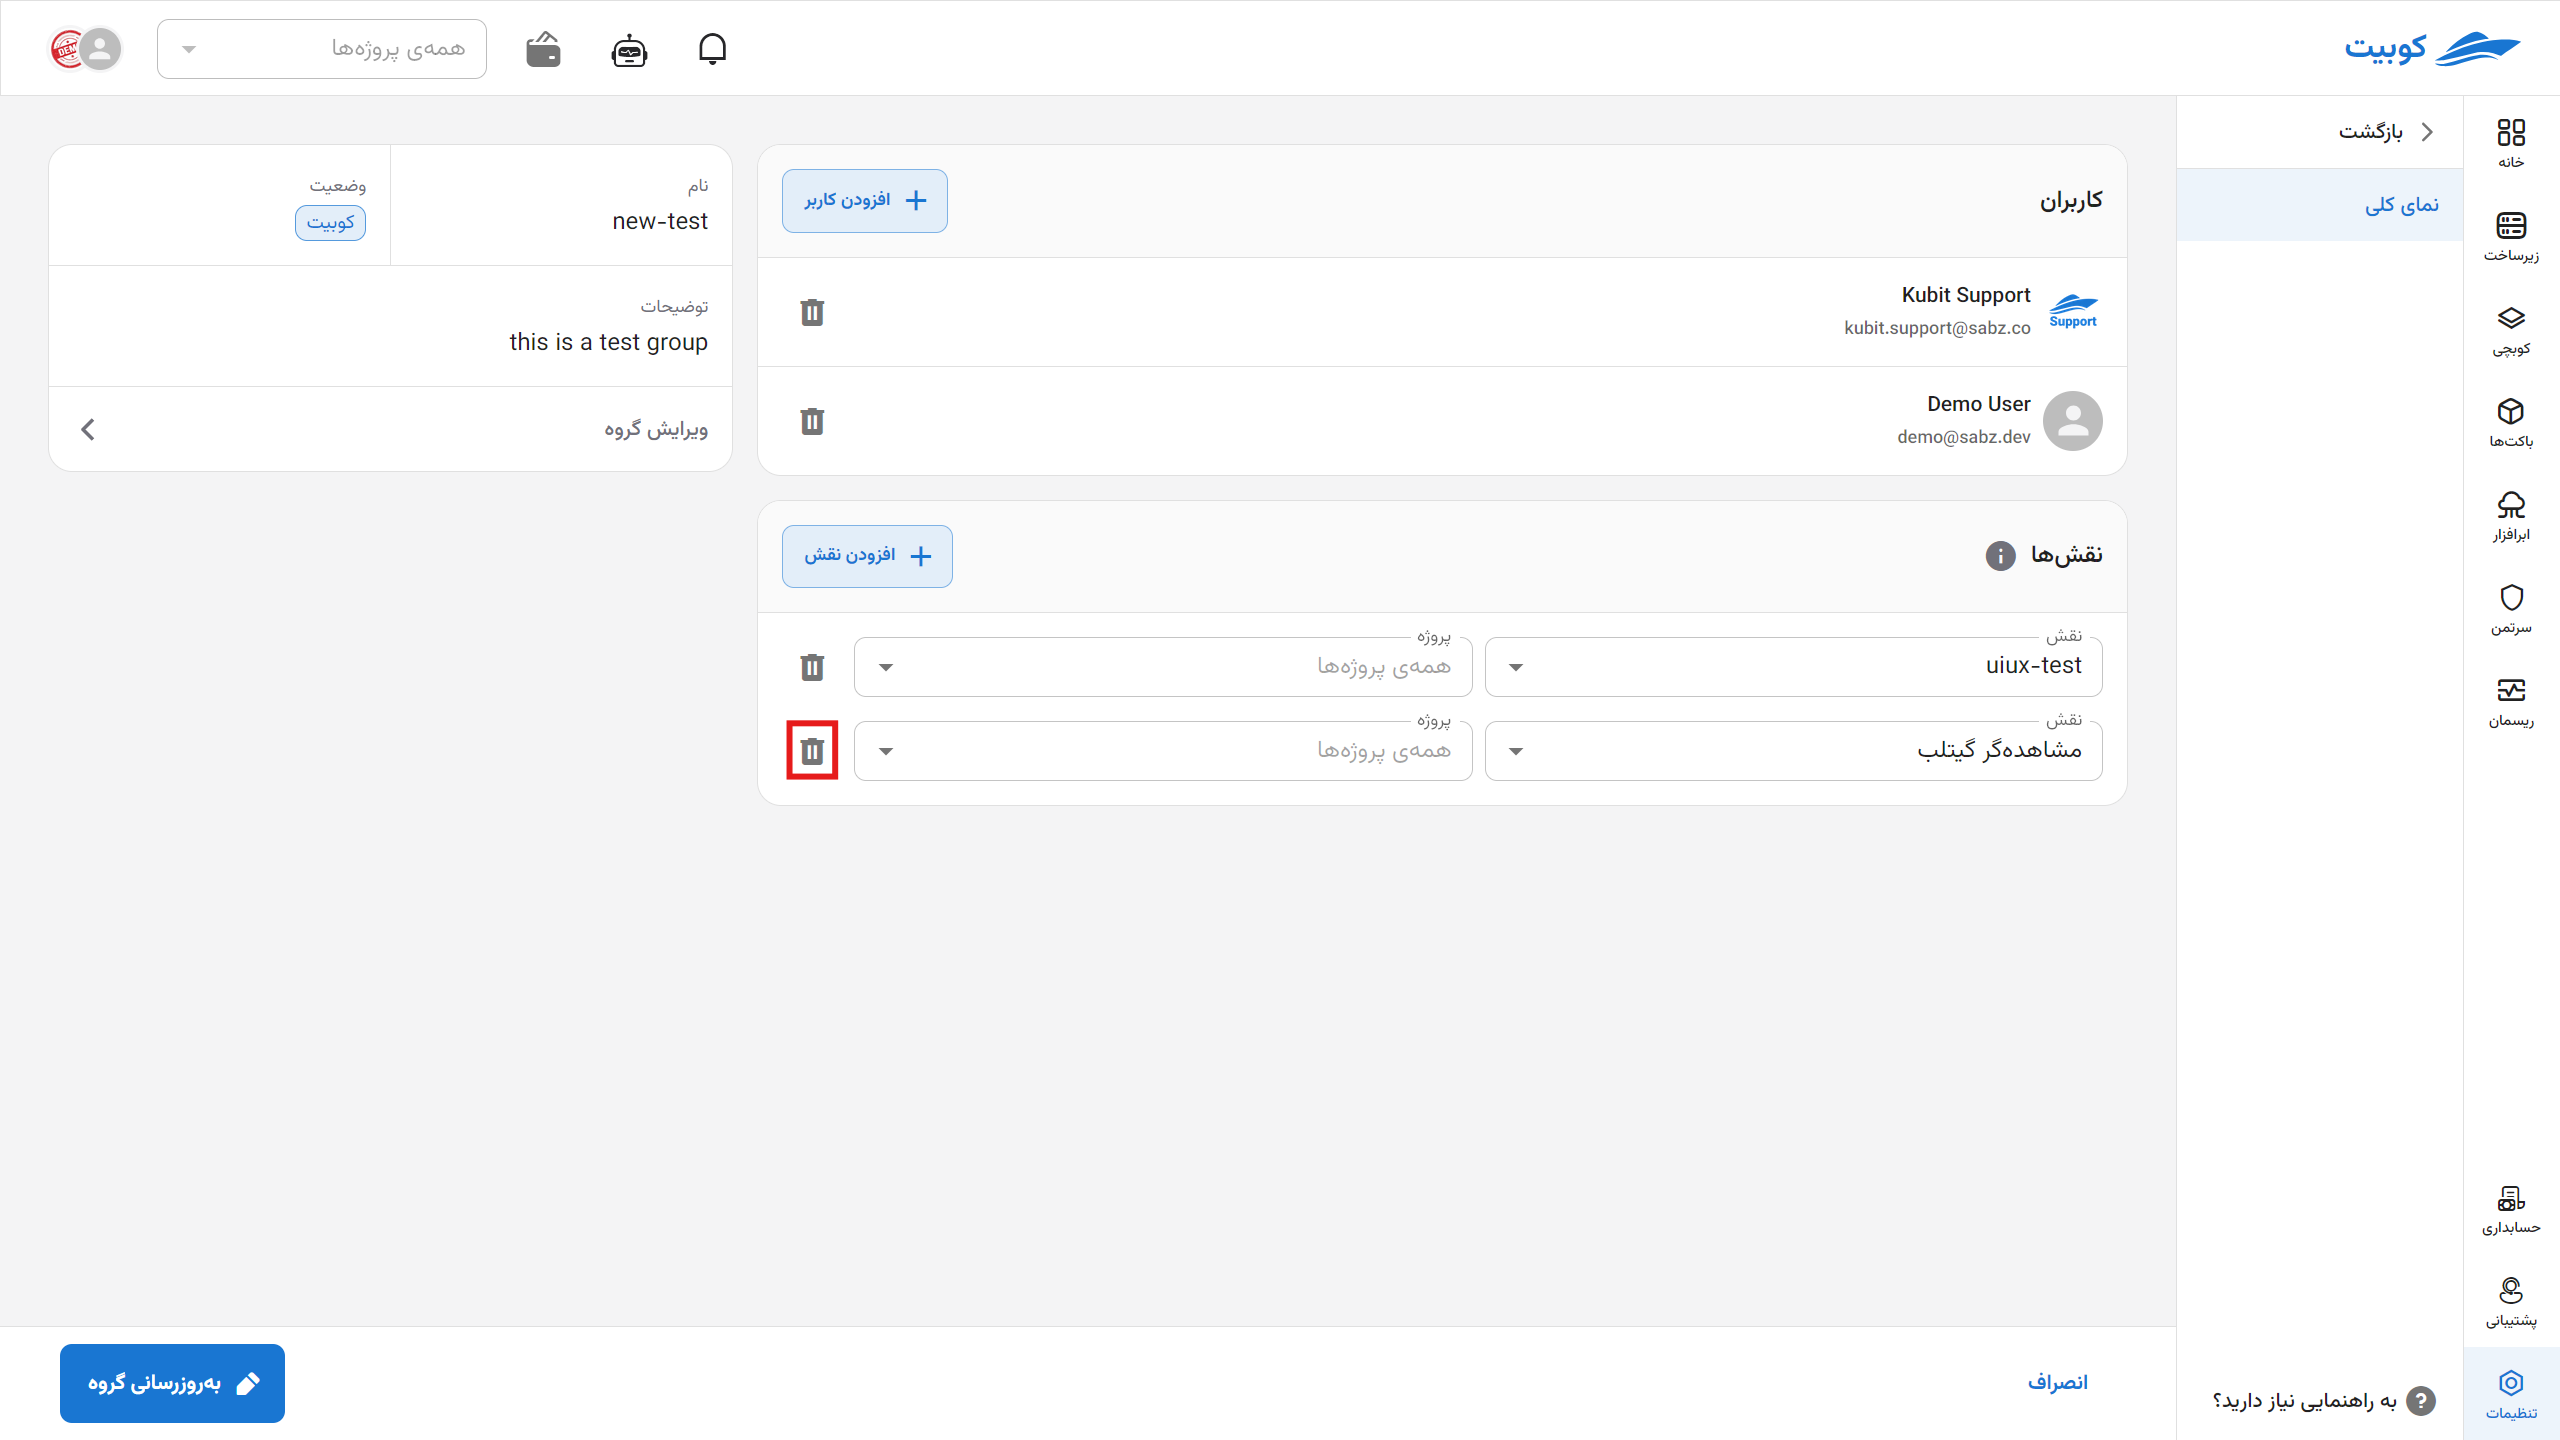
Removing a Role
- To remove a role from the group, simply click on the trash bin icon of the relevant role.
- Then, by clicking on the Update Group button, save the applied changes.