

Organization Profile Settings
The main organization settings include managing projects, users, groups, roles, permissions, and services.

Services
Services are the features, facilities, and resources that Kubit provides to users and organizations.
To use any service, it must first be activated for your organization. The activation and deactivation section provides further details.
List of Services
The list of available services is as follows:
| Service Type | Service Description |
|---|---|
| Kubchi (Cloud Platform) | Managed Kubernetes platform by the Kubit system |
| Infrastructure (Cloud Computing) | Service providing cloud resources such as CPU, memory, disk, and network |
| Buckets (Cloud Storage Management) | Data storage and management |
| Abrafzar (Managed Cloud Software) | Cloud service aimed at facilitating, accelerating, and securing developers' access to software tools |
| Resman (Resource Management) | Monitoring resource usage (CPU/RAM/Disk) across the entire cluster |
| Certman (Cloud Security) | Centralized system for managing required protective and security features |
| Zereshk (Proxy) | Anti-sanction and smart proxy |
| Resan (Message Center) | Central messaging service and providing various message-sending APIs |
Some services are automatically activated for the organization upon account creation and organization setup. These services include Infrastructure and Buckets.
At the bottom of the Organization Settings page, there is a list of all Kubit services, and the status of each service in the current organization can be viewed:

In the following sections, we will discuss the services and how to activate/deactivate them.
How to Activate and Deactivate Services
Activating or deactivating a service is handled by Kubit’s support team. A ticket containing your request is created and sent to the support team. After approval by the support team, the service will be activated for you. The steps are described below.
- First, click on the three-dot button related to the specific service.
- Then, depending on the current status of the service, select the Request Activation or Request Deactivation option.
- A ticket corresponding to your request will be created and sent to the Kubit support team.
Activation


Deactivation


By visiting the support service page, you can view the ticket created for your request:

Default Groups
In this section, you can define default groups so that new users are automatically added to these groups upon joining the organization.

To do this, first click on Edit Organization to access the relevant settings.

Then, select the desired groups from the list of groups and click on Save.

Projects
From the Projects section, quick access to the list of projects and creating a new project is provided.

By clicking on Projects, you will be directed to the projects list:

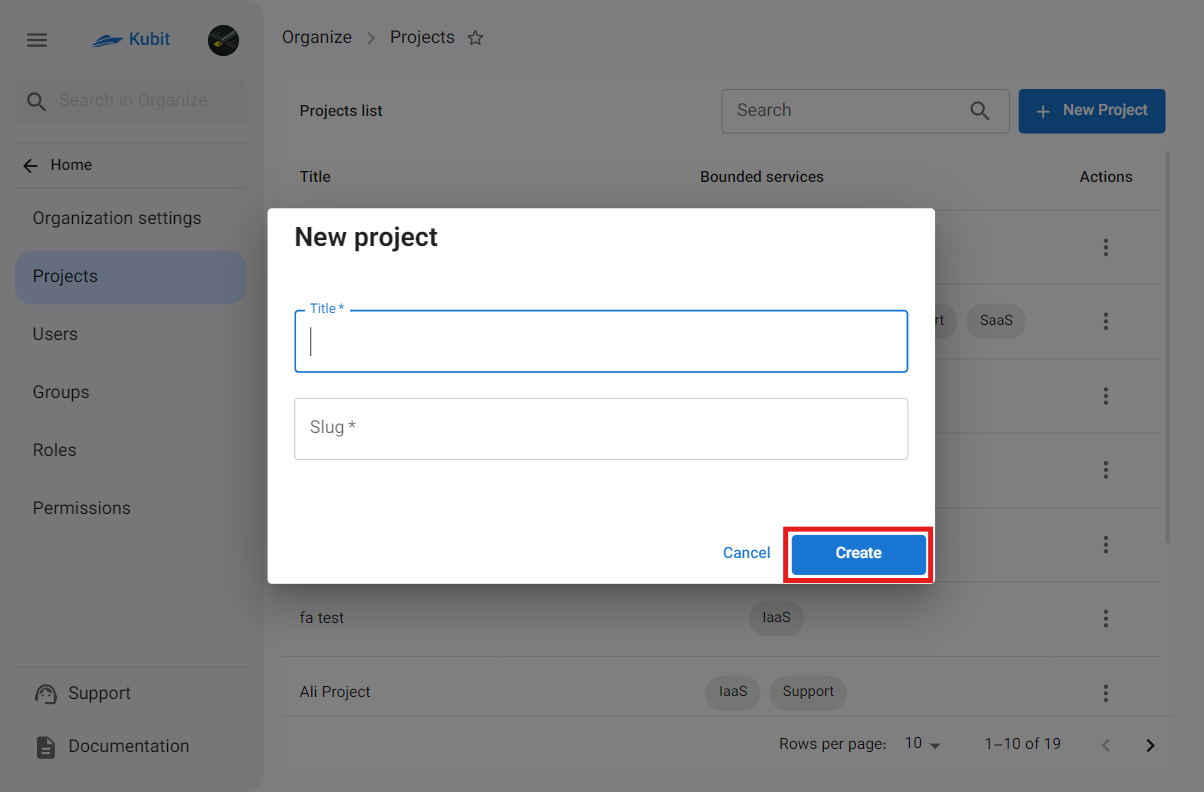
By clicking on New Project in the Projects card, you can create a new project:

Enter the title and key of the project and click on Create:
For more details on creating a project, refer to the creating a project document.
Users
From the Users section, quick access to the list of users and adding new users is provided.

By clicking on Users, you will be directed to the users list:

By clicking on New User in the Users card, you can add a new user to the organization:

Then, you will see the various options for adding a user:

The steps for each of these methods are explained below.
For more details on the steps for adding a user, refer to the user management document.
Adding a Kubit User
To add a Kubit user, click on the Kubit User option to be directed to the invitation form.
Then, enter the required information to invite the user and click on Send Invitation:

Adding an LDAP User
To add an LDAP user, click on the LDAP User option to be directed to the user creation form.
Then, enter the required user information and click on Add LDAP User:

Groups
From the Groups section, quick access to the list of groups and creating a new group is provided.

By clicking on Groups, you will be directed to the groups list:

By clicking on New Group in the Users card, you can create a new group:

Then, enter the required information to create the group and click on Create New Group:

Adding values such as users and roles is optional, and you can add these values to the created group later.
Upon confirming the entered information, the group will be created and accessible through the groups list.
For more details on creating a group, refer to the creating a group document.