Getting Started with Docker
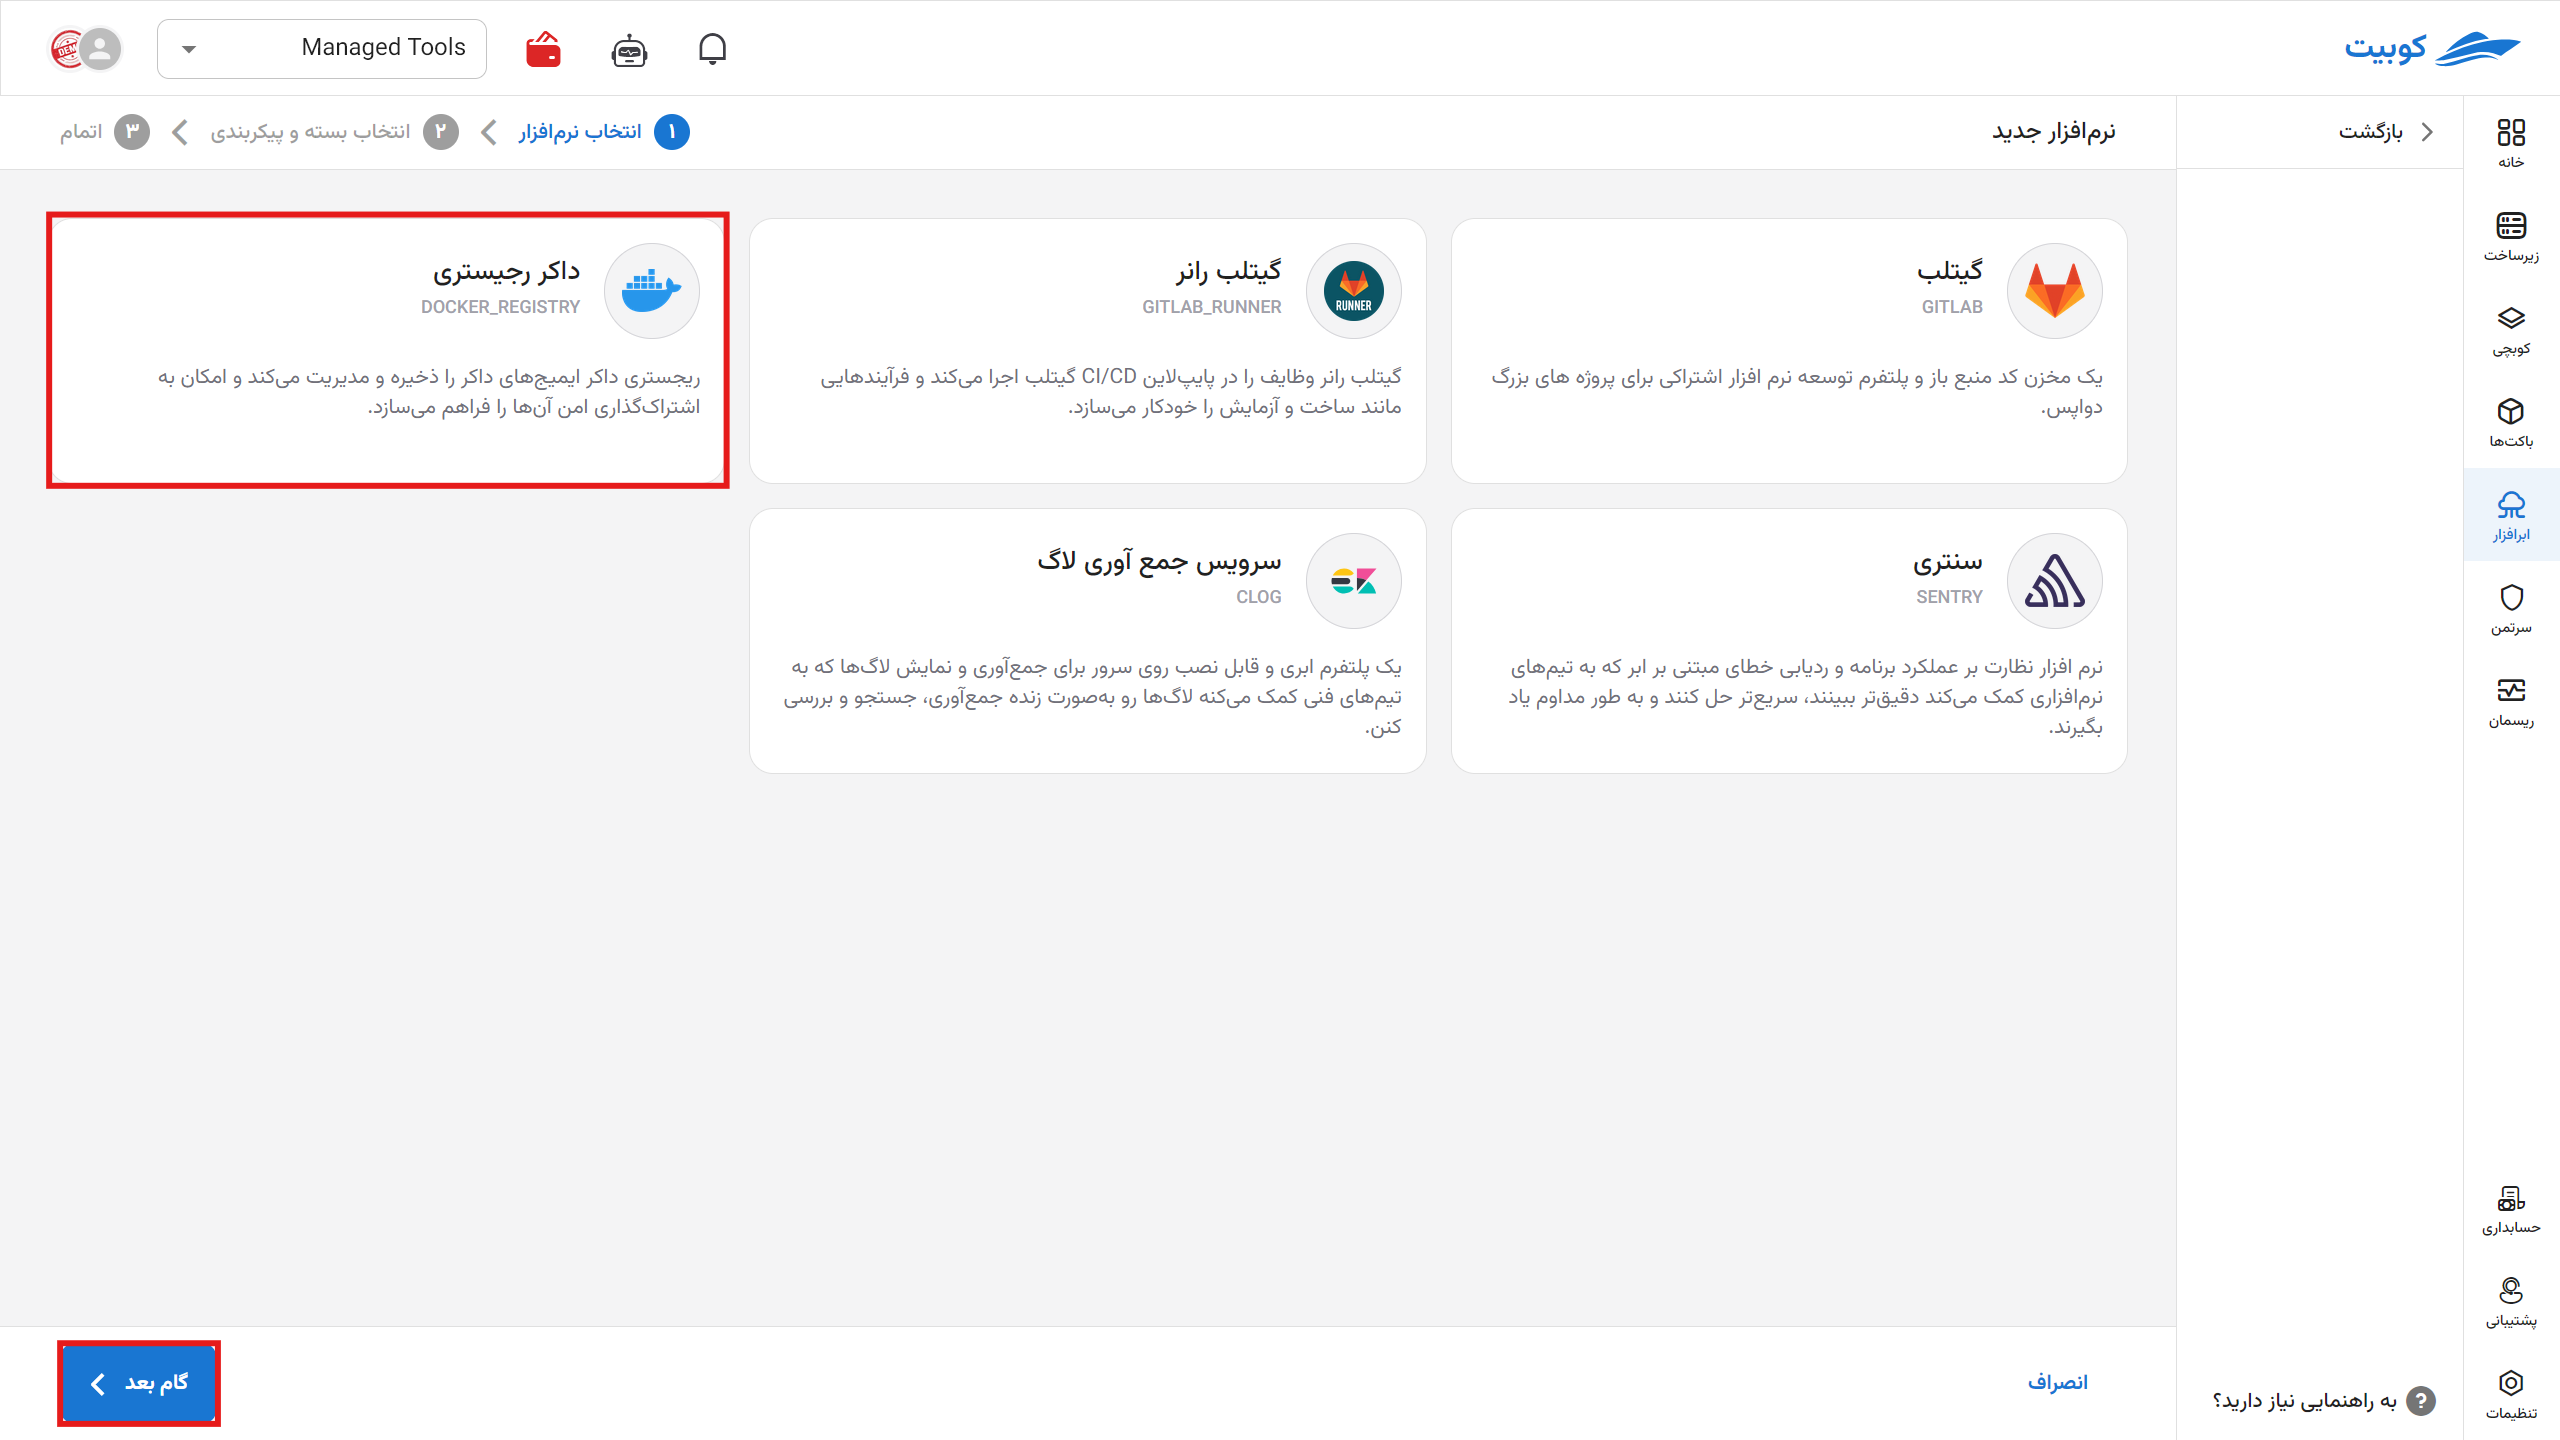
To begin using the Docker Registry software, click on "Install Software."
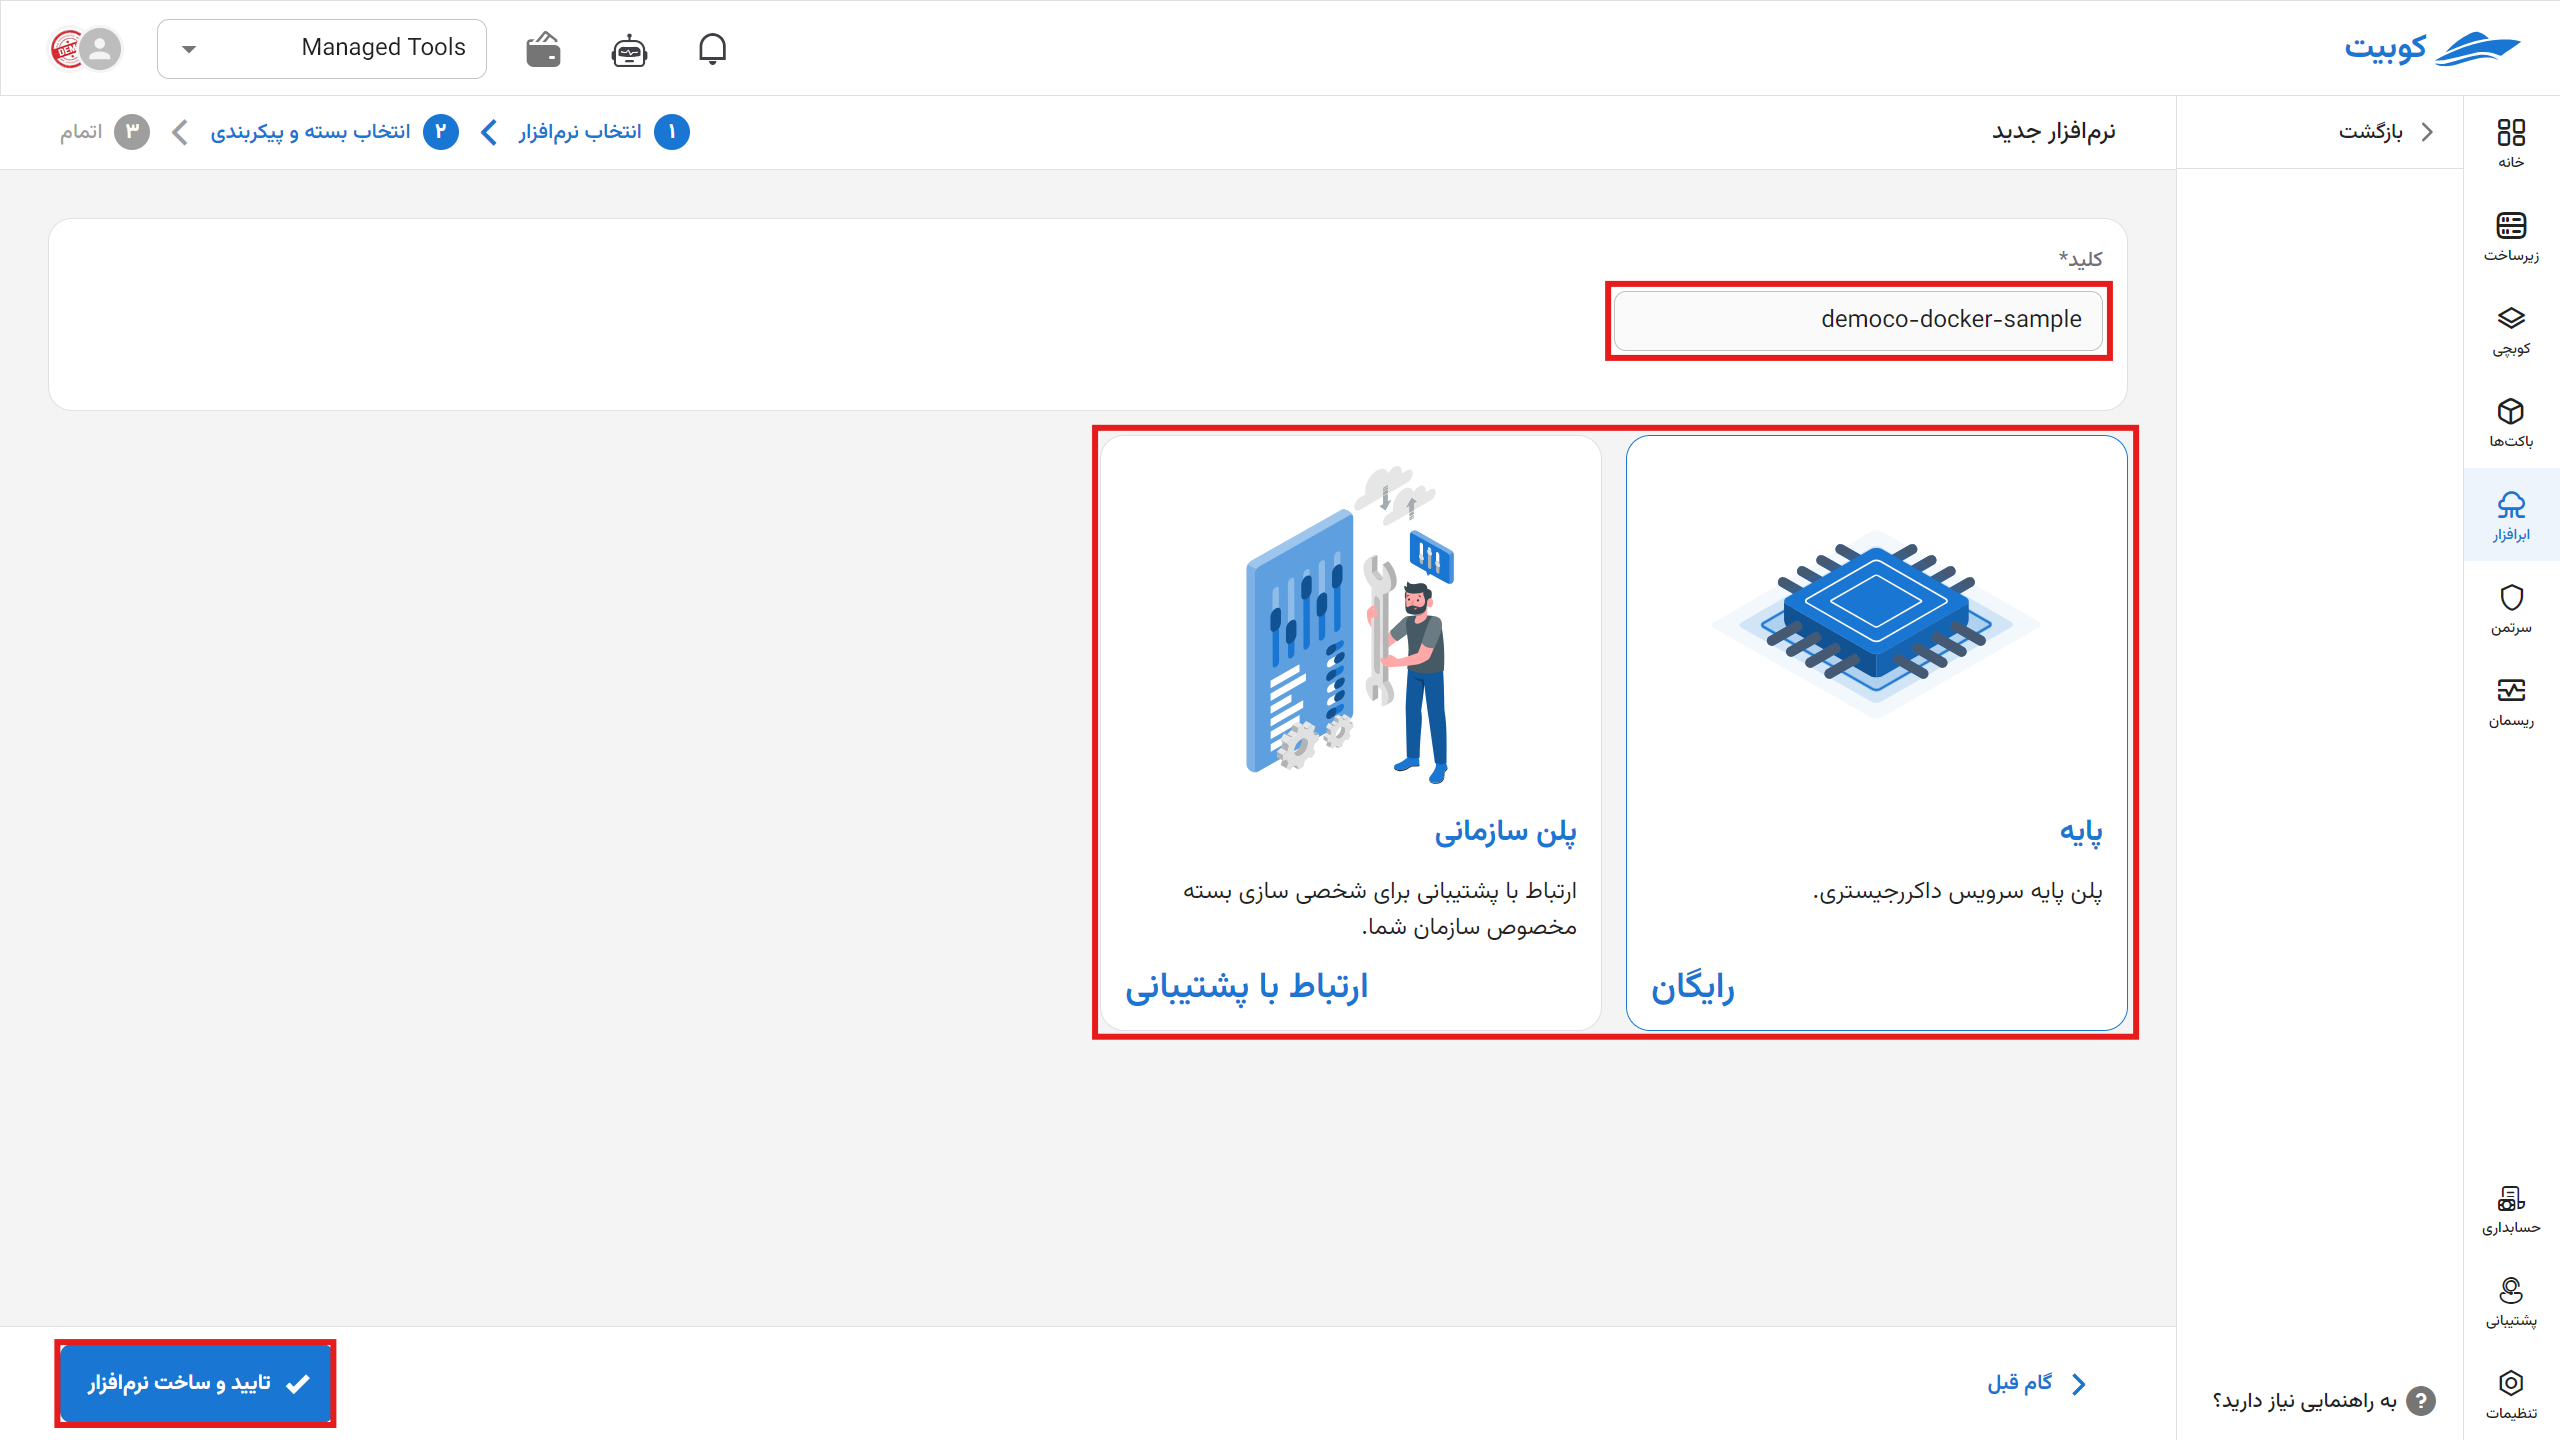
To proceed, select the name (slug) of the Docker Registry and the desired plan.
The cost calculation policy for this plan is Pay As You Go, and the final cost is determined based on your usage of the service.
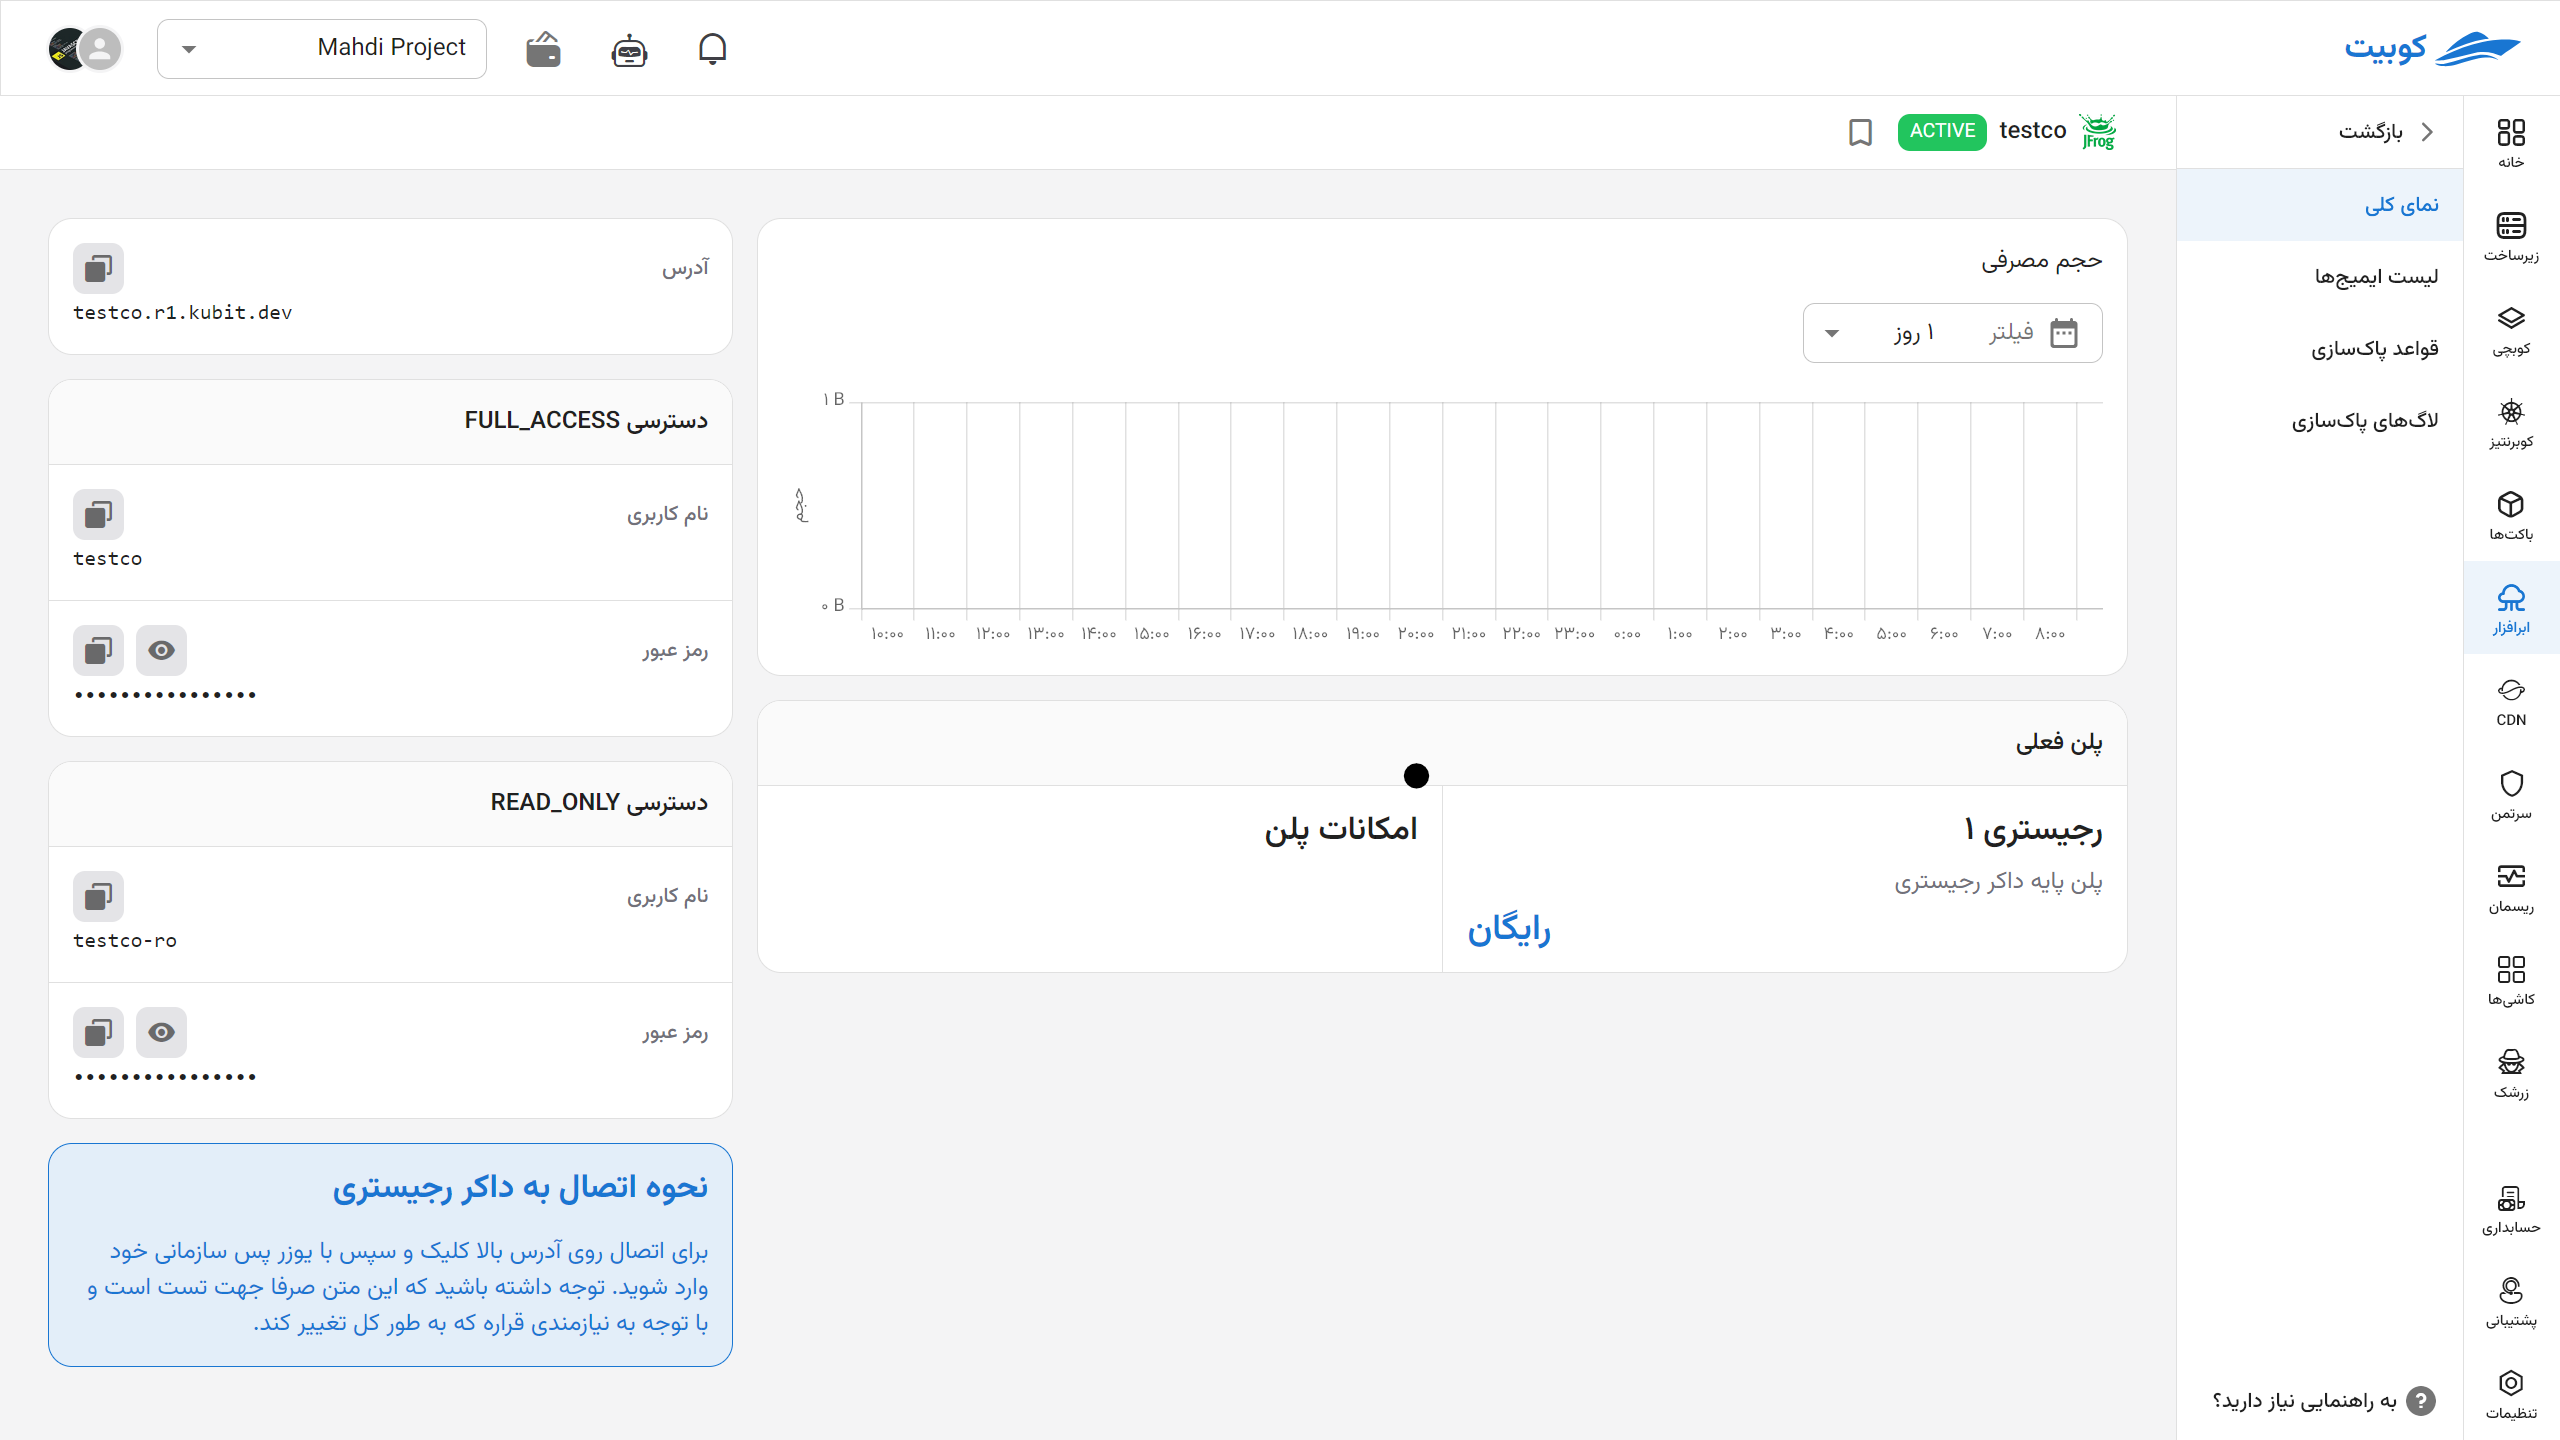
You are now on the overview page.
This page includes codes and links for connecting to the registry, your storage usage, and information about your current plan and its features.
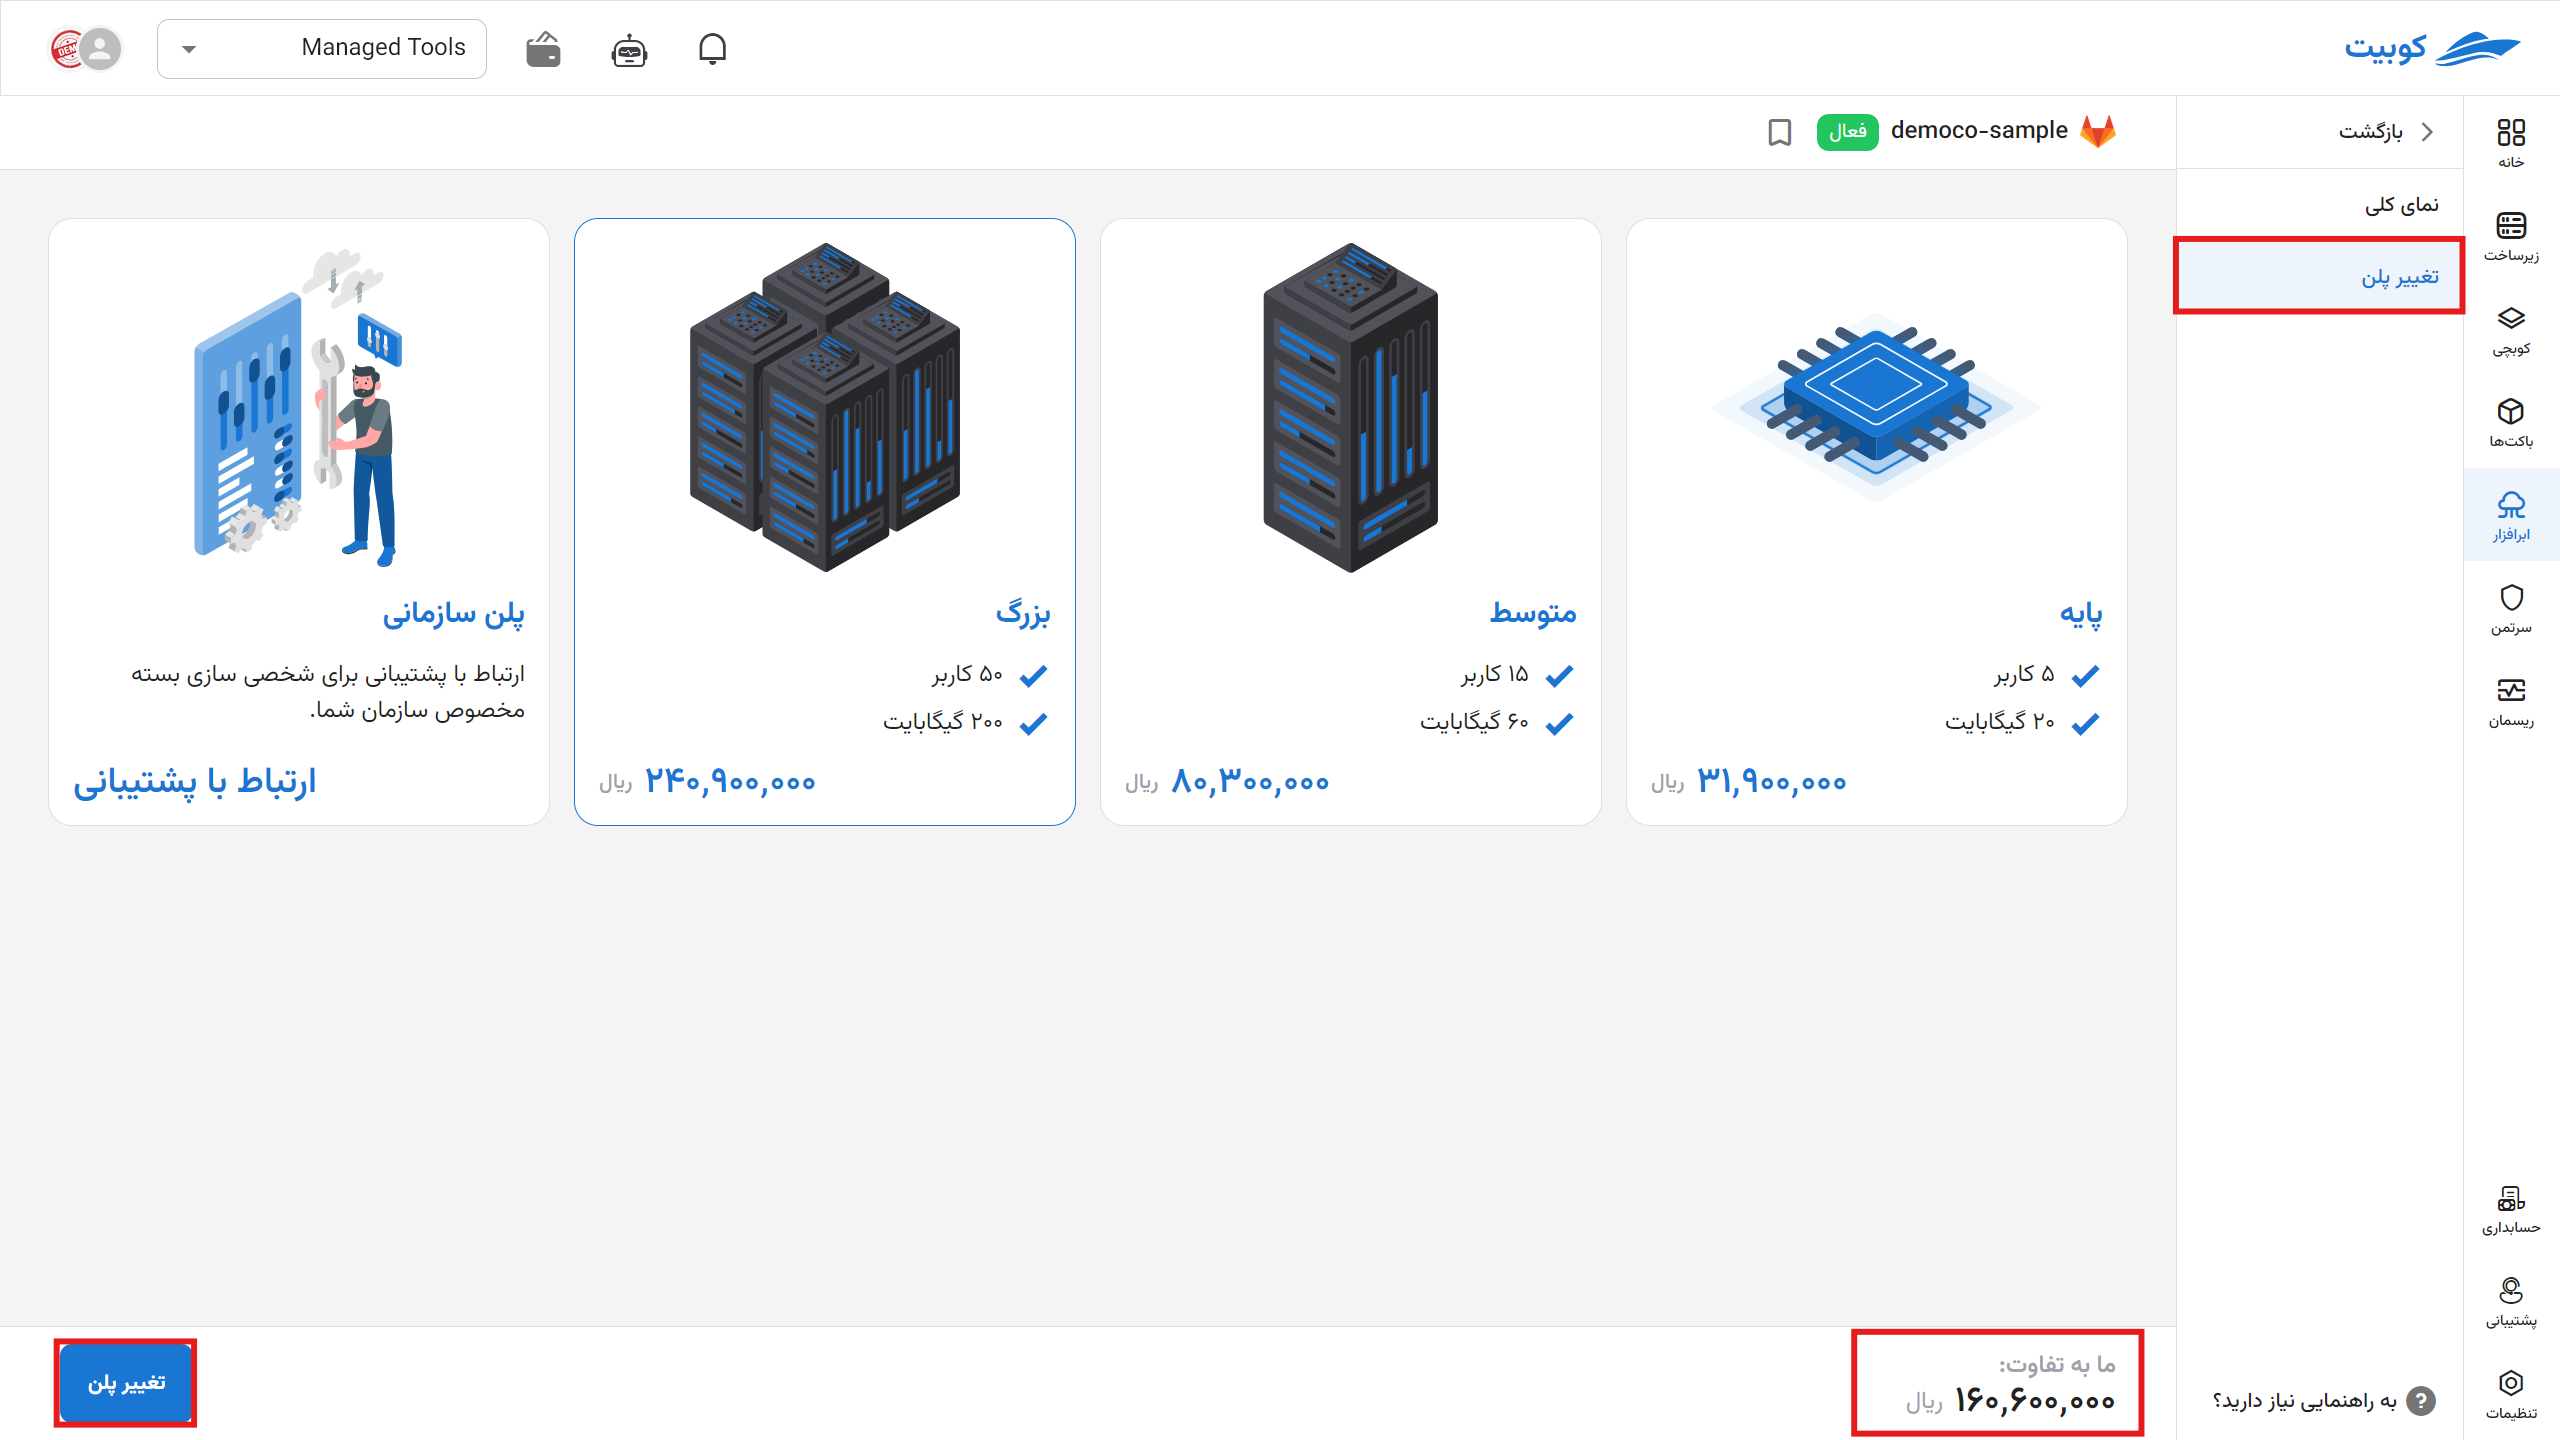
By selecting "Change Plan," you will be redirected to the plans page, where you can choose a new plan and pay the difference to upgrade your plan.
Connecting to Docker
There are several methods to connect to a Docker Registry. Here, we will connect using docker-cli.
First, navigate to the overview page:
- Address: Copy the registry address from this field.
- FULL_ACCESS: From this section, obtain the username and token for full access connection.
- READ_ONLY: From this section, you can grant limited access to users.
Enter the following command in the terminal (you can also use the Docker Desktop terminal):
echo "YOUR_PASSWORD" | docker login YOUR_REGISTRY_ADDRESS --username YOUR_USERNAME --password-stdin
Or:
docker login YOUR_REGISTRY_ADDRESS -u YOUR_USERNAME -p YOUR_PASSWORD
Note: Inline login is not a secure method for logging into an account. Executing this command creates a log in the system, and if unauthorized individuals gain access, there is a risk of security incidents. For more information, click.
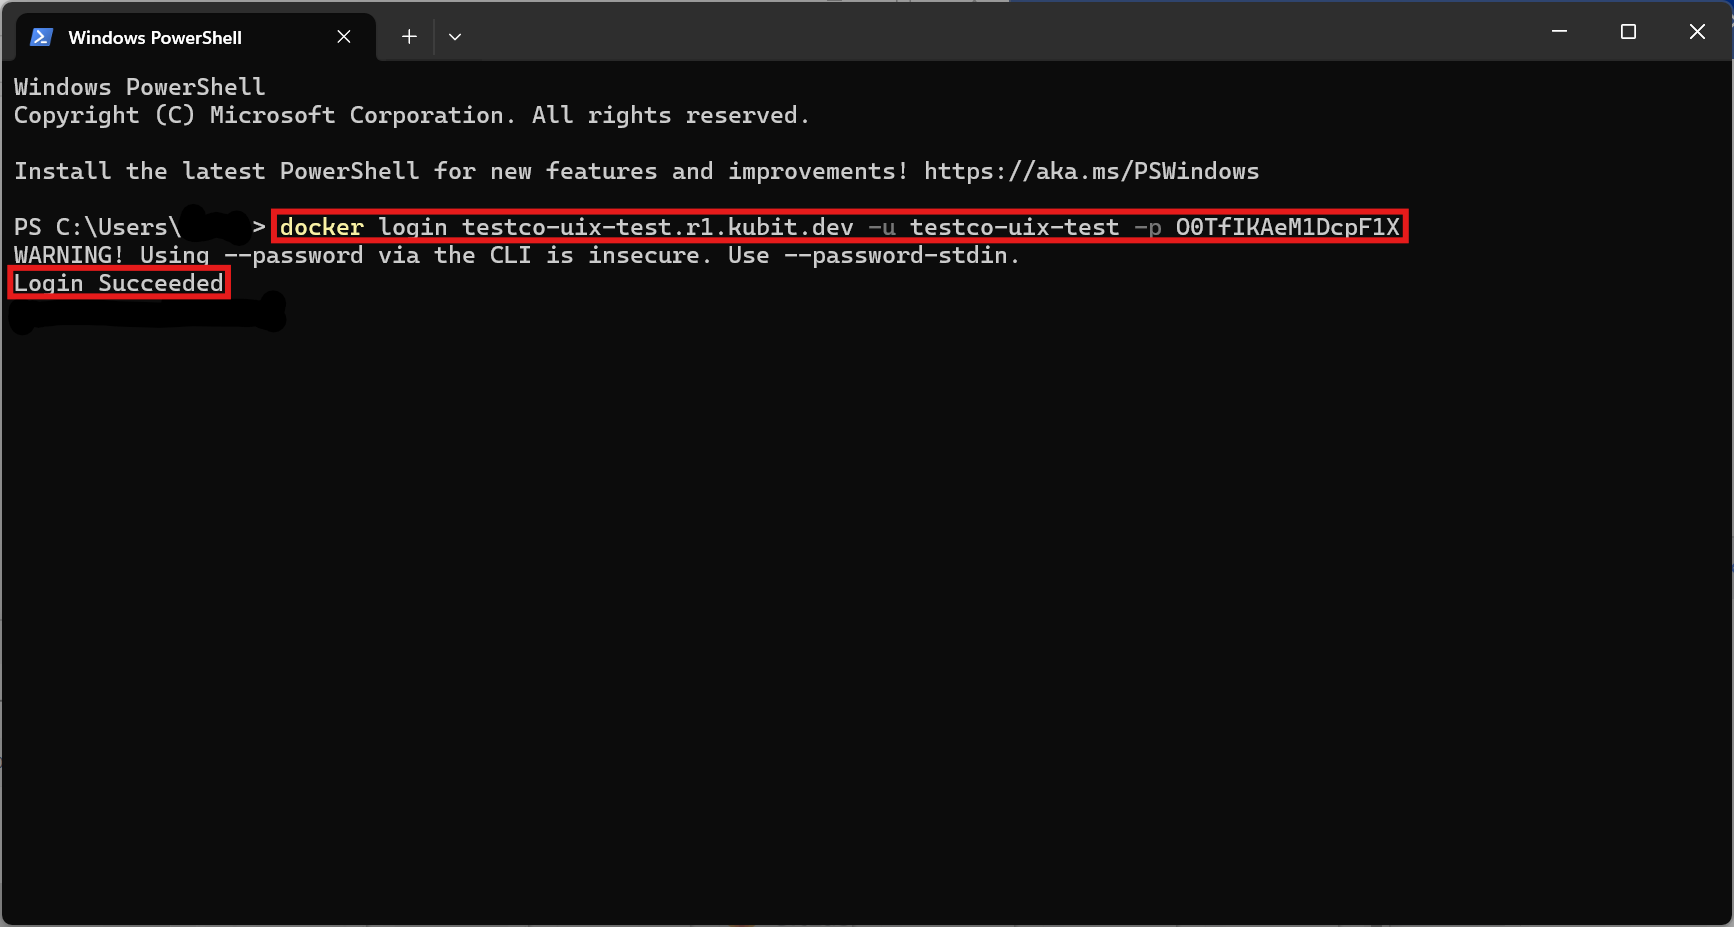
After a successful connection, you can push and pull from your registry.
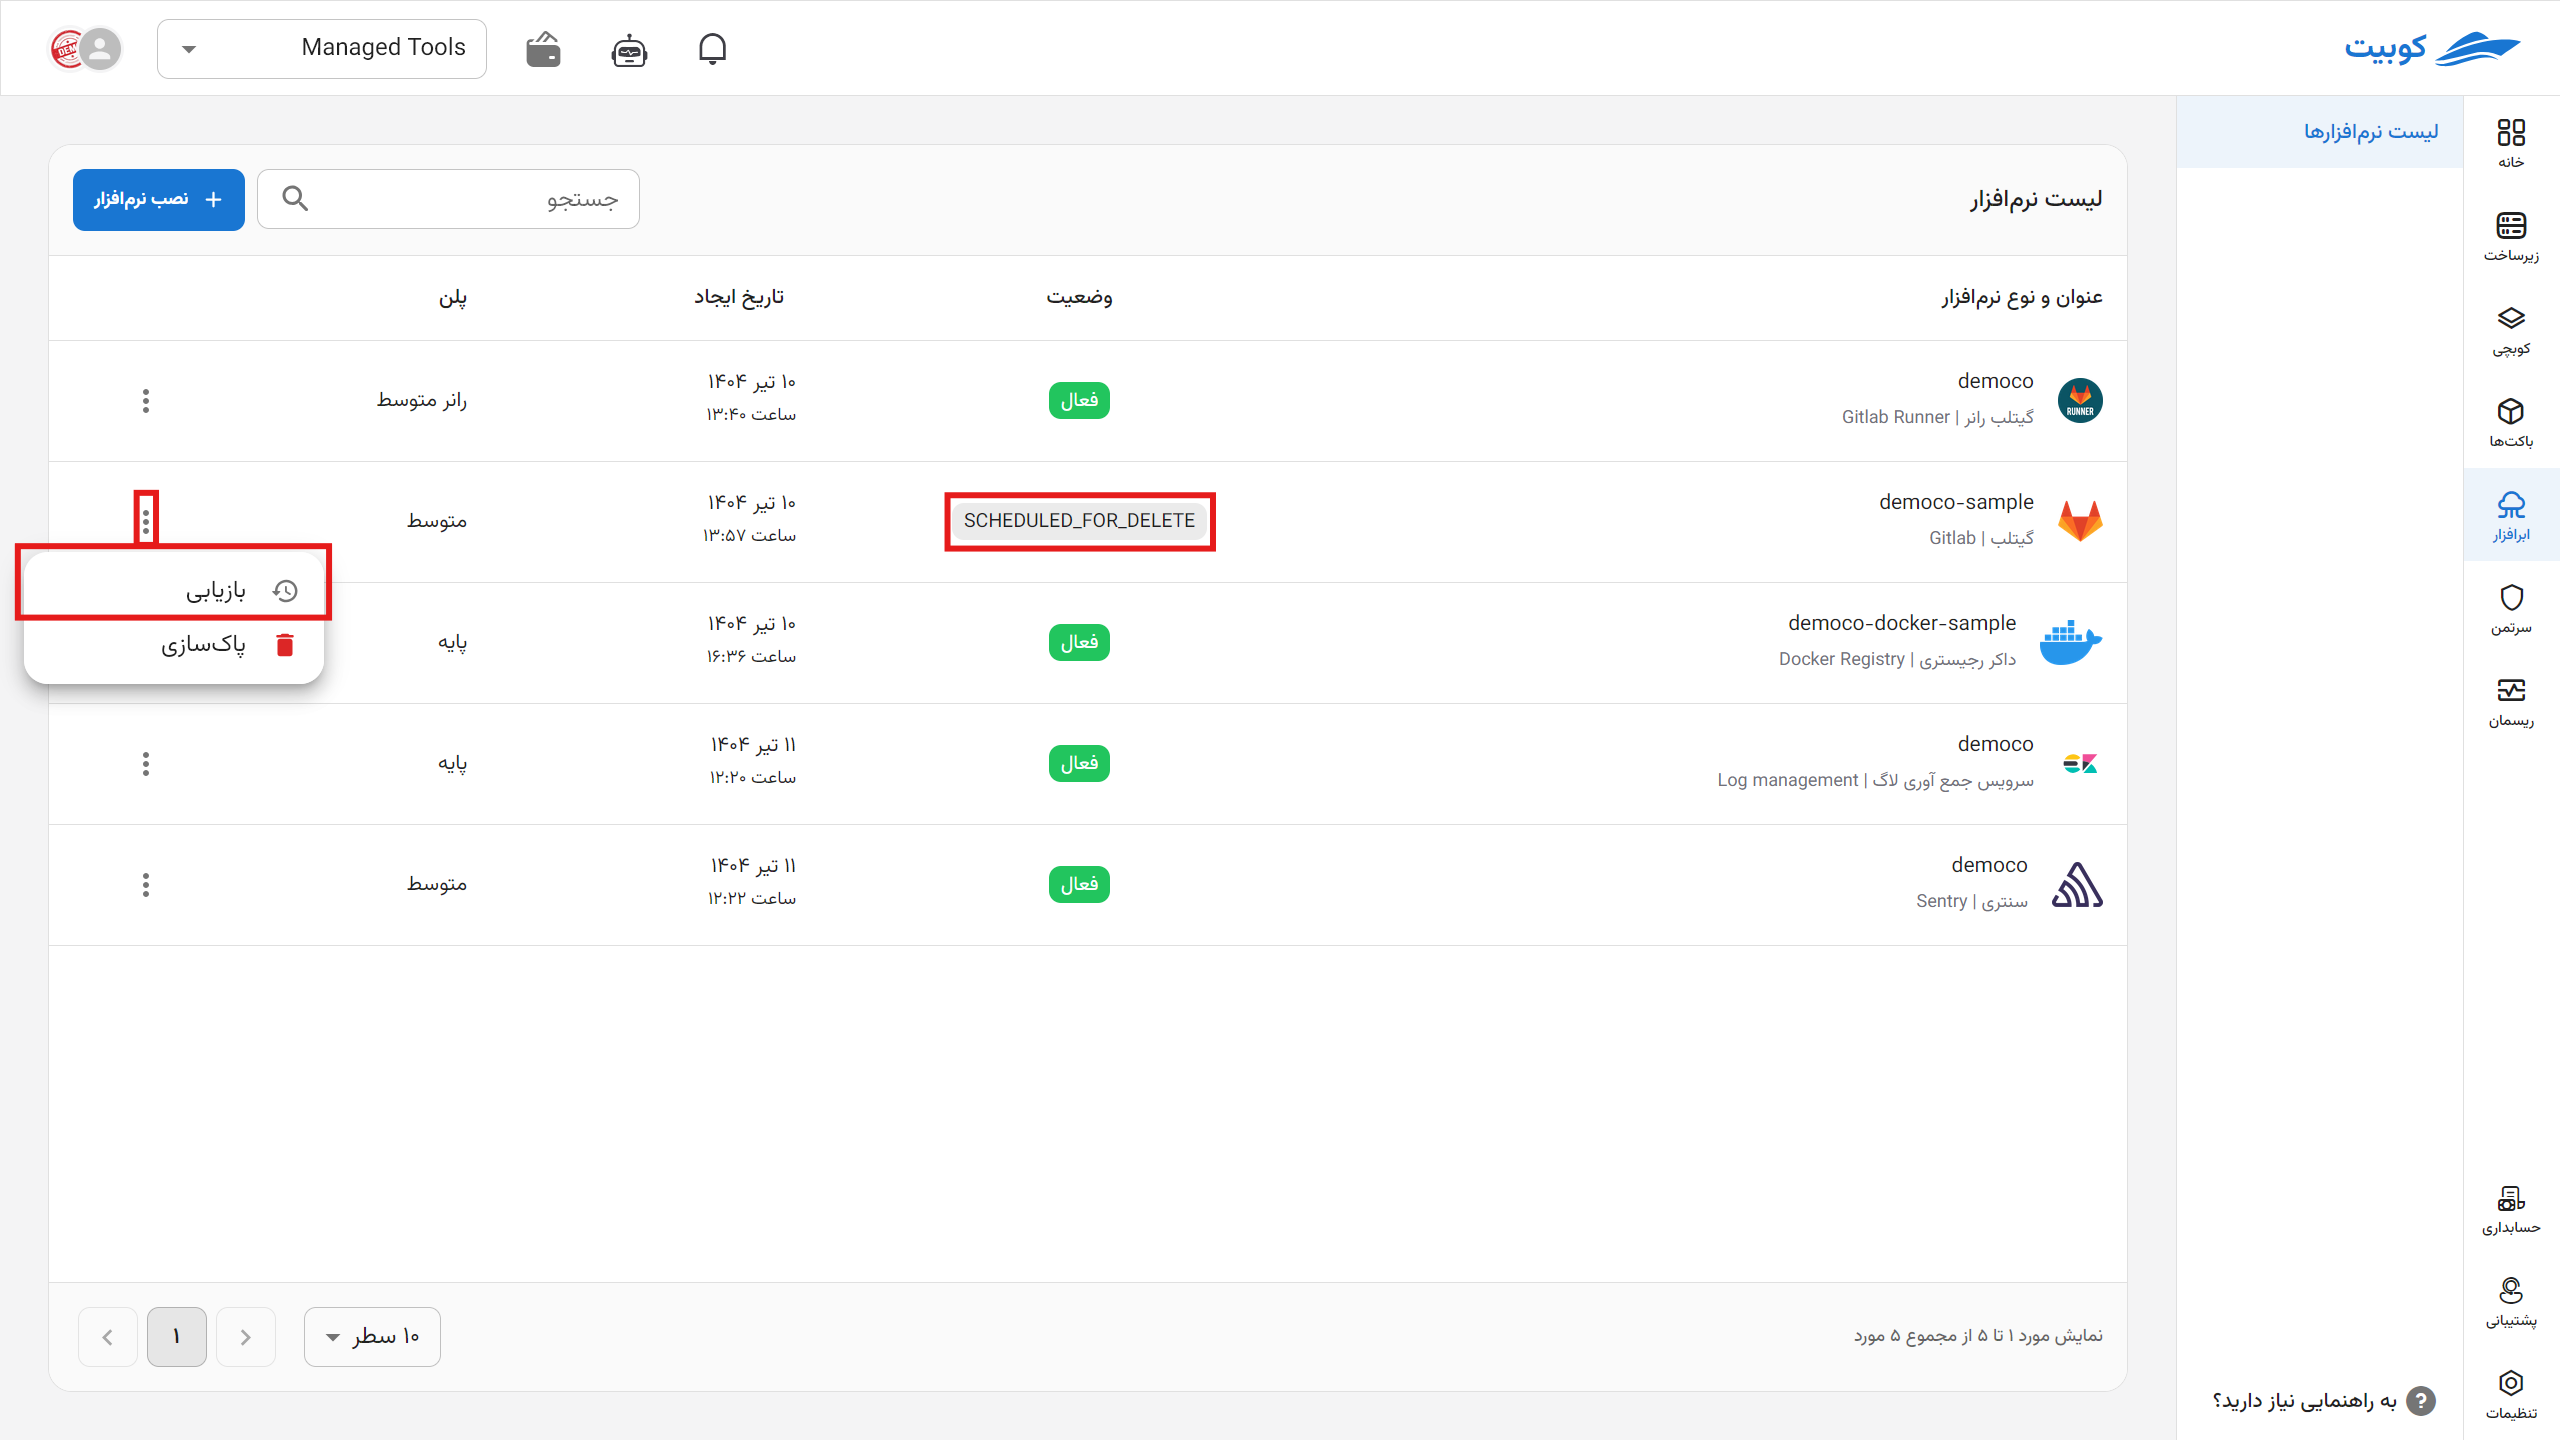
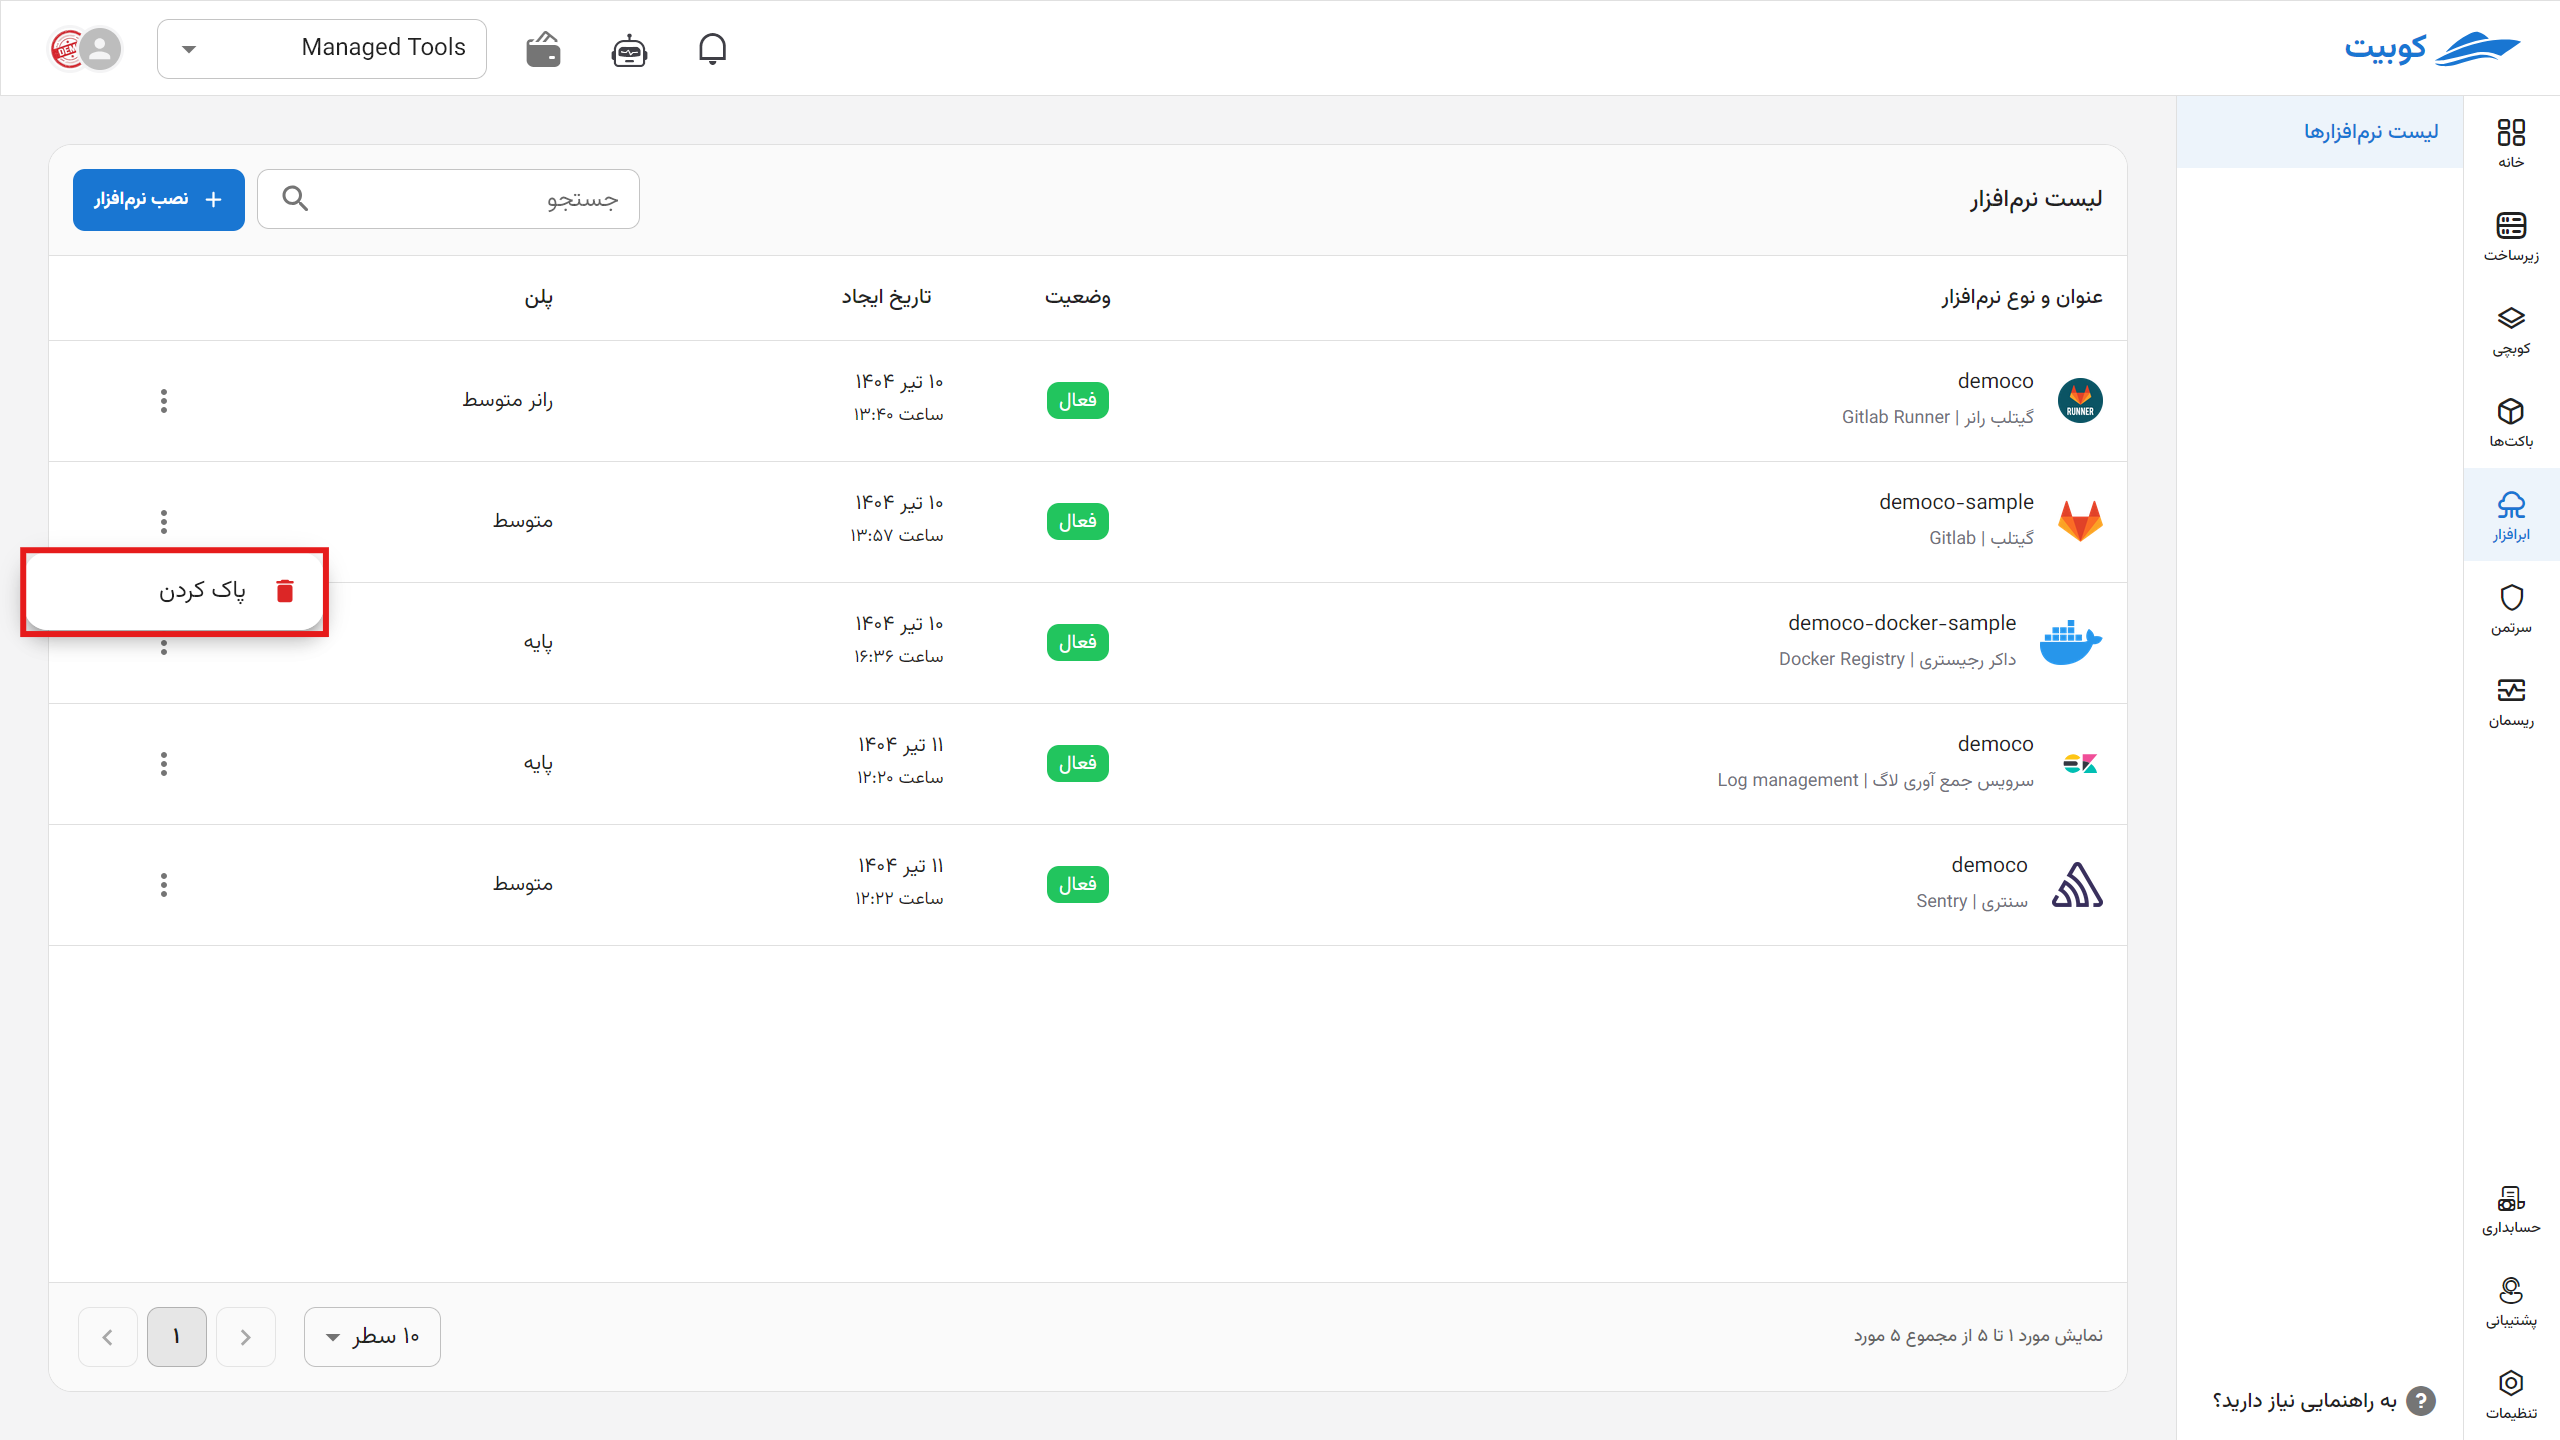
To delete the cloud software via the panel, click on the options icon and then select delete.
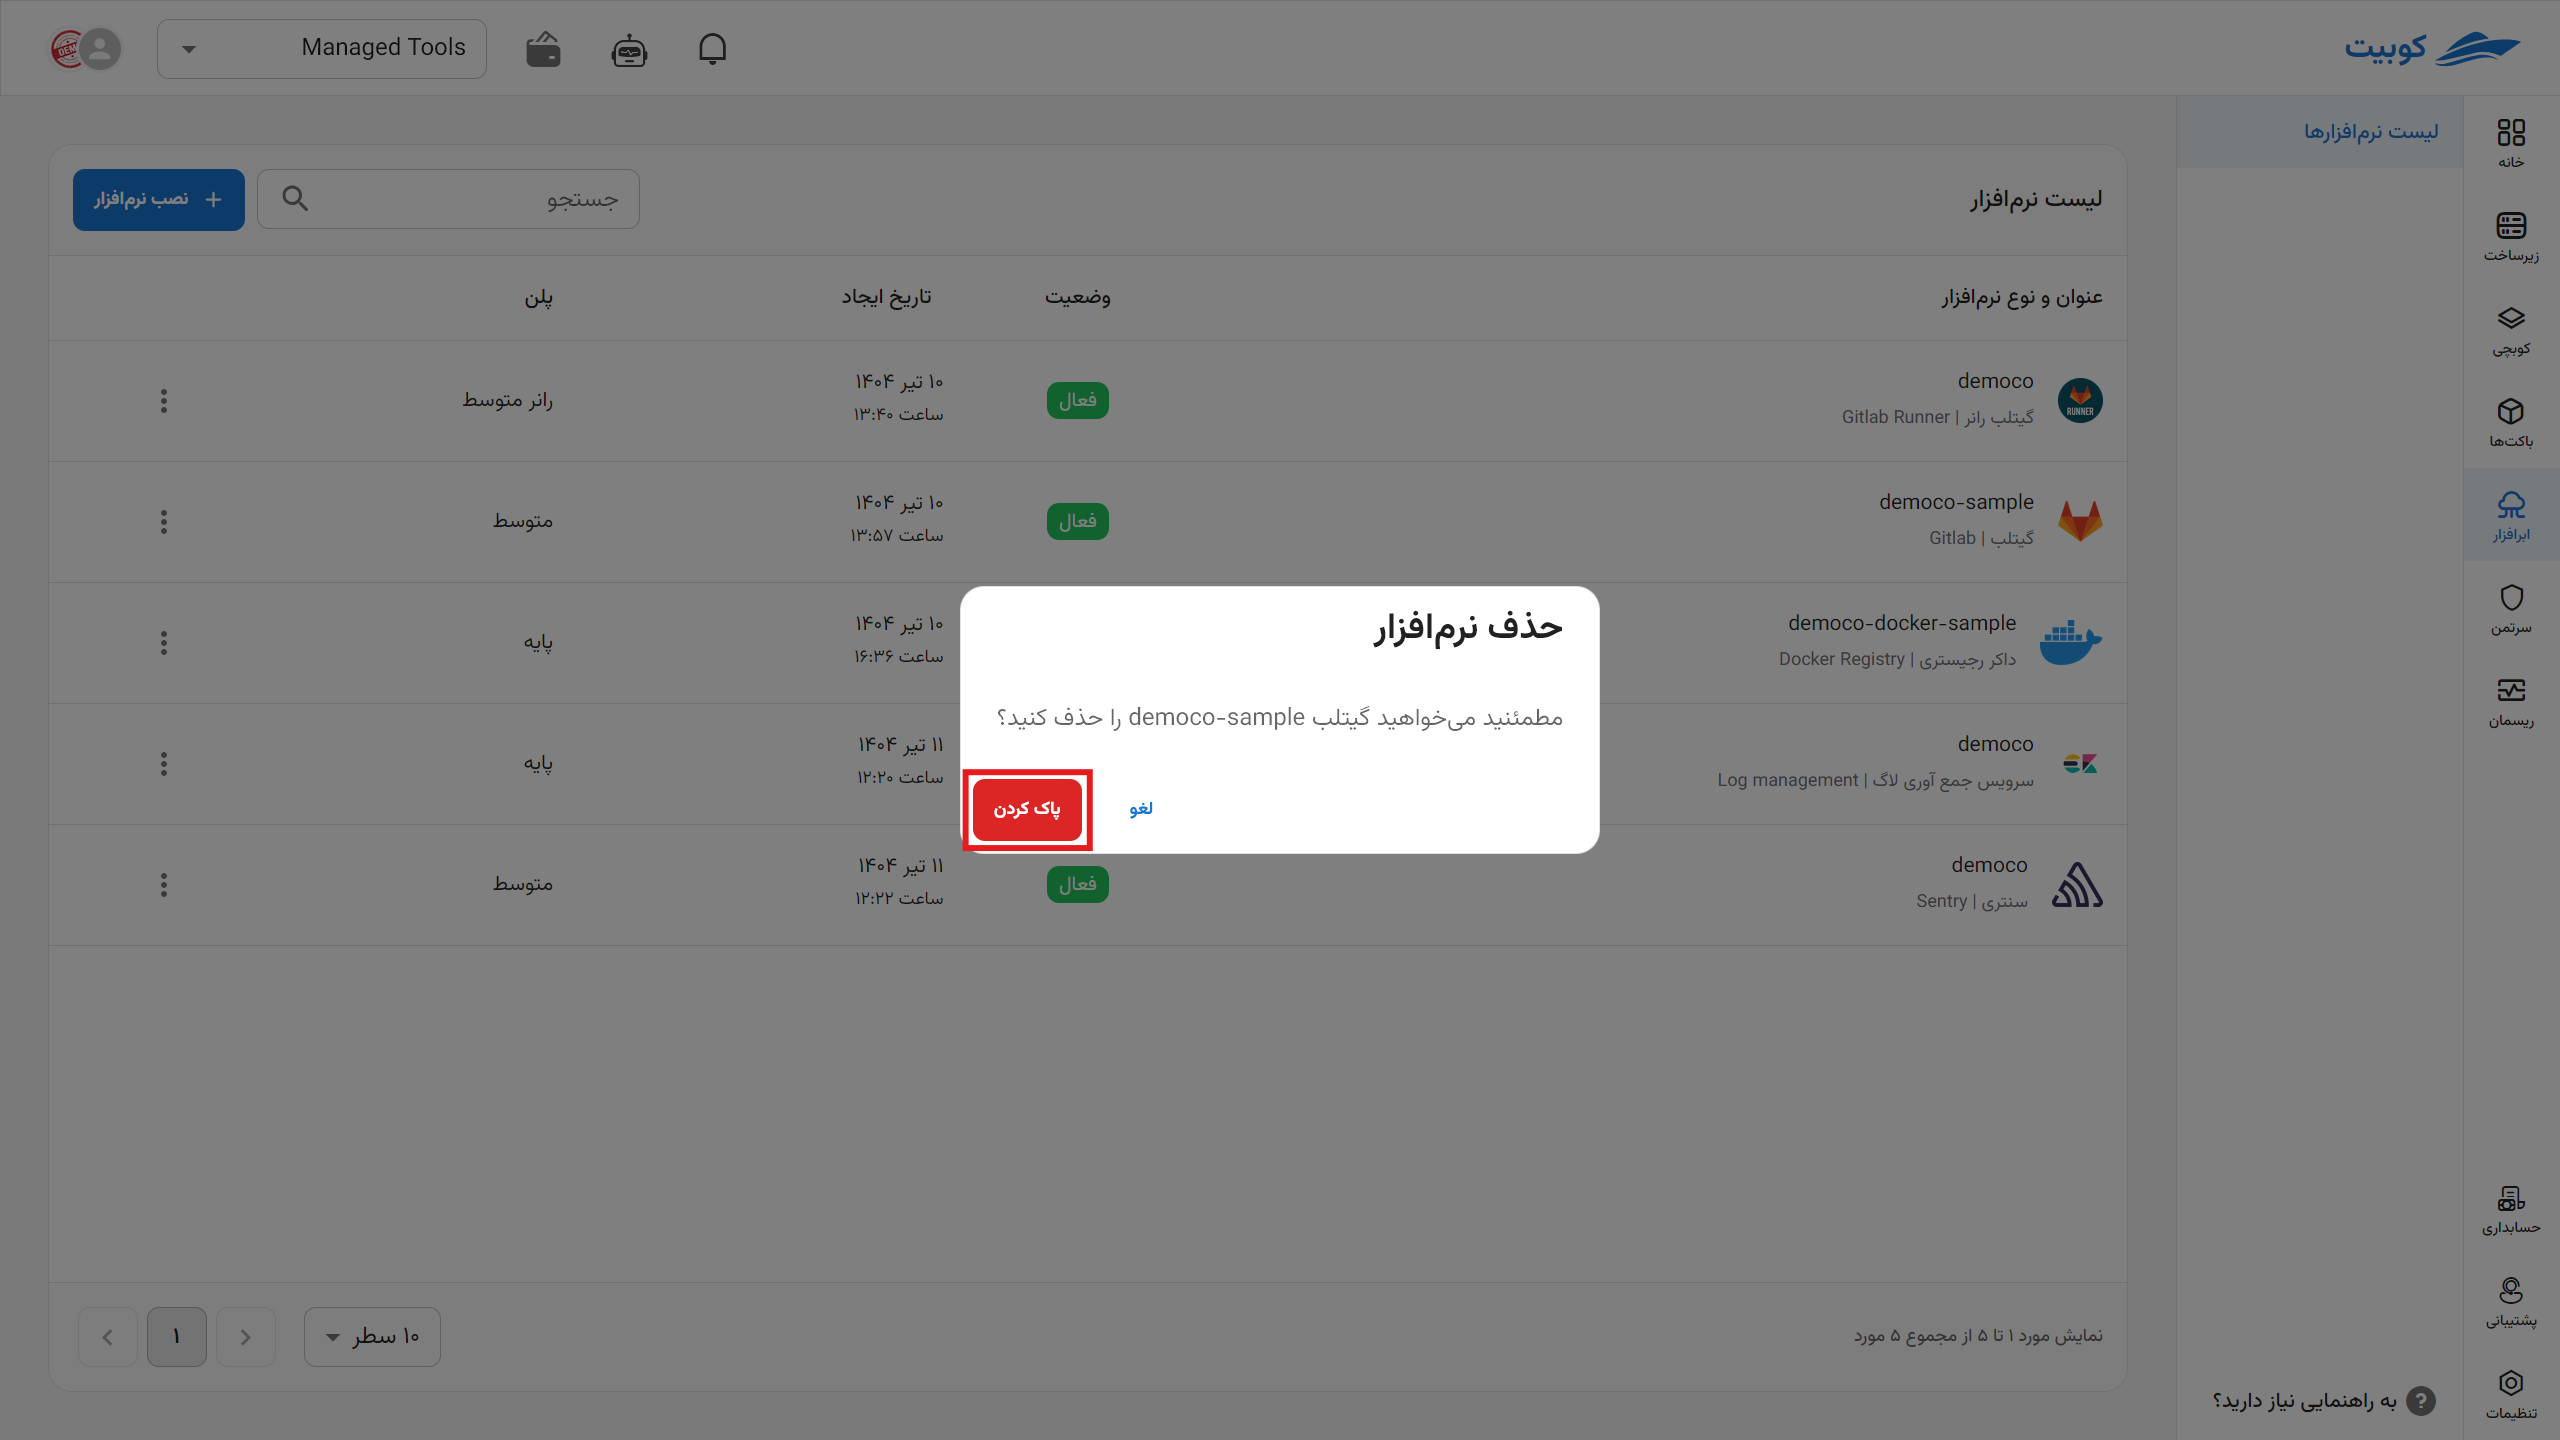
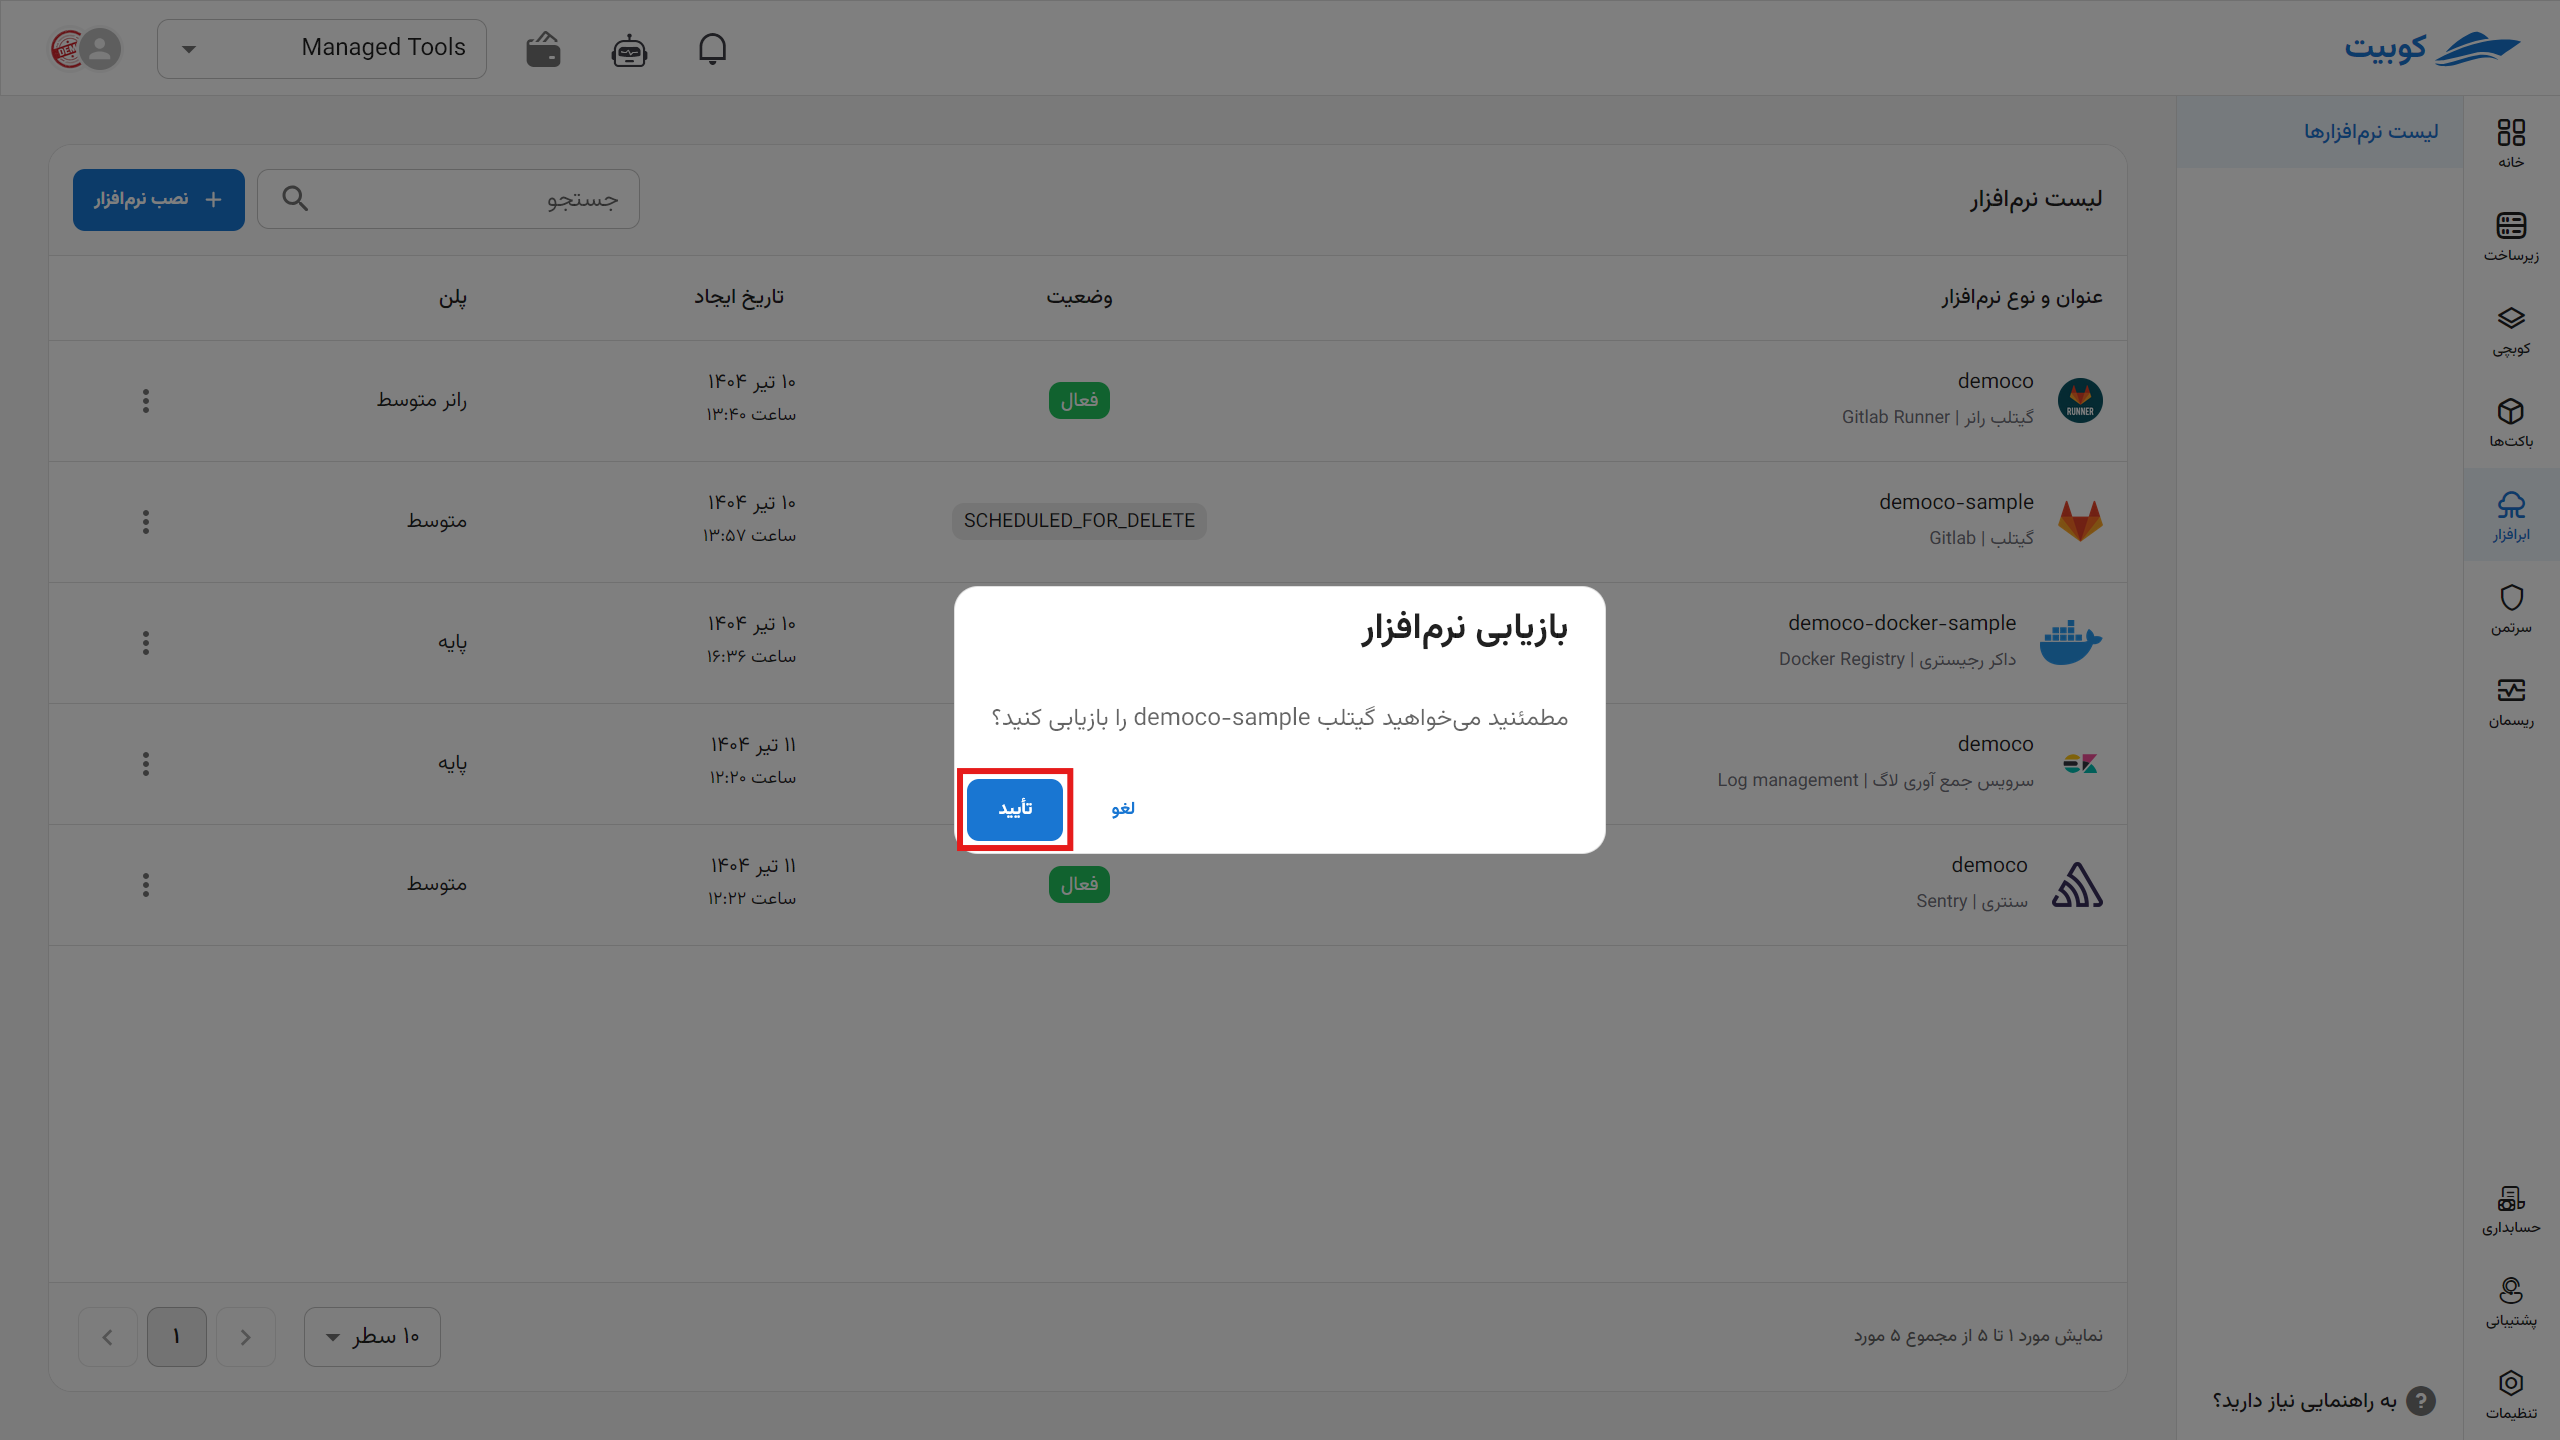
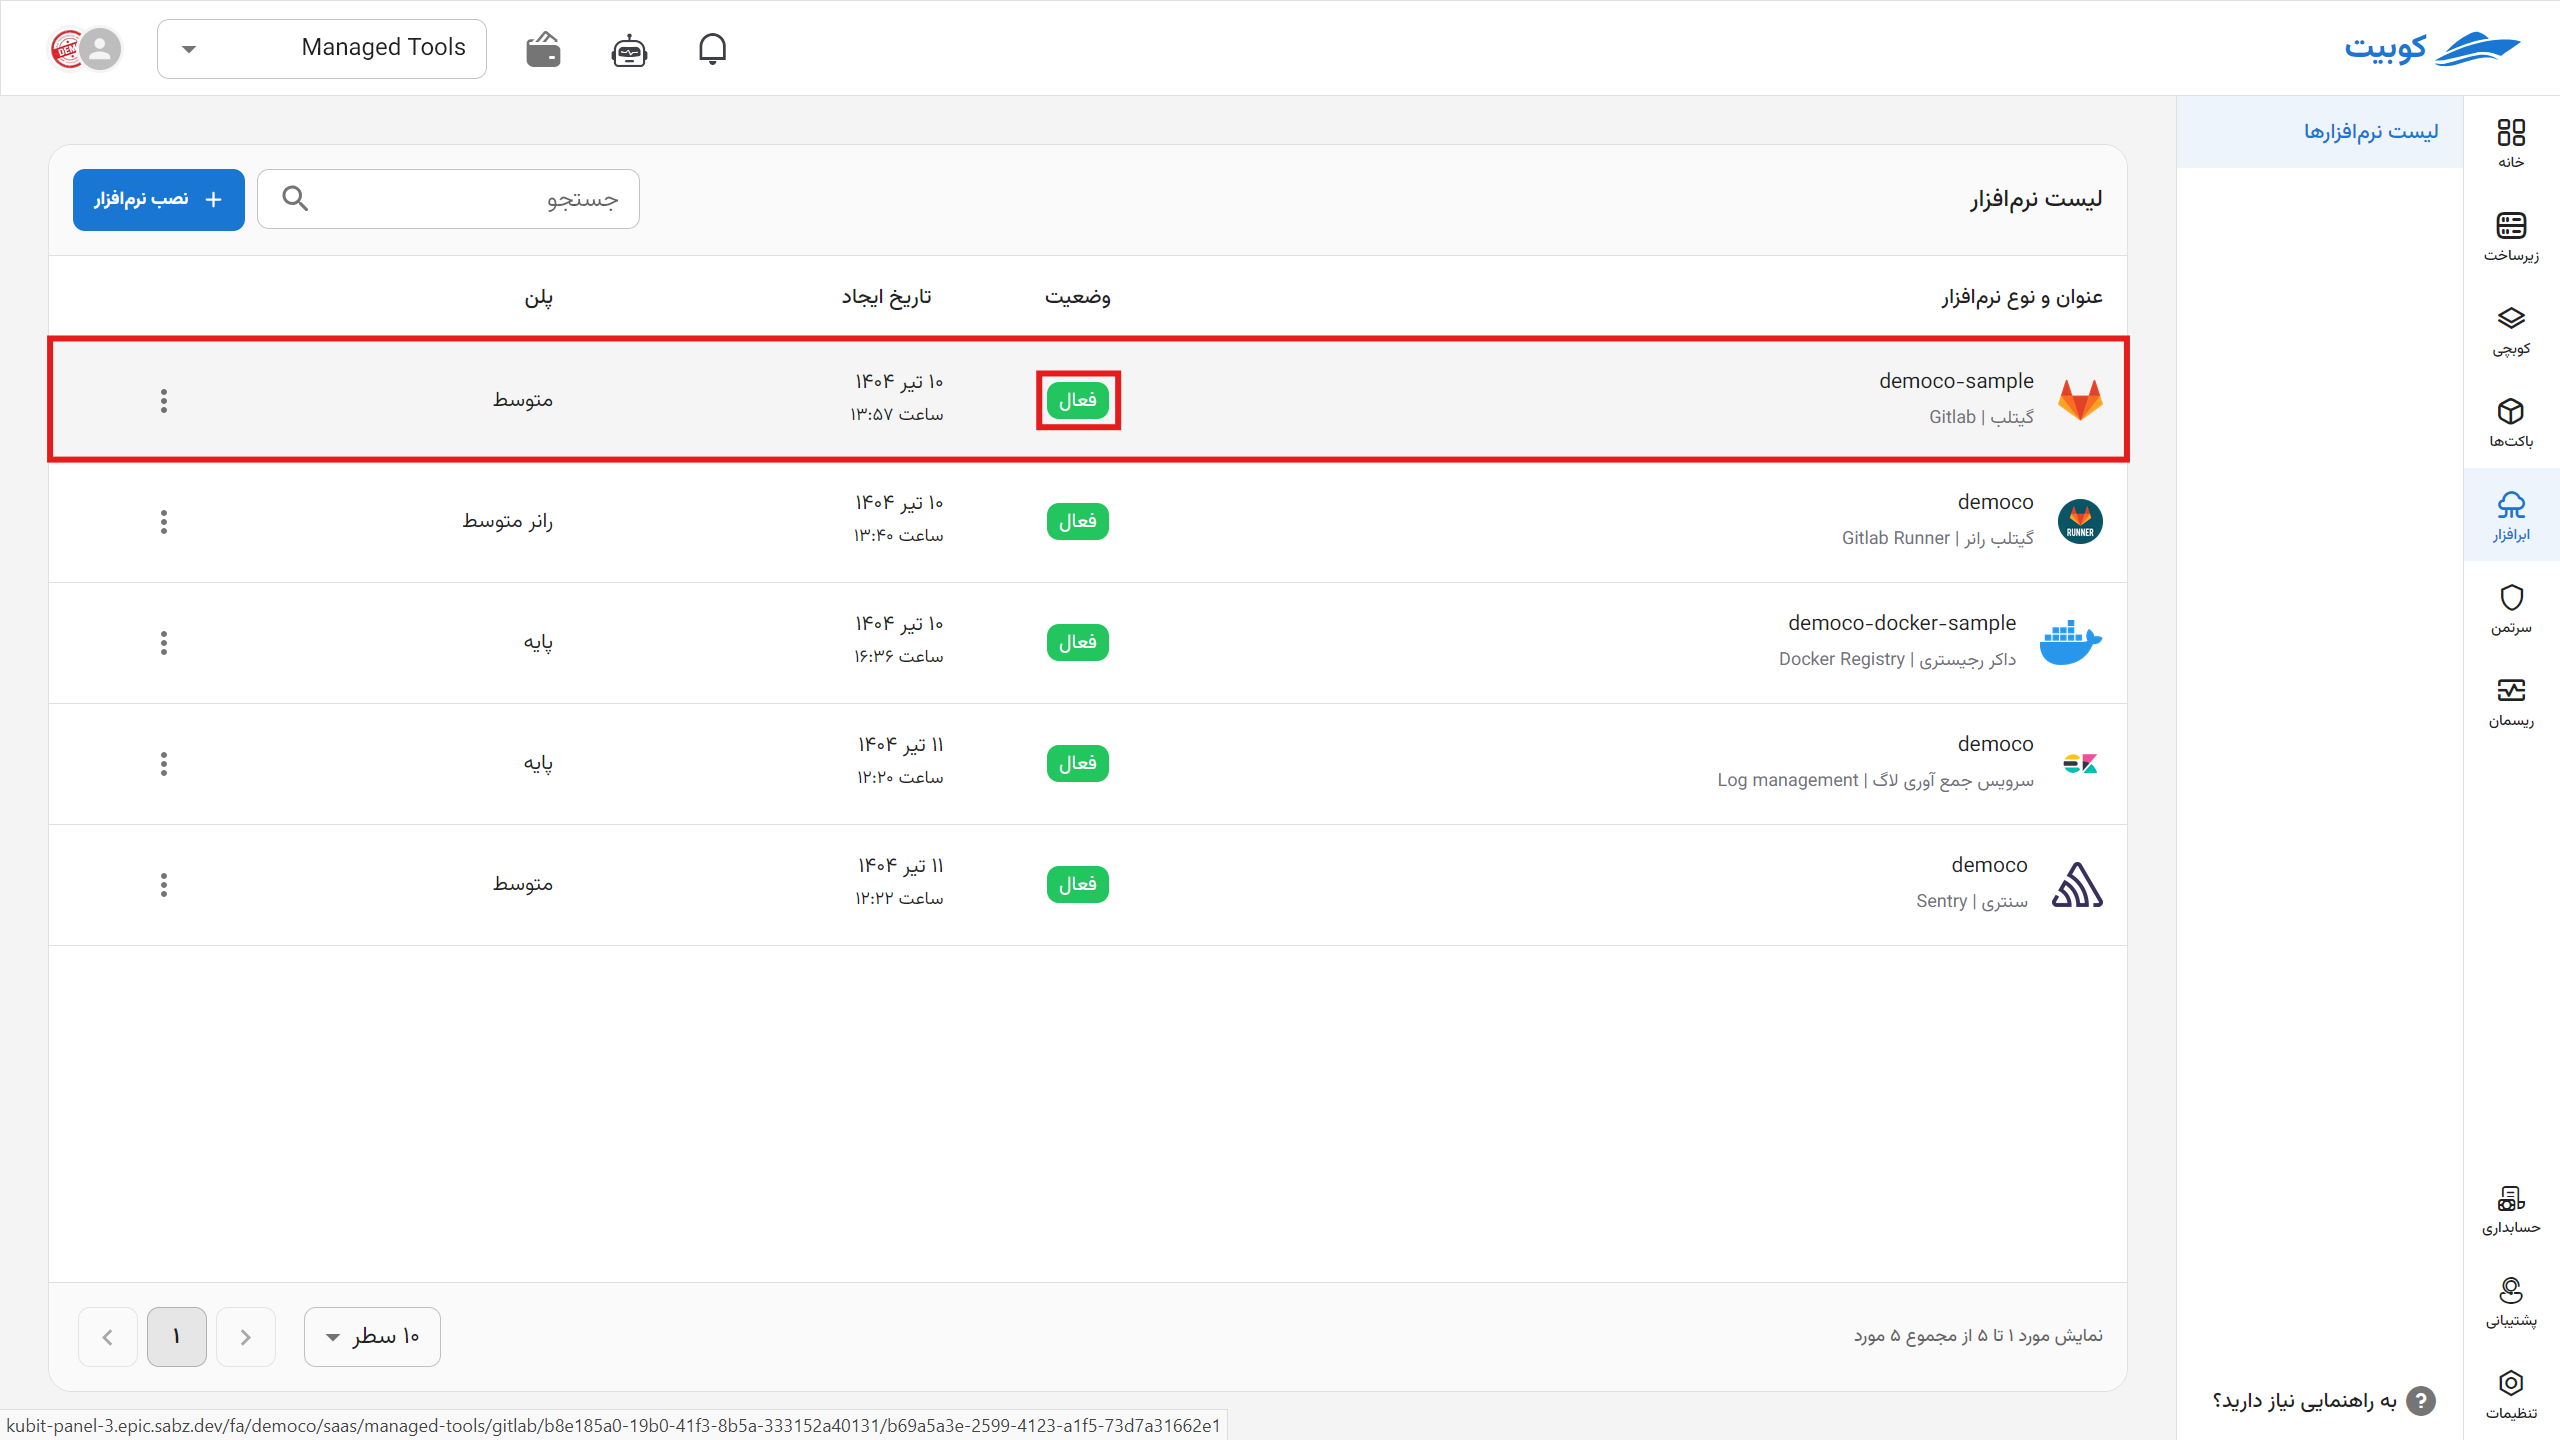
*After deletion, each application is placed in a deletion queue for permanent removal from the server within one to three days. During this period, you can restore it.